Building Basil Faulty the DonkeyCar
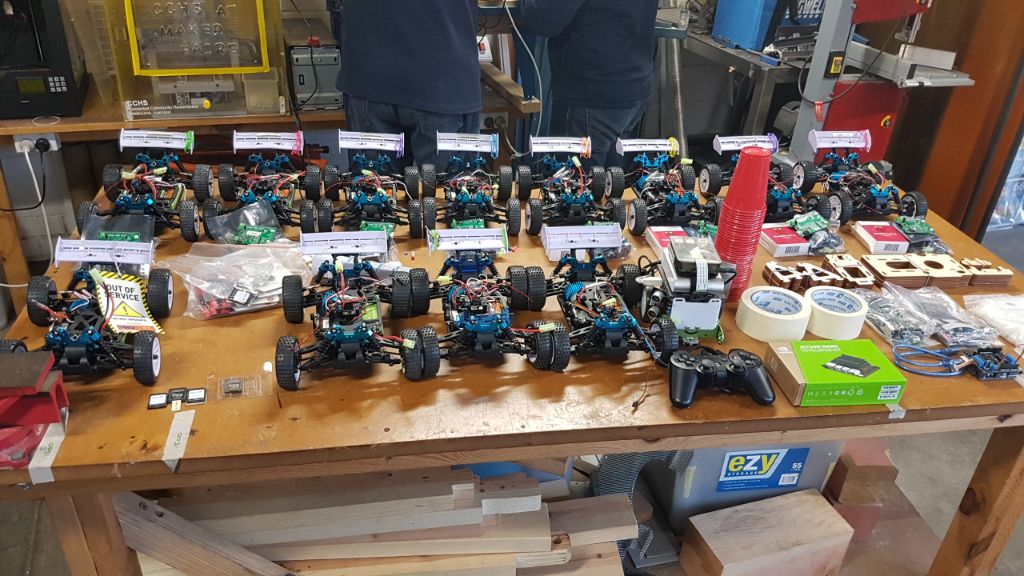
Building Basil Faulty the DonkeyCar - a remote control car that becomes a self-driving car using machine learning and artificial intelligence to drive itself around my kitchen.
The Build
In my last blog post I attended the soldering day to prepare for this build workshop with a group of like-minded enthusiasts at the hackerspace.
First I had to put together the laser cut parts and attach the Raspberry Pi and camera.
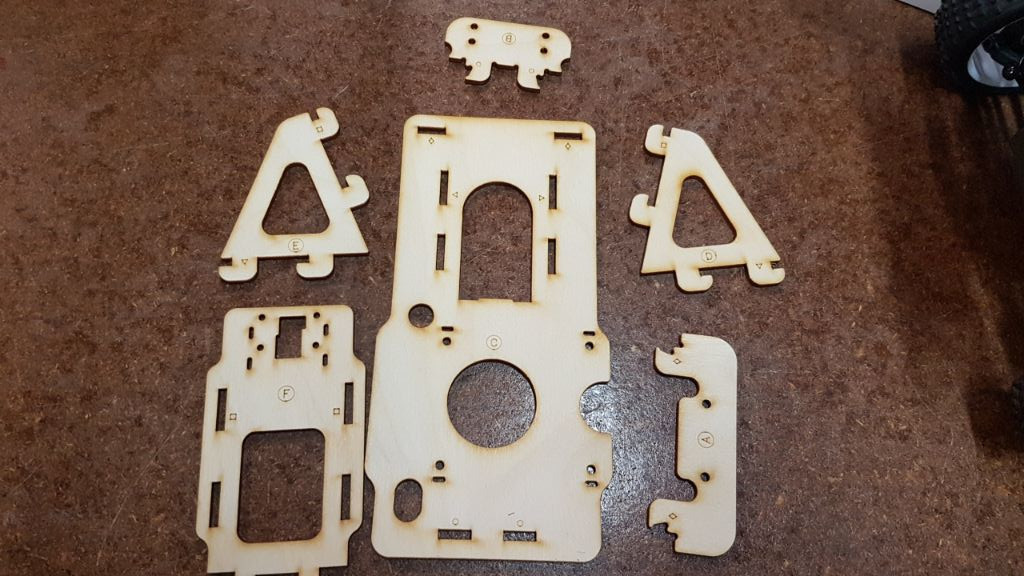
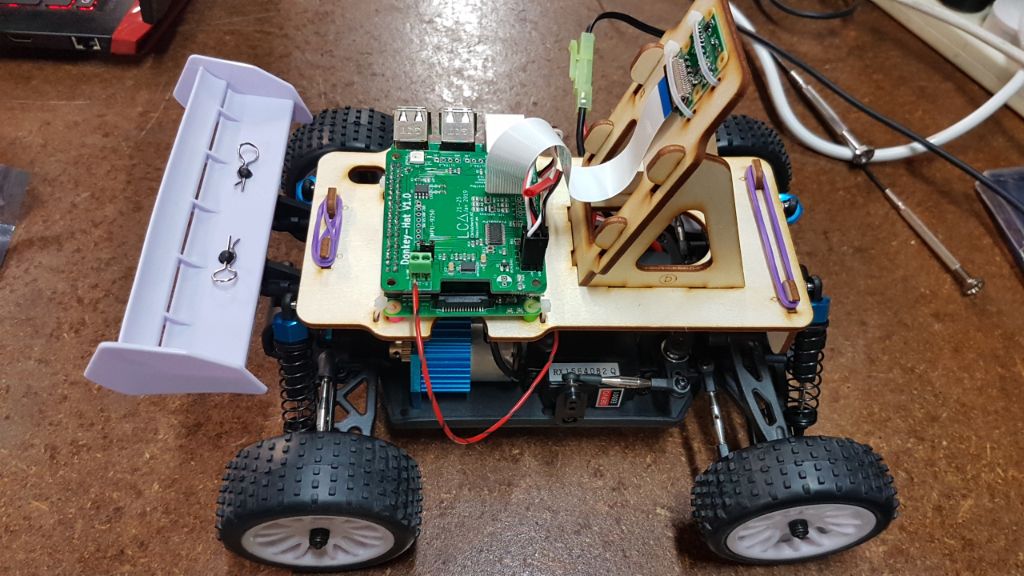
The actual construction was rather easy, everything is designed to be attached by zipties and rubber bands so modifications can be more easily made.
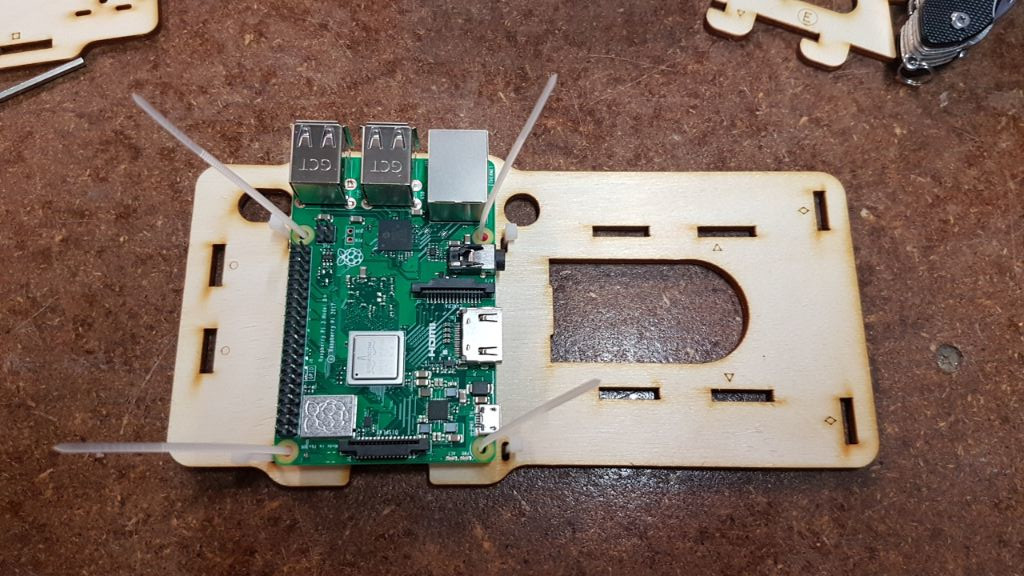
The camera mount even just slots in, no other hardware needed to keep it in place.
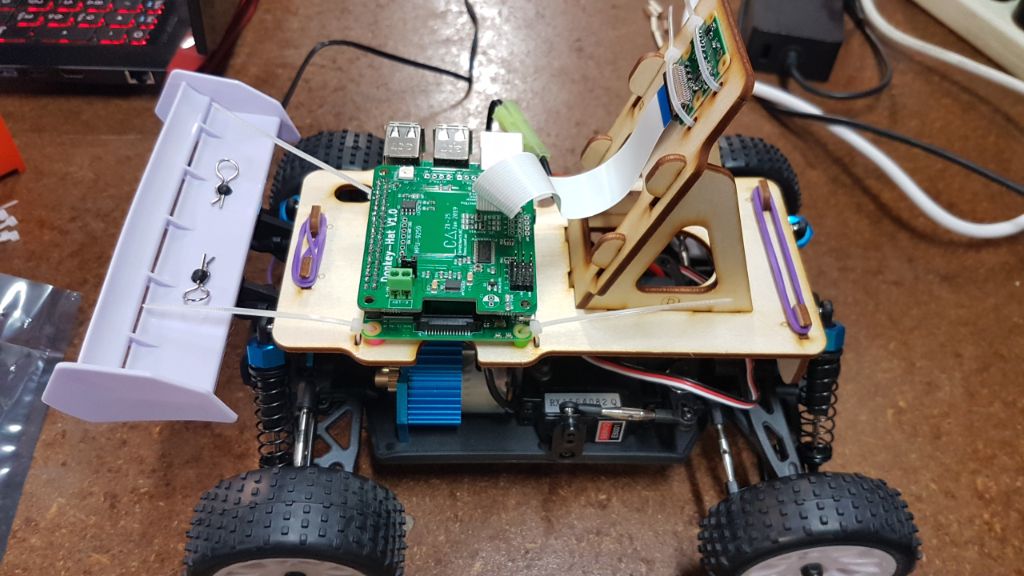
The camera is mounted so that it is facing foward and down to get the best view of the path in front of the robot.
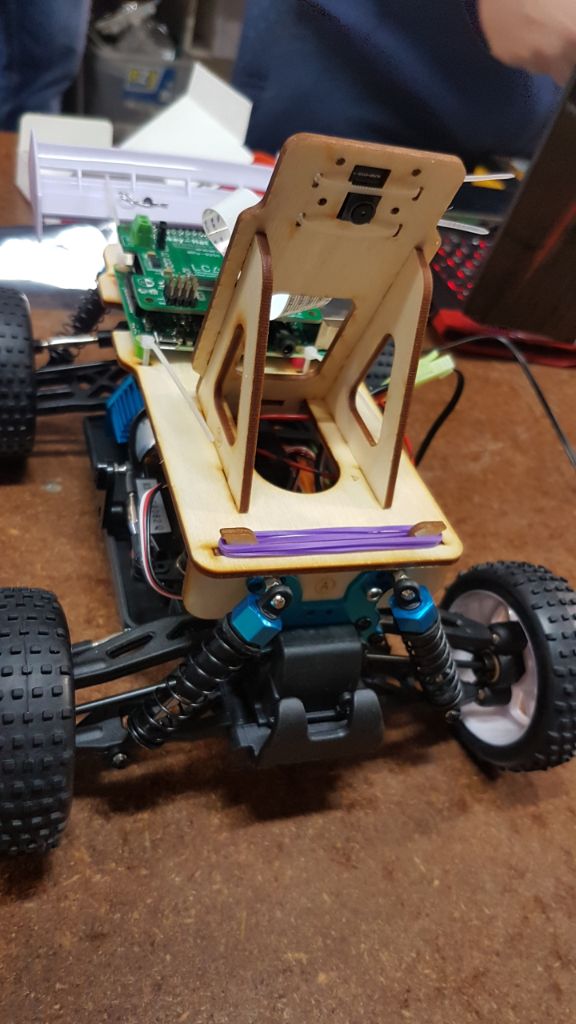
Here he is in all his glory! First up was charging the battery fully before I could start data gathering. My sister came up with the name of Basil Faulty as we’re assuming he’ll be a little faulty for a while…
Setting up the Software and Data Gathering
Next step was to set up the software and begin data gathering. The SD cards used by the cars were cloned from the organiser Andy G’s DonkeyCar based on the setup from the last OHMC workshop so we could skip the installation and go straight to training. The instructions to install from scratch are in the OHMC Instructions and the DonkeyCar Docs.
To get training all I had to do was to ssh into the pi and run the ‘drive’ command.
ssh pi@basilfaulty.local
cd play/ohmc_car
python manage.py drive
This starts a server at https://basilfaulty.local:8887 where I could go either on my PC or on my phone and control the car. The first step is to drive the car 6-10 times one way around the track and 6-10 times the other direction while the car records:
- A picture from the PiCam
- The throttle value
- And the steering value
Which will be used by the neural network to train the car to then drive itself!
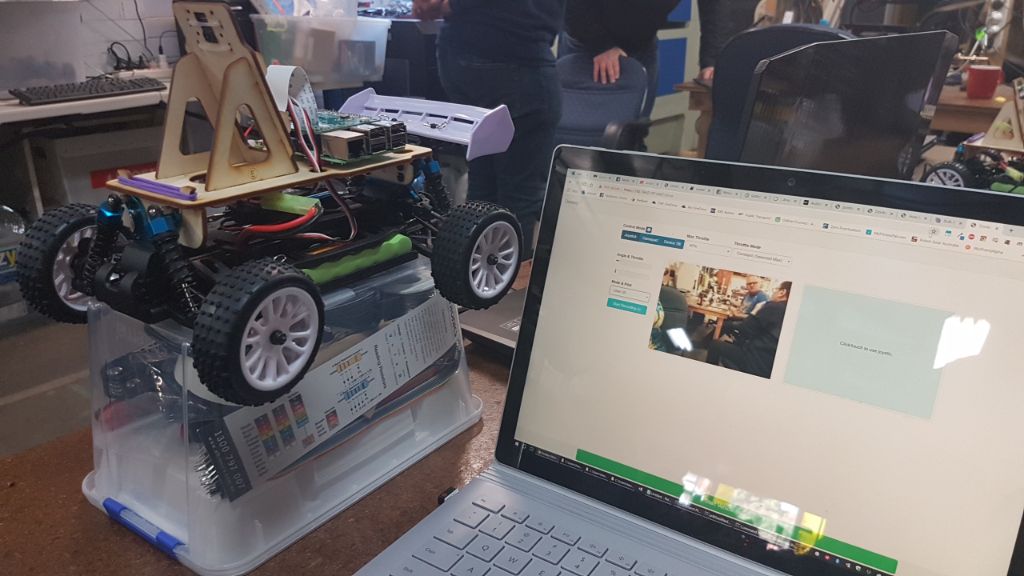
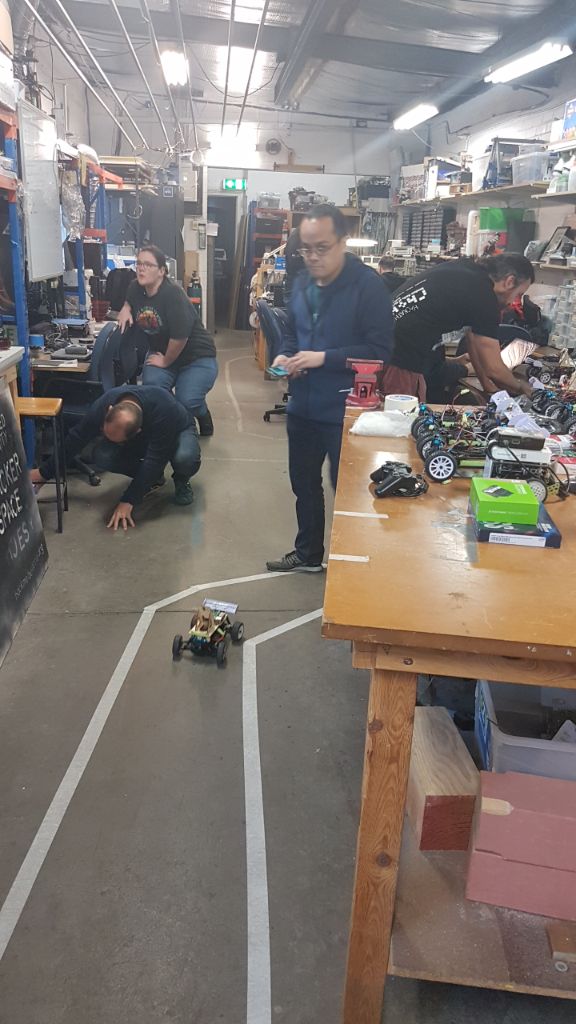
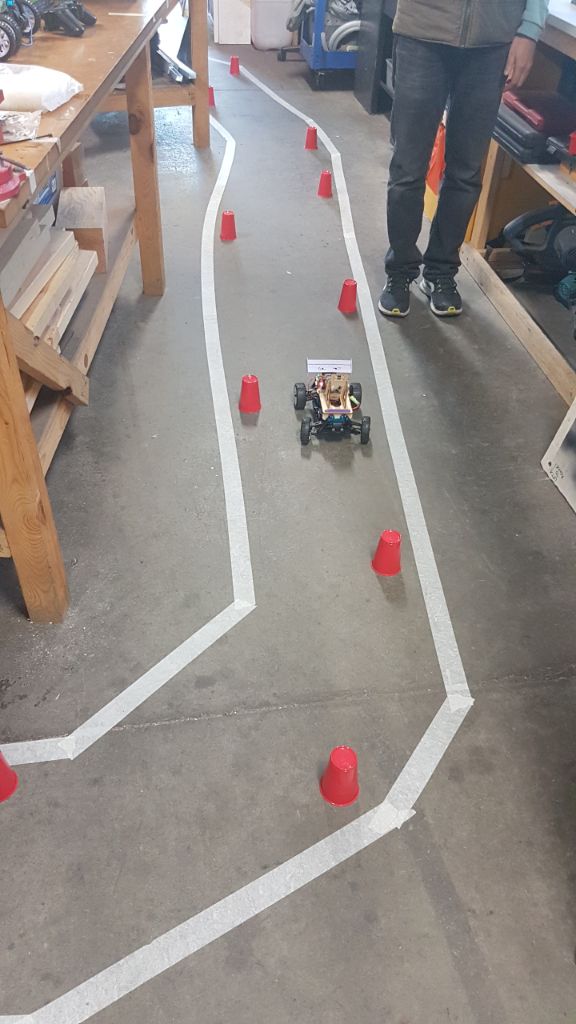
It was a bit much to manage driving my car and taking a picture at the same time but here is one of the other cars doing its training - I trained mine on the white lines but there were some people experimenting using the red cups as training data too.
After the data was all gathered it’s time to transfer it over to my PC to do the actual training! I didn’t quite get this working on the day, so that’s a post for another day.