Building an Orrery: Gear Construction
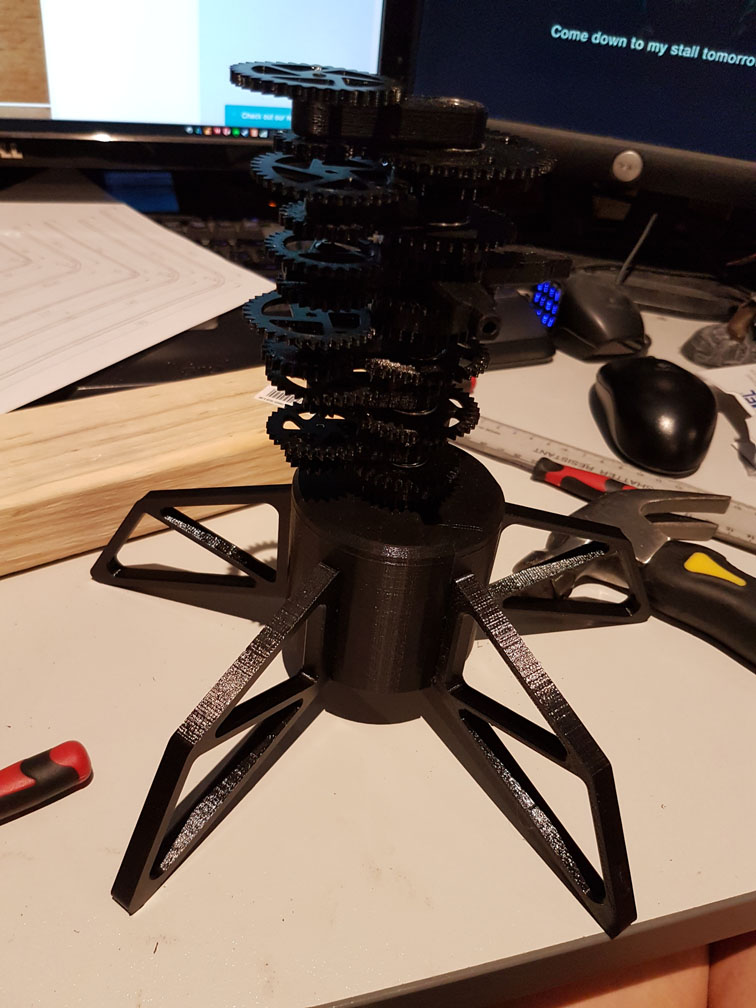
Construction of the gears of the orrery required more than a little patience working with the printed parts and bearings.
I began with the base inserting the largest copper rod and all of the legs. I found that due to the printing process such as some parts having a larger footprint in the first layer/s of the print some legs stuck in snugly and didn’t require any further coersion whereas others would slip out as soon as I lifted the base.
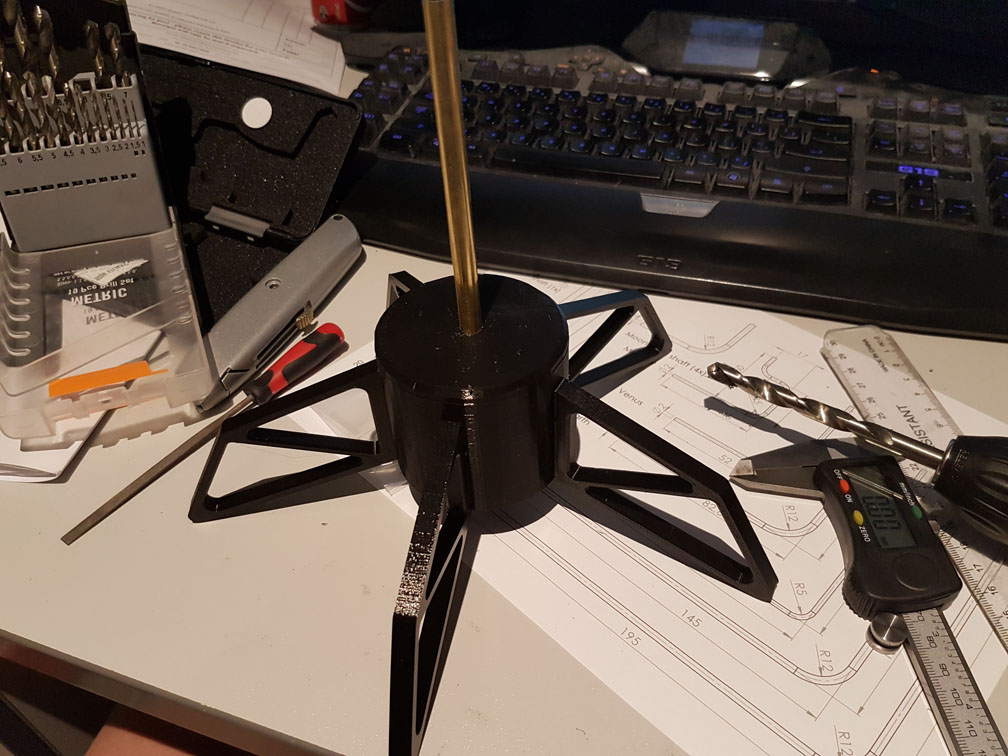
At this stage I chose not to glue the parts in as I thought I’d need them to come off during assembly (see below!) but I will probably do so in the future.
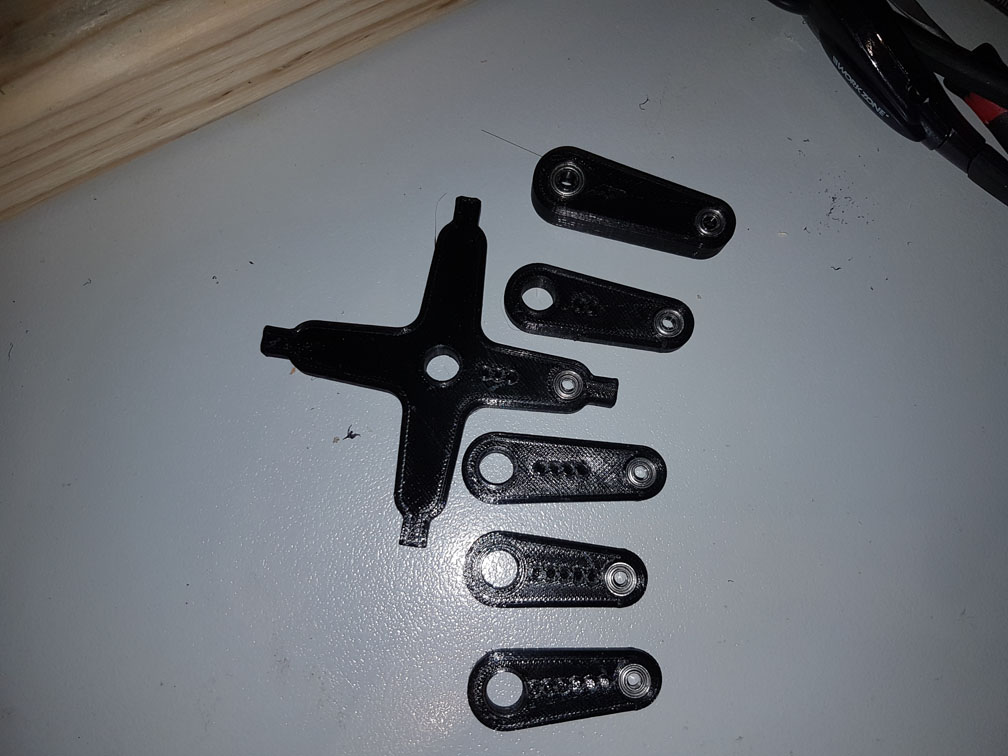
Another field of difficulty I had with the build was inserting the bearings into the 3D printed parts. Some bearings slotted in but some I really had to hammer in - I hoped I didn’t have to try to get them out any time soon! These parts with the bearings also had to go onto the main shaft which again required a fair amount of force - I’m glad I didn’t initially glue the legs on because I’m not sure the connections would have been able to handle that kind of stress.
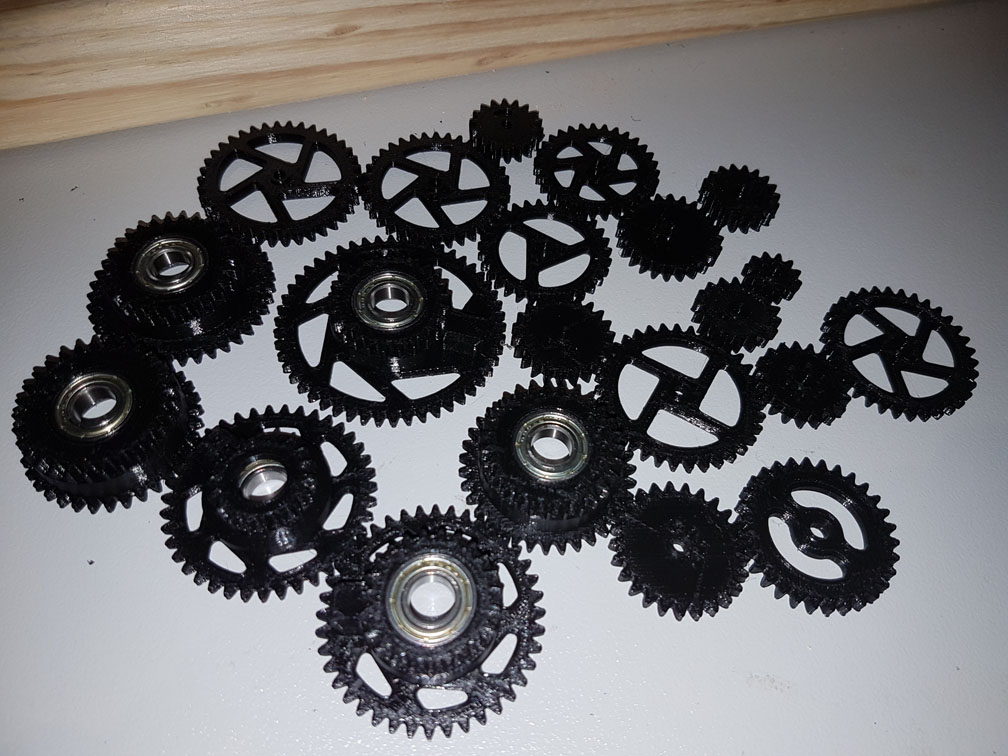
From here each rod arm and gear had to be attached to the main shaft, each level was labelled with a number of dots indicating its position on the shaft to make sure each orbit was increasingly larger. Again, some were easy to attach, some were quite lose and needed glue, and yet more were extremely difficult and had to be greatly coerced into position.
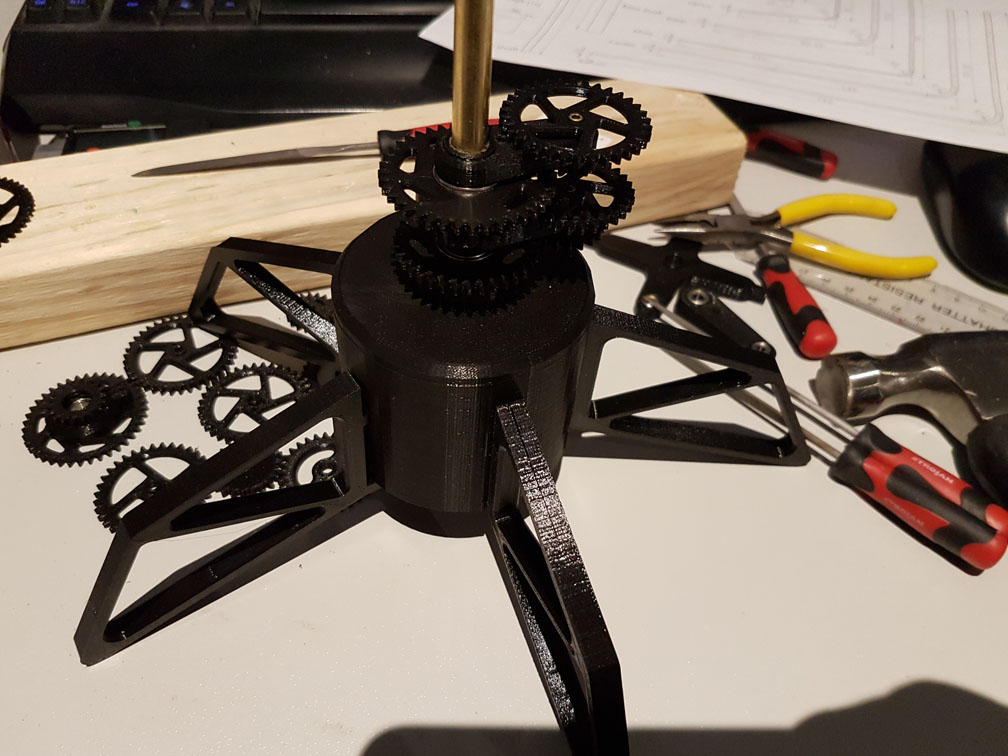
At long last, each gear was assembled correctly - yay! But at this stage I was exhausted, the next step could wait for tomorrow!