Building Hexy the Hexapod
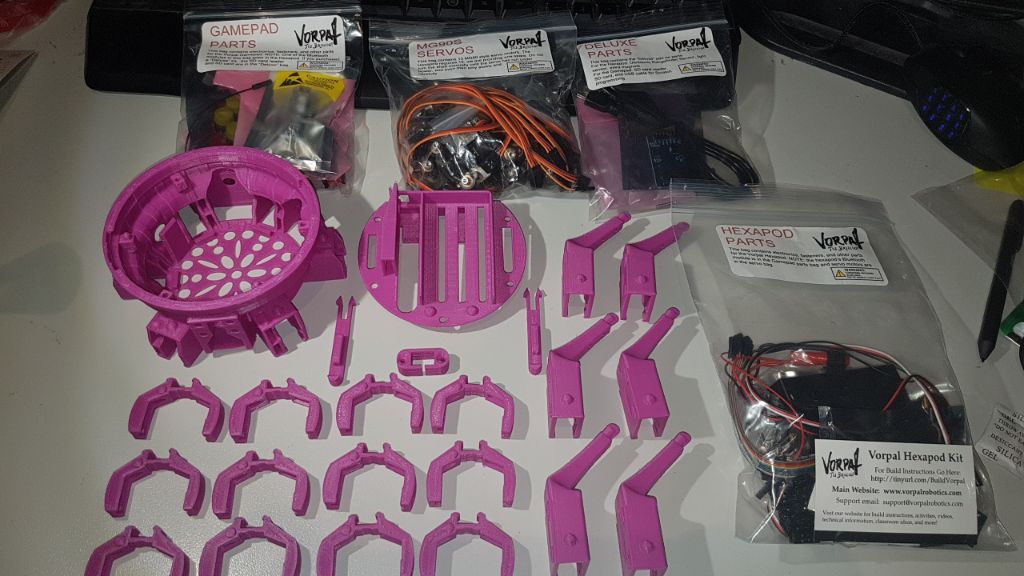
I Kickstarted Vorpal’s Hexapod as a great 3D printing project to get started into the world of hexapods, other servo-powered robots and ABS printing.
I was actually surprised by how quickly I got the robot as I hadn’t even started printing the parts yet! These parts are very well designed for 3D printing, the overhangs on the parts are optimised for strength and I had no issues with difficult printing due to the parts themselves. Printing in ABS, however, was a different story. I had to do quite a bit of adjusting z-height just to get the part to stick to my heatbed, but after a few false starts I was able to dial it in and print the parts all in ABS.
Here is the first print, absolute failure - this is when I decided to recalibrate!
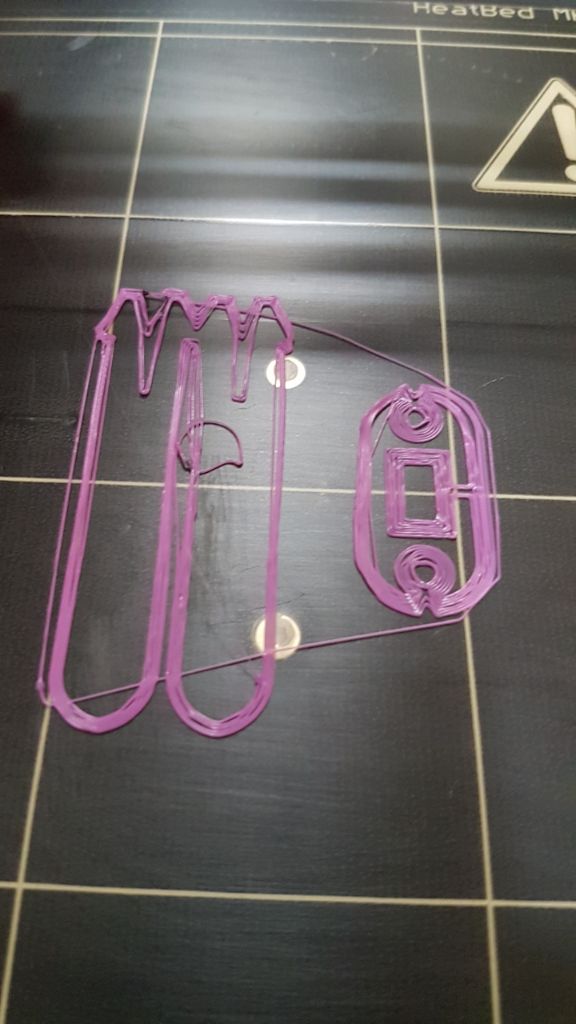
Here we go again, printing the base of Hexy.
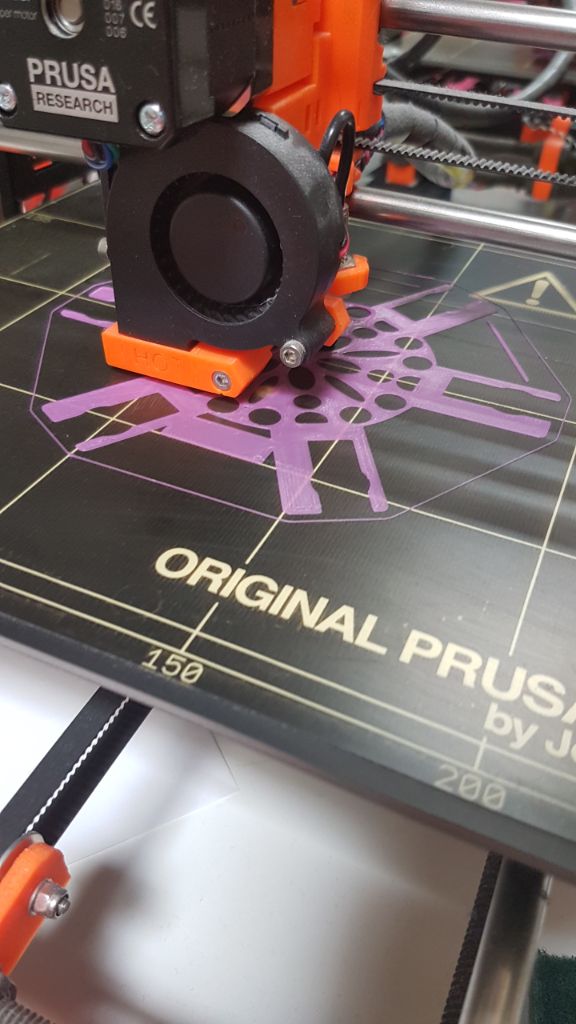
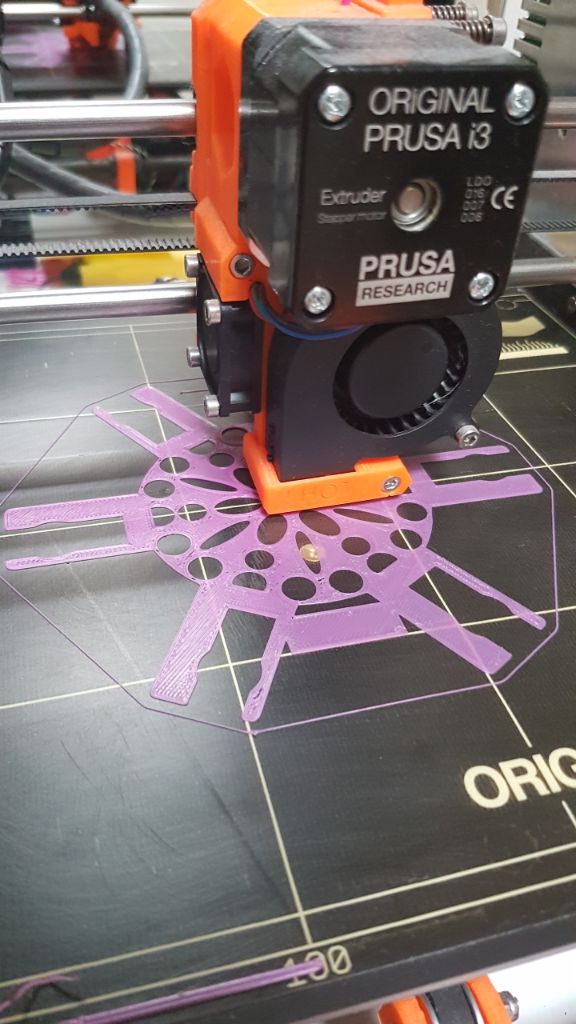
After only the first layer, the print was beginning to lift off the bed. I think this was due to such skinny pieces off from the main body. I decided to add a brim to the print to make sure it adhered better.
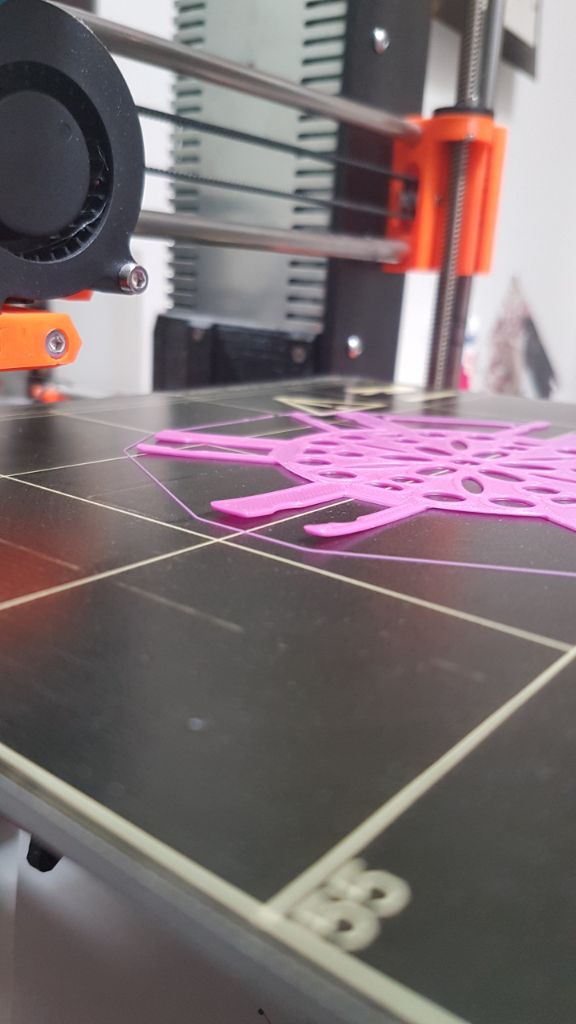
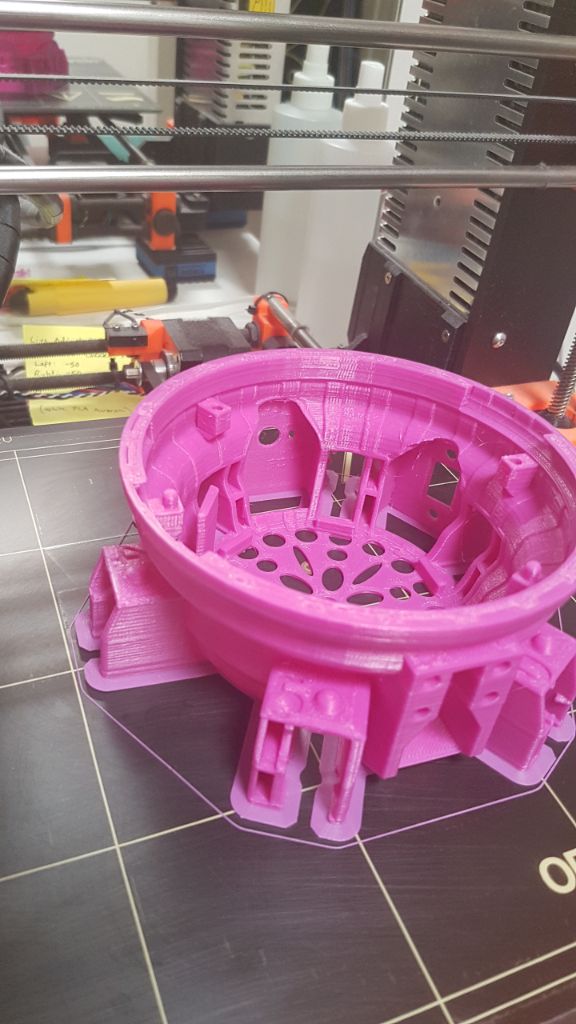
This was a success and here is the big base that will be the body of Hexy.
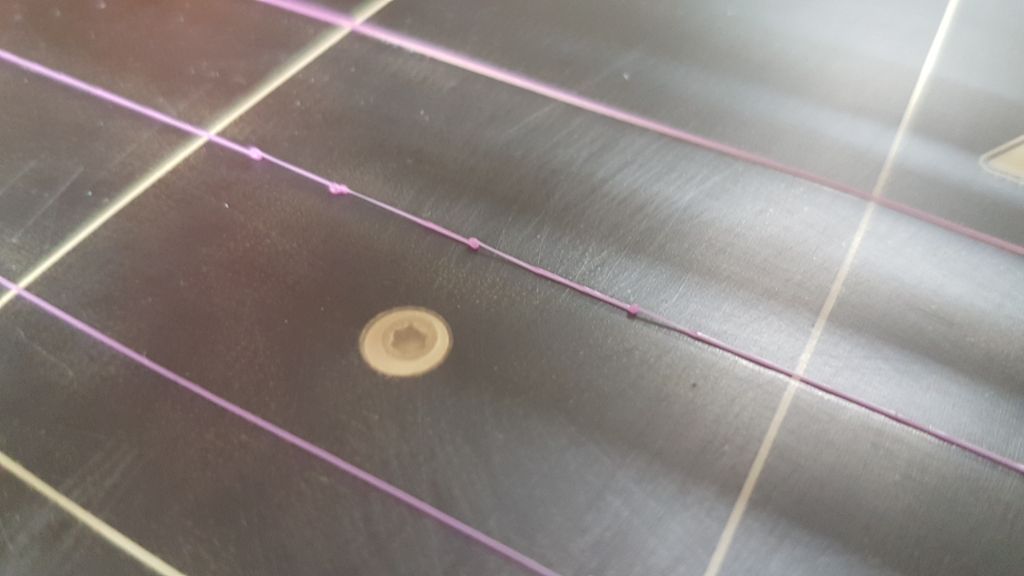
I was still having some extruder issues, as shown here with the stringing which just meant these prints weren’t as nice as my PLA ones. If I was going to do more ABS printing I’d definitely start with fixing this!
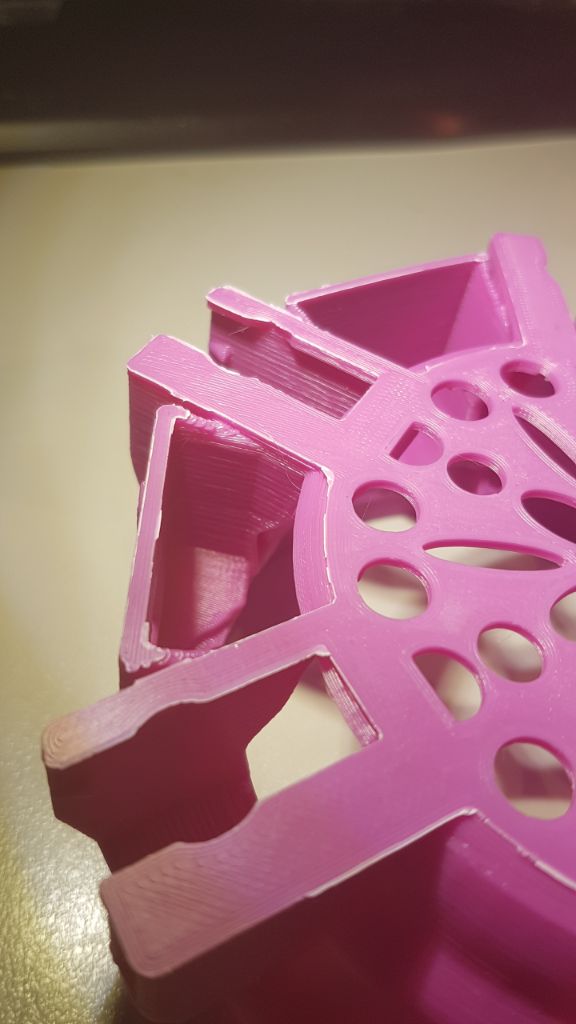
Remember those brims I added? Turns out they’re really annoying to remove, the underside definiely didn’t look as nice as I wanted.
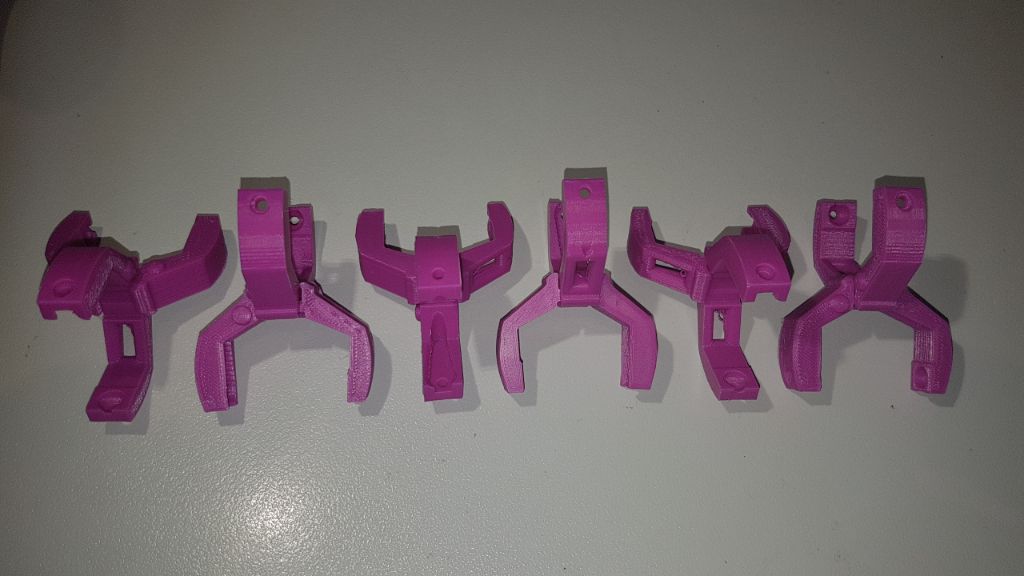
Here are all the printed parts I needed for the build!
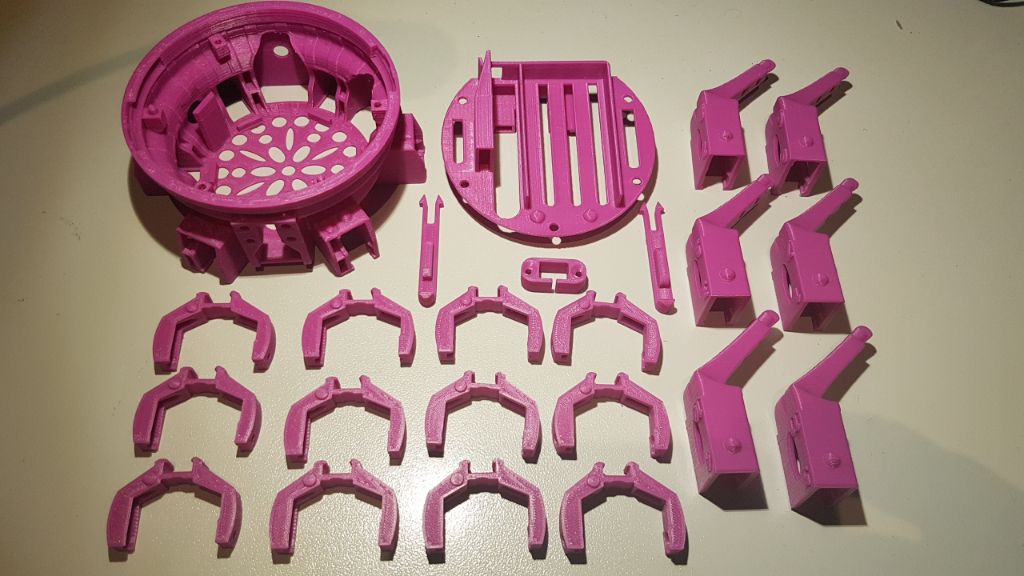
And here are the all of the parts (including those from the kickstarter).

First up was mounting the motors in the printed parts, this project uses a total of 12 servo motors and keeping track of all those same-coloured wires was fun!
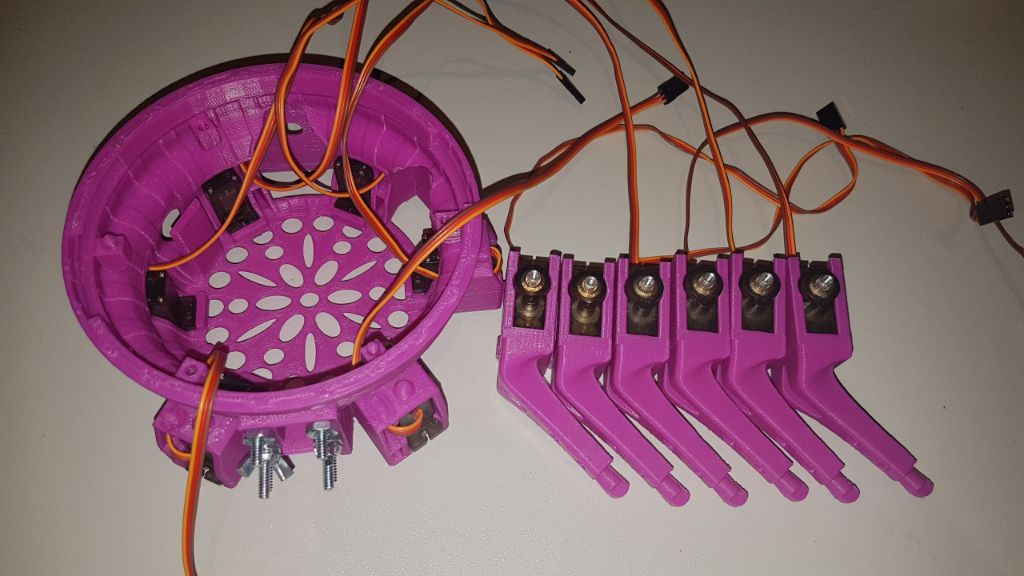
Hexy is turning into spaghetti.
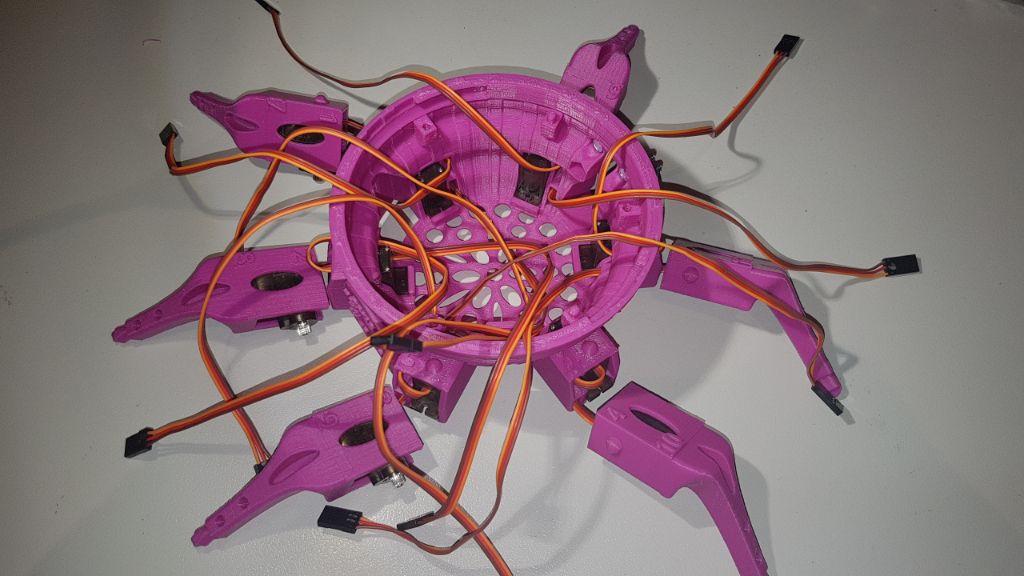
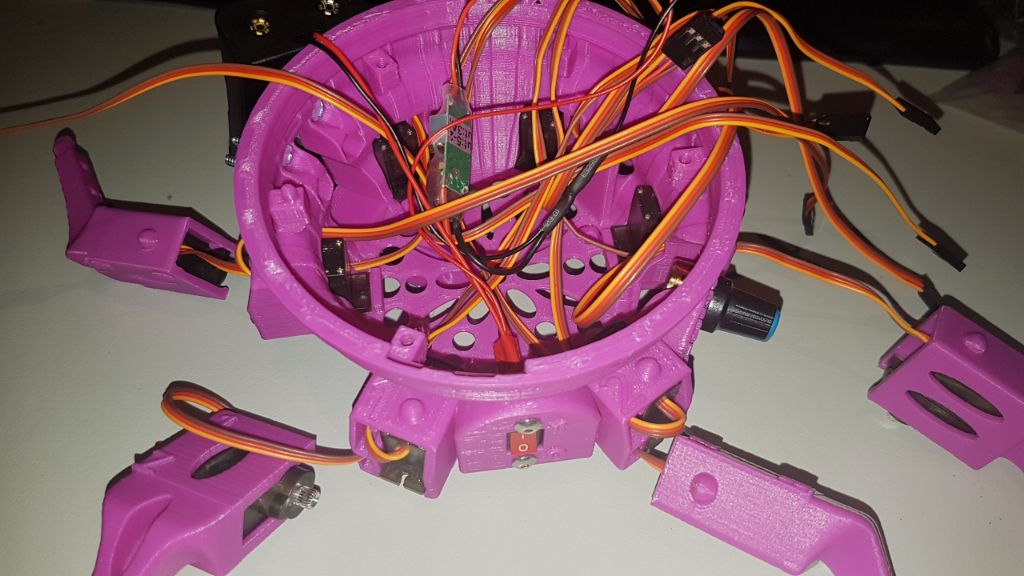
The leg joints needed to be put together before mounting them to the model.
And here is hexy alive! The demo behaviour came pre-loaded to test it out. After this video I did go back and fix the one motor that seems not to be working properly.