Eivor Cosplay: Hood and Cloak
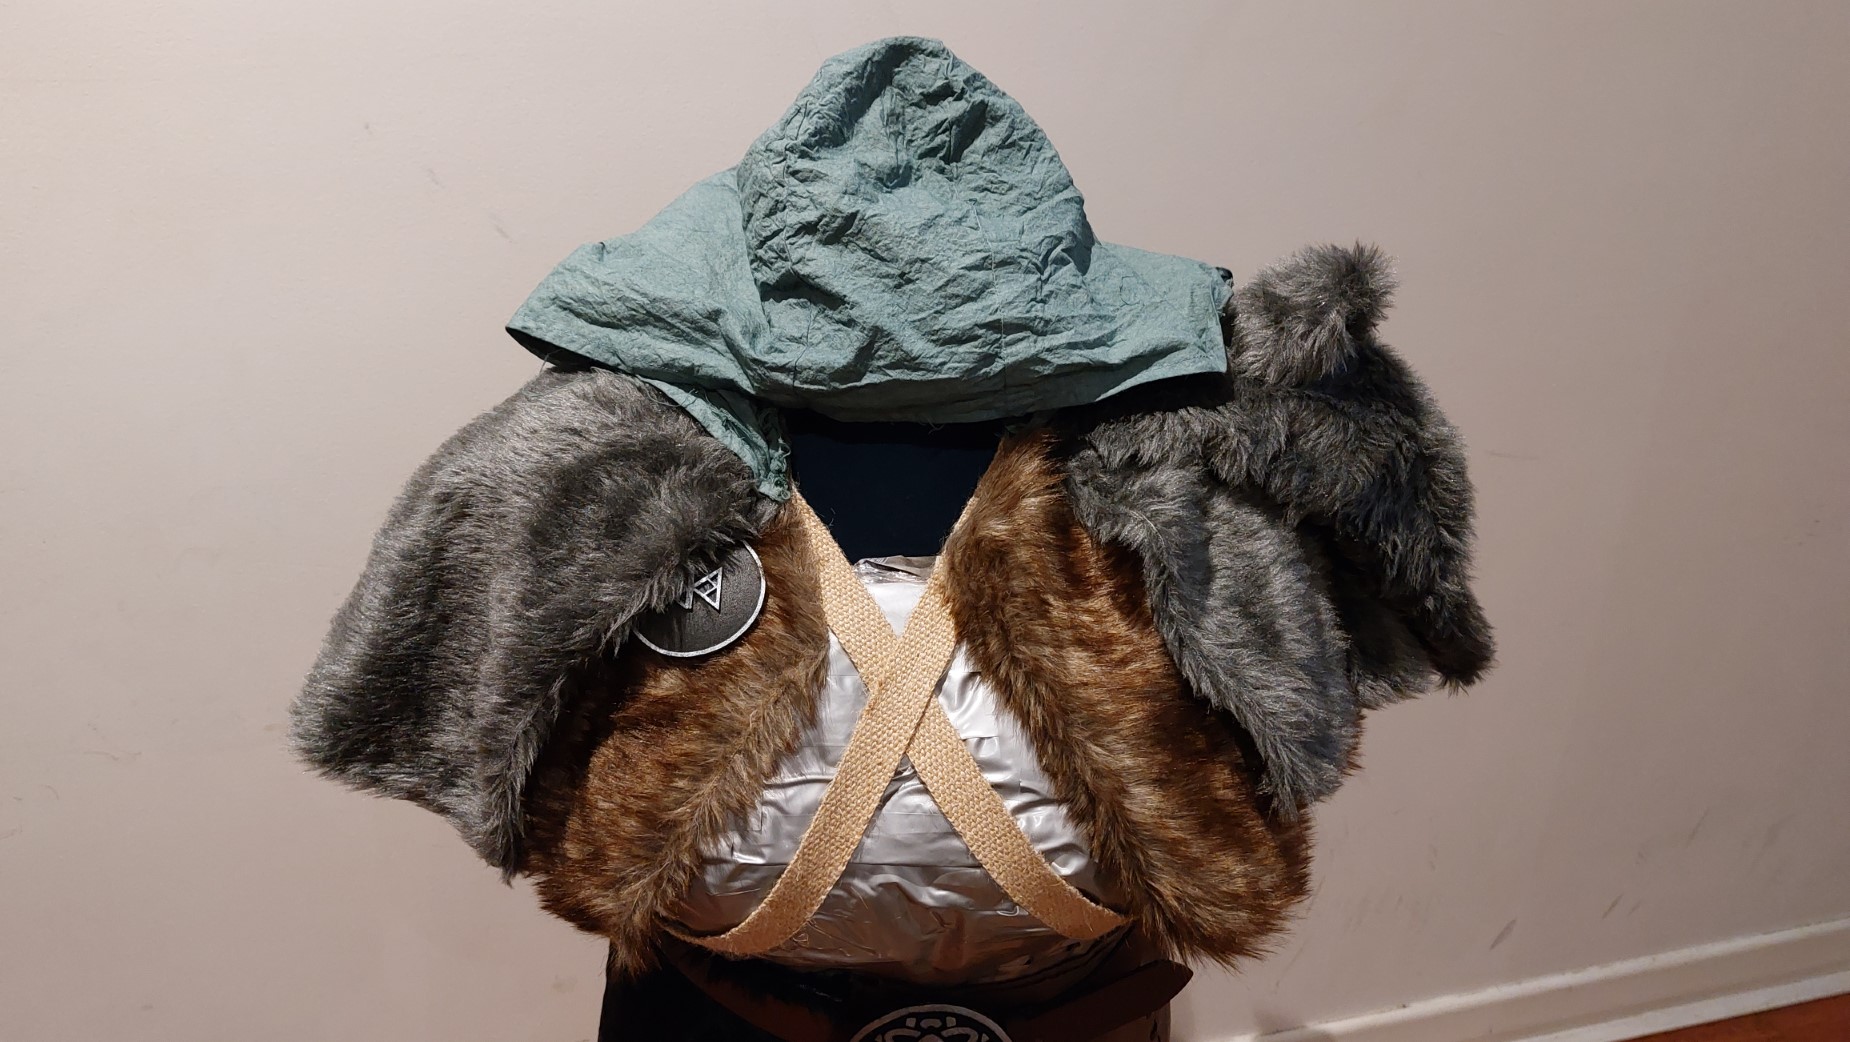
My Eivor Cosplay from Assassin’s Creed Valhalla gets its crowning piece in my post today: the trademark Assassin hood and bear cloak.
This is the piece of the costume I was most excited to make but also the biggest gamble; Eivor has a cloak made of a bear, complete with the bear head mounted right there on her shoulder!
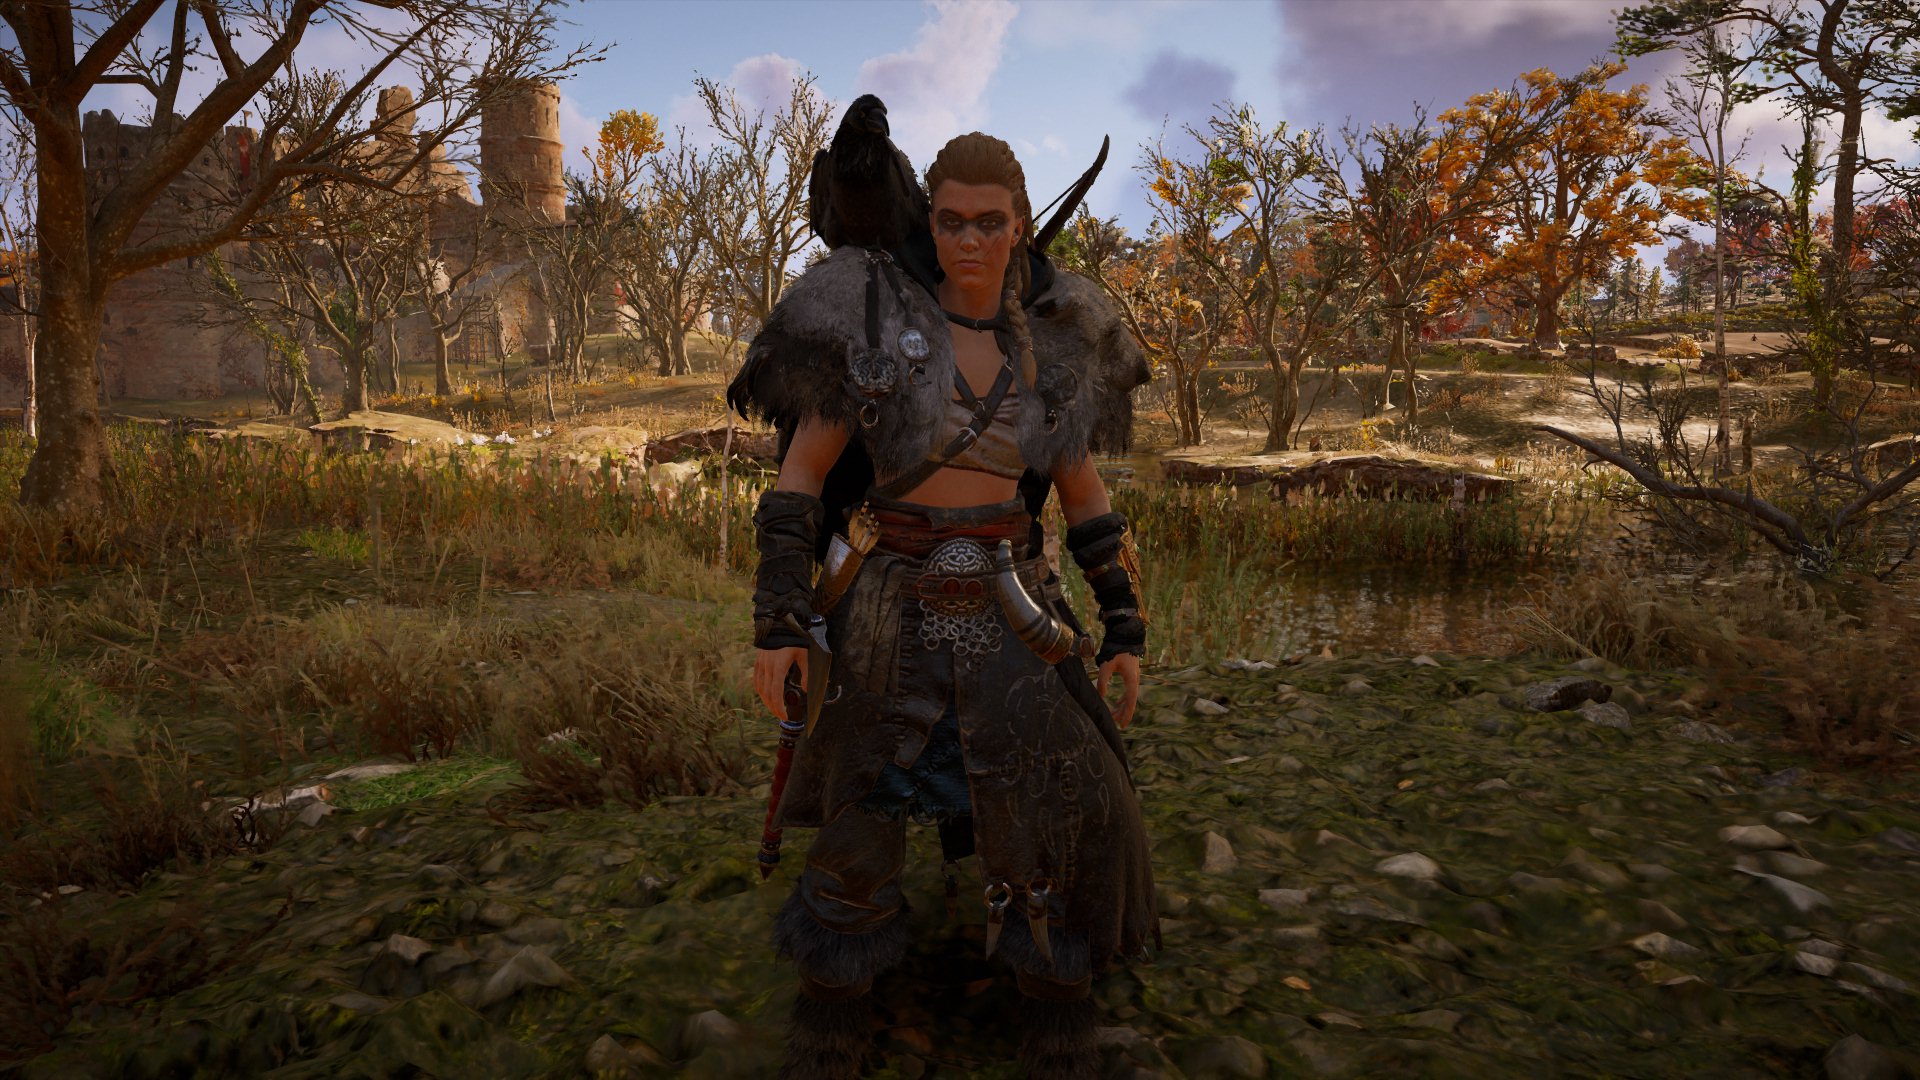
Screenshots from the Game
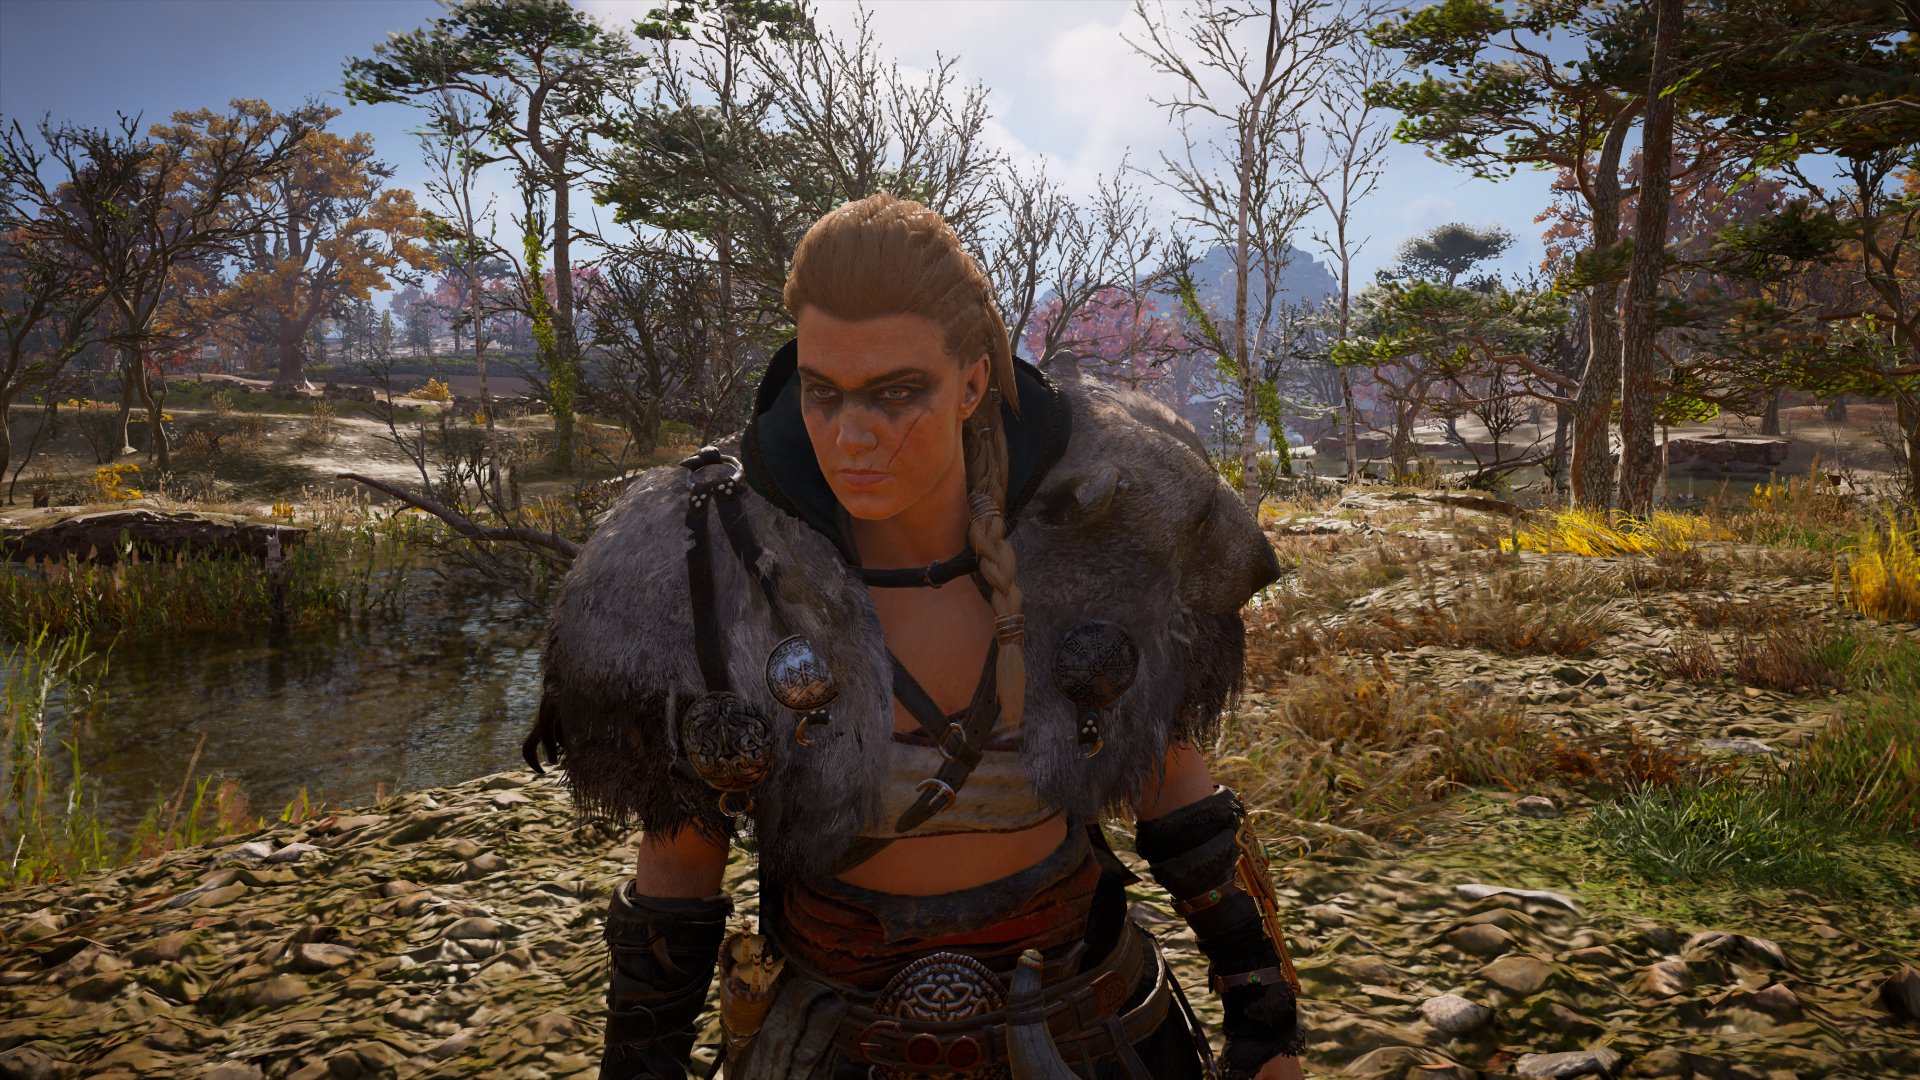
I took a lot of photos in-game of Eivor in Assassin’s Creed Valhalla to even try to approximate this look.
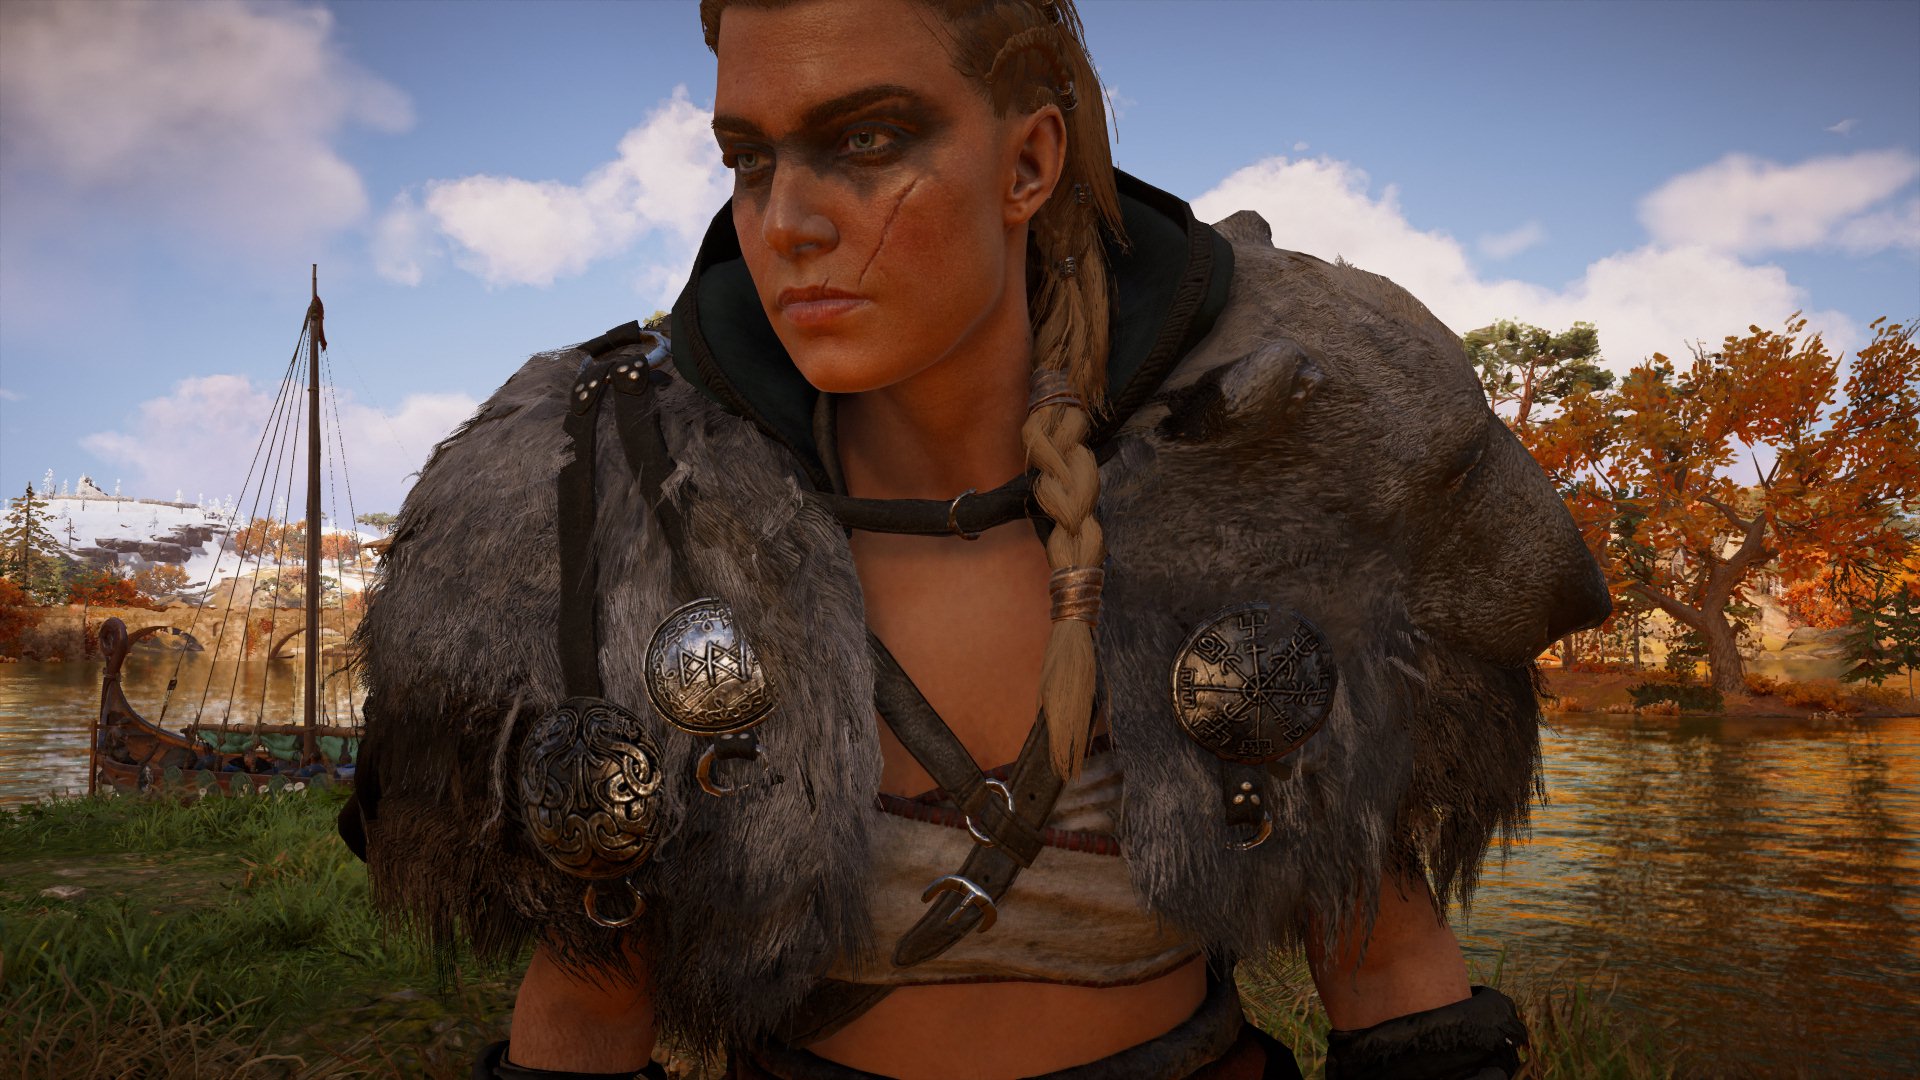
And more detail on the bear.
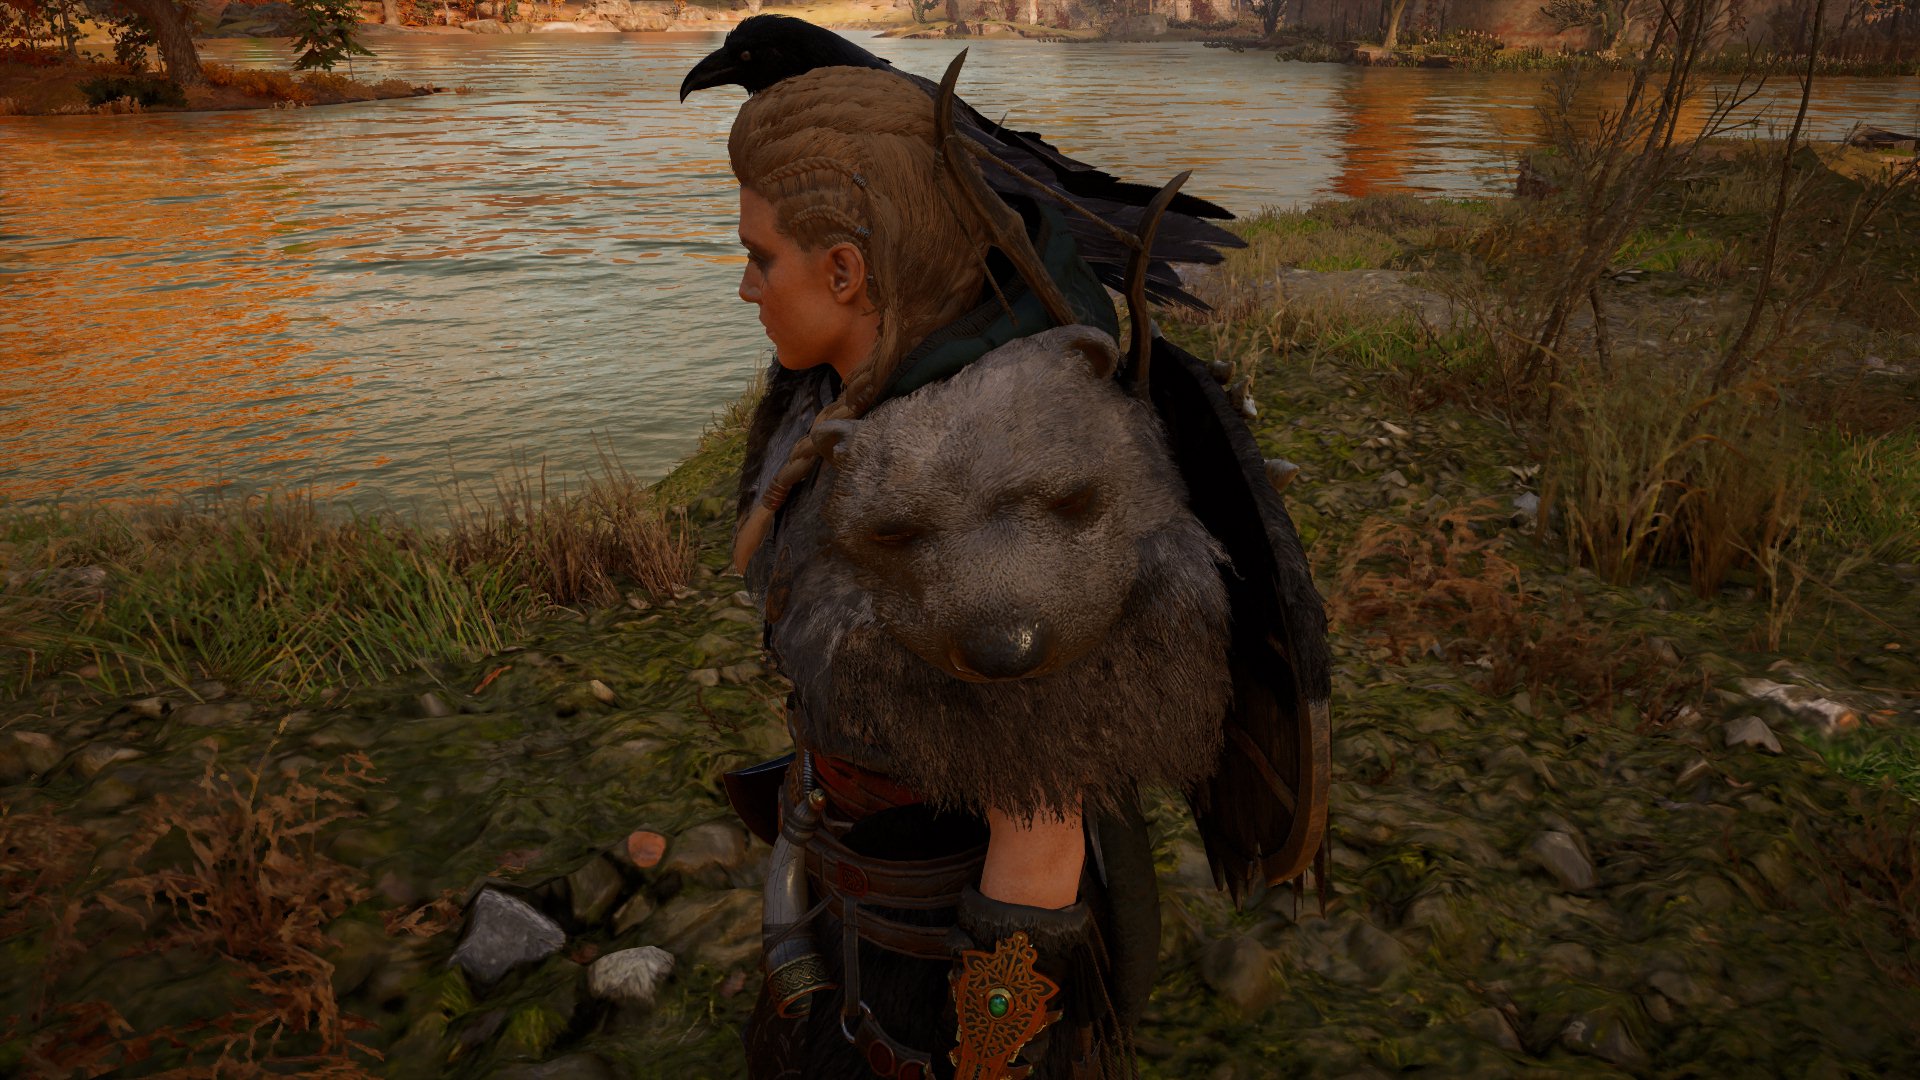
The cloak here is interesting as it hangs in the centre of the back when the hood is not up, but is meant to cover the entire body when the hood is up. This is some in-game magic as there doesn’t seem to be enough fabric so I chose to create the cloak in its pulled-back form.
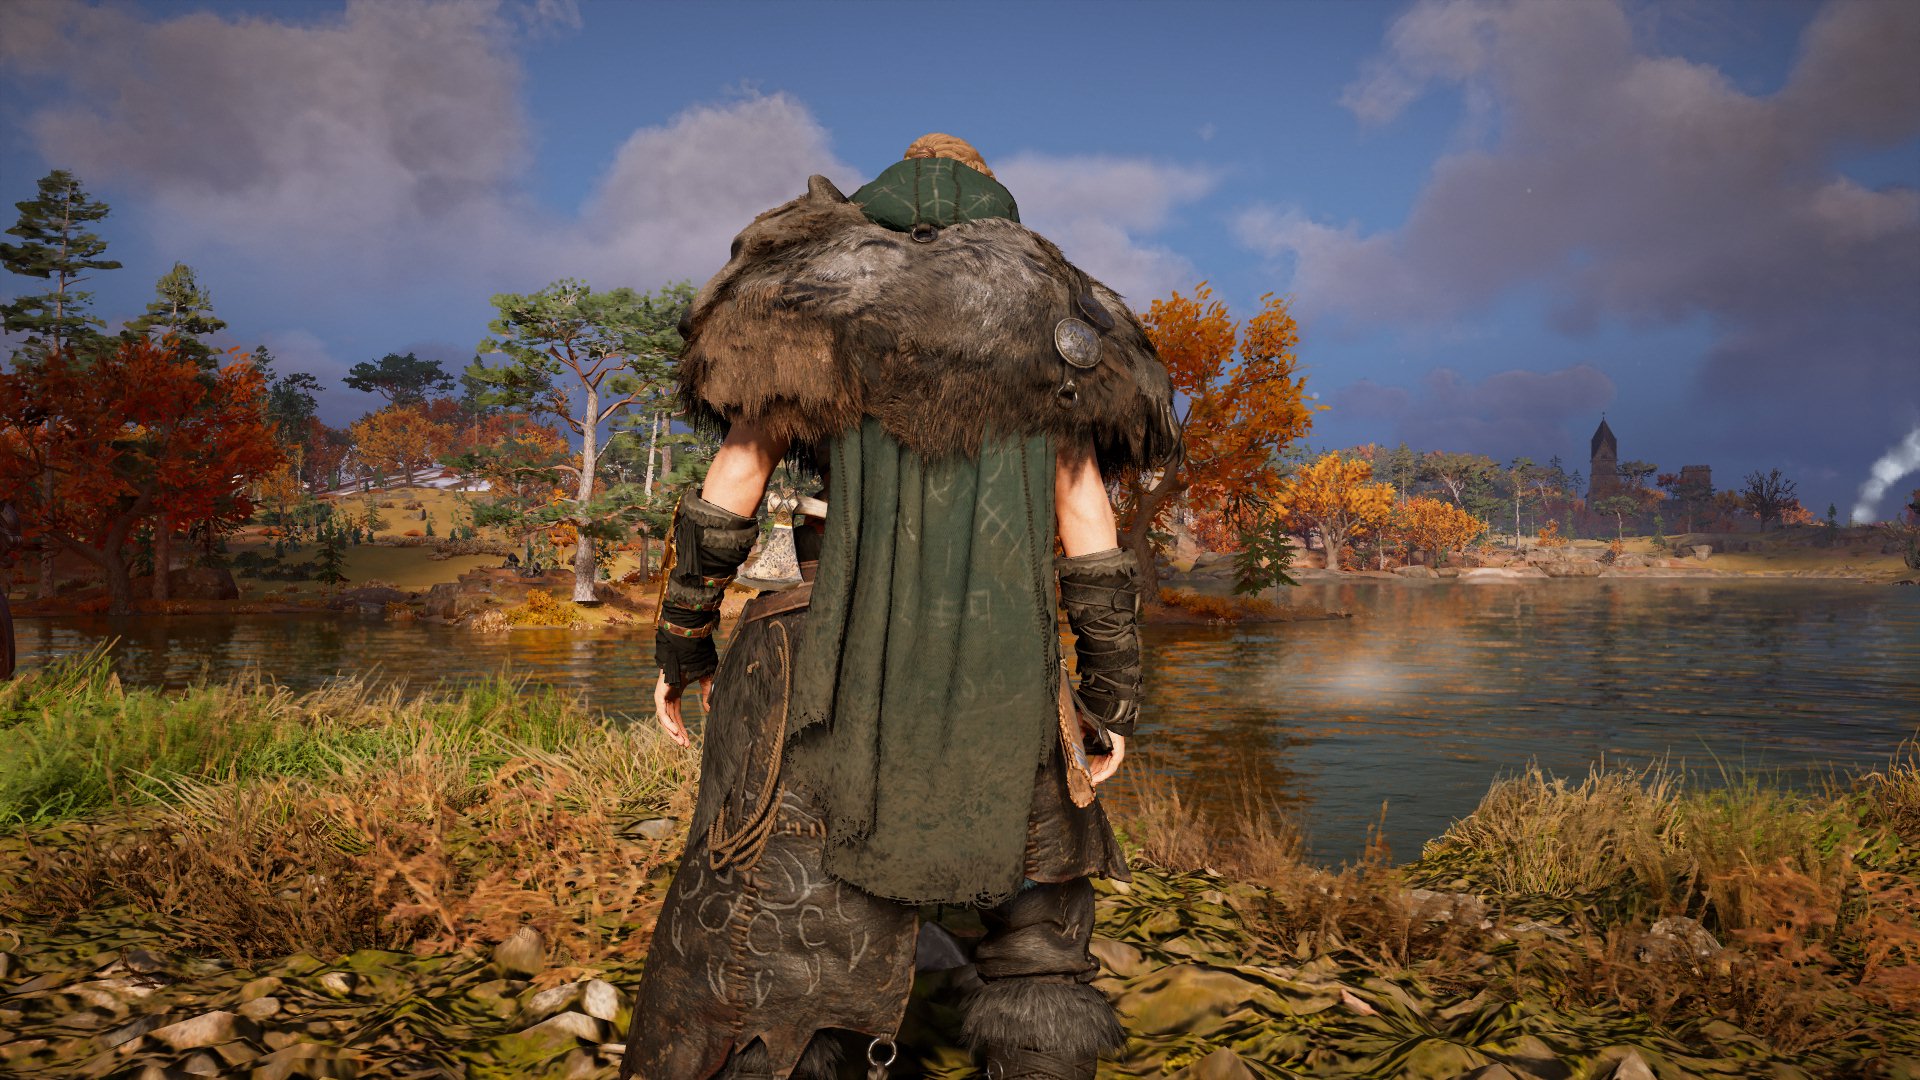
Finally here’s a better view of the hood that is central to the Assassin’s Creed franchise. So overall quite a bit to make!
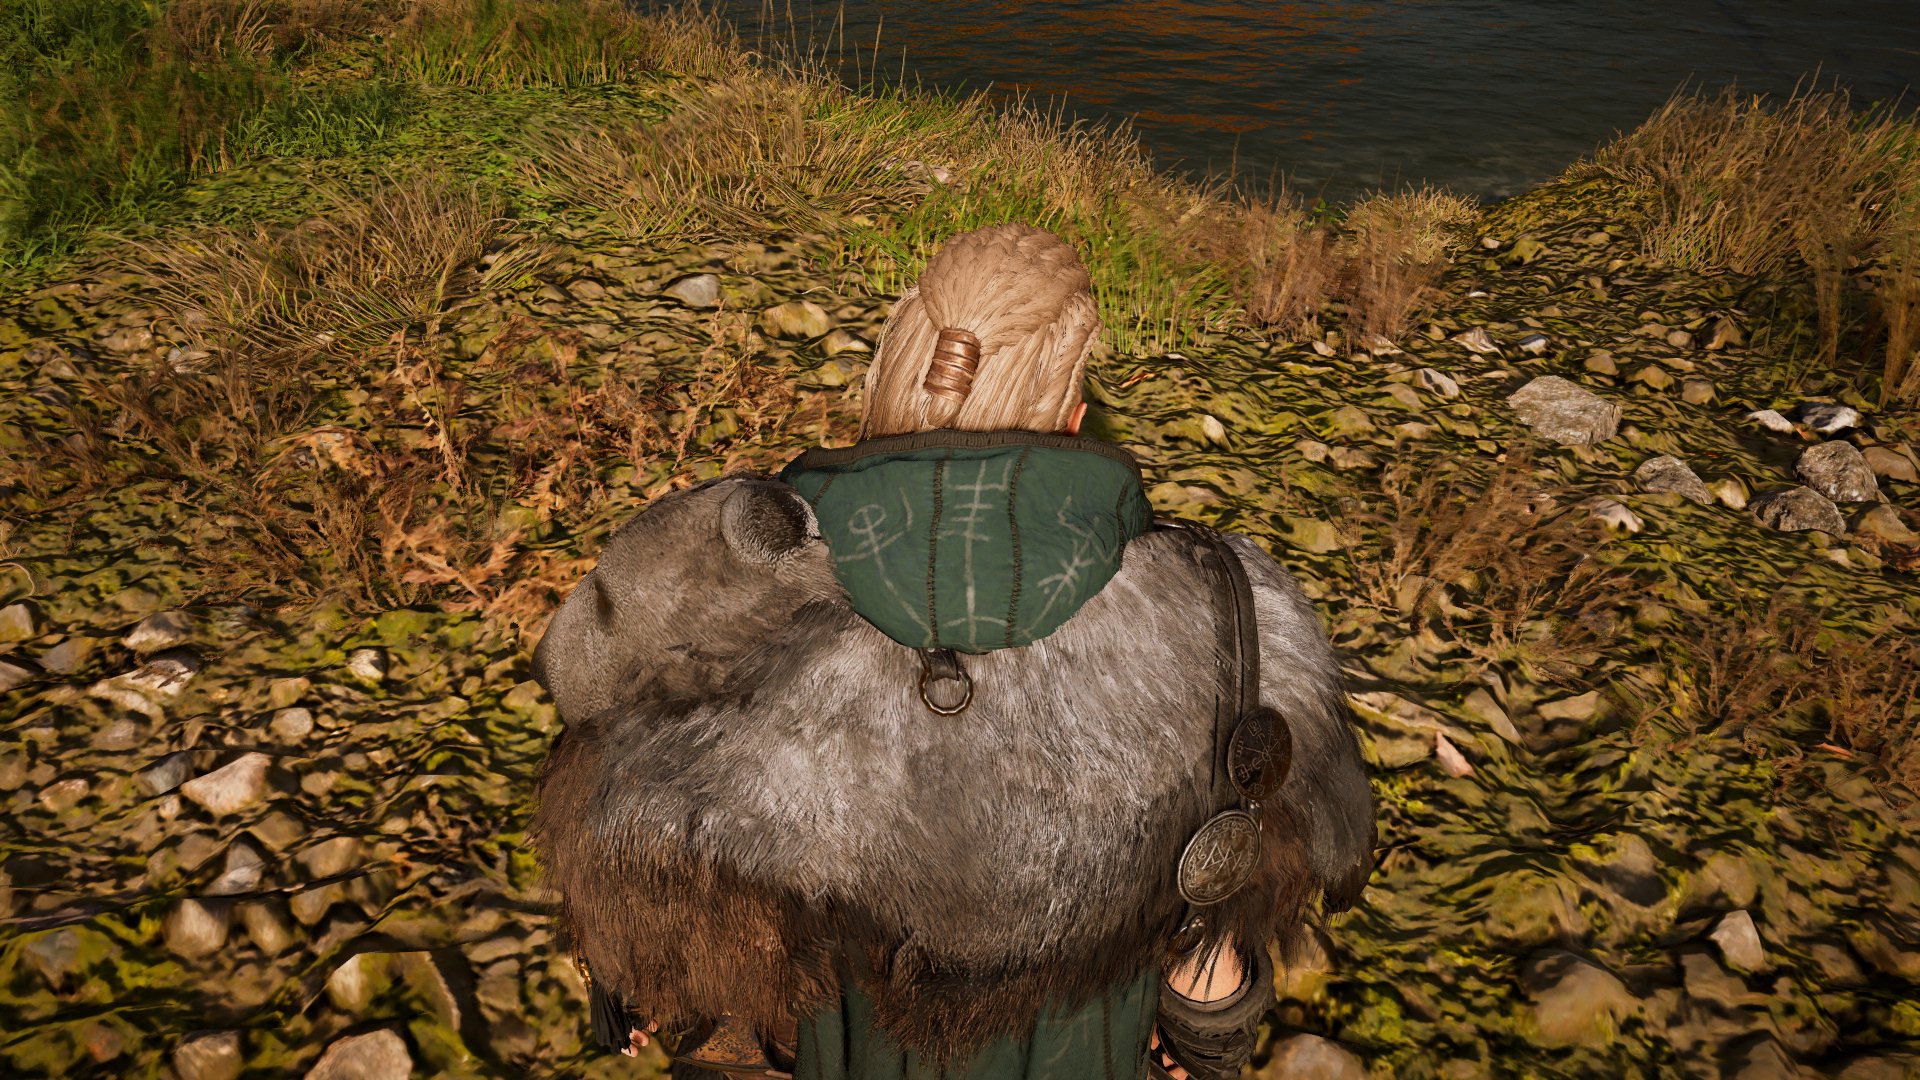
The Bear Head
First up I attempted to approximate the shape of the bear head. I used 6mm EVA foam and cut and shaped the foam until it sort of looked like a bear.
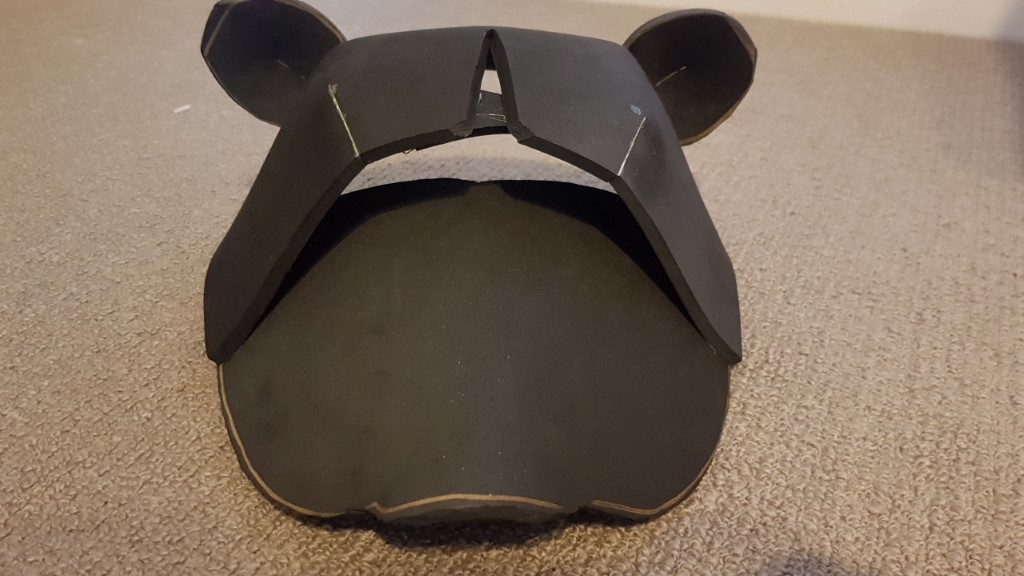
The seams you can see were where I cut out a piece of foam and glued the sides together using contact cement. This is how I got the bend in the eyebrows and ears. I cut a slit in the forehead so that when I cover it with fur it would have an indent there like the bear in the screenshot.
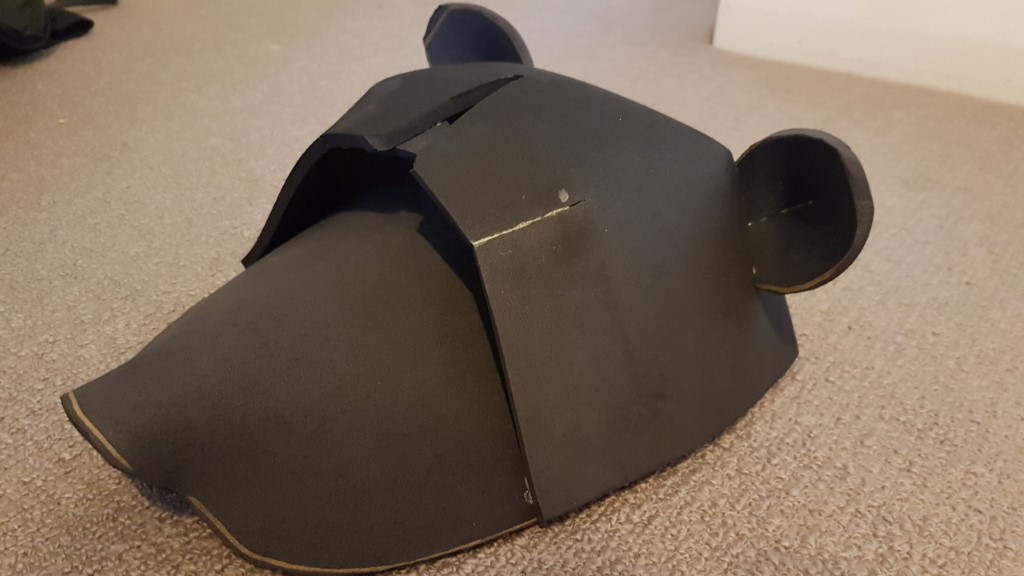
Next I covered the ears with faux fur and used some hand stitching to shape and cover them properly.
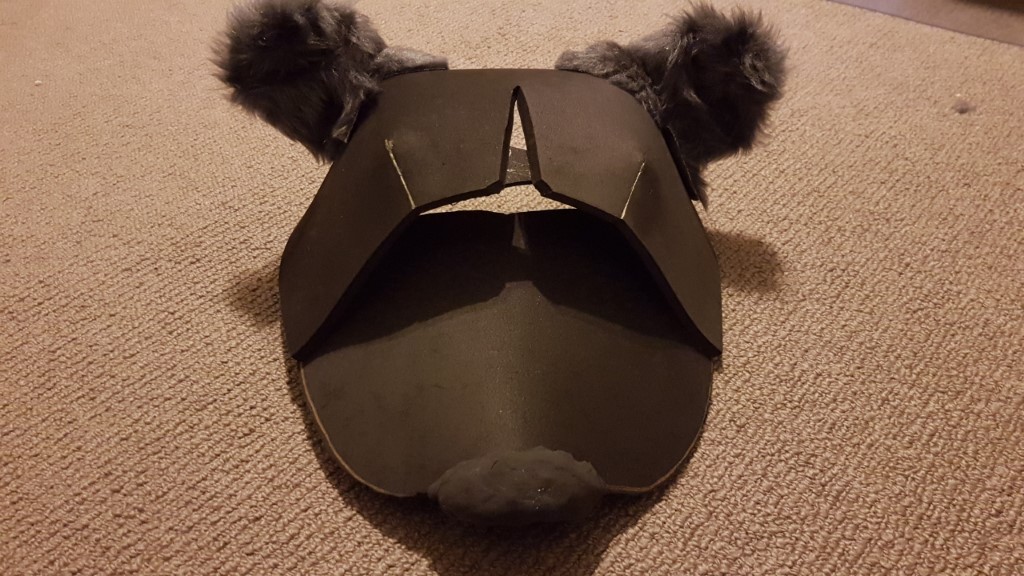
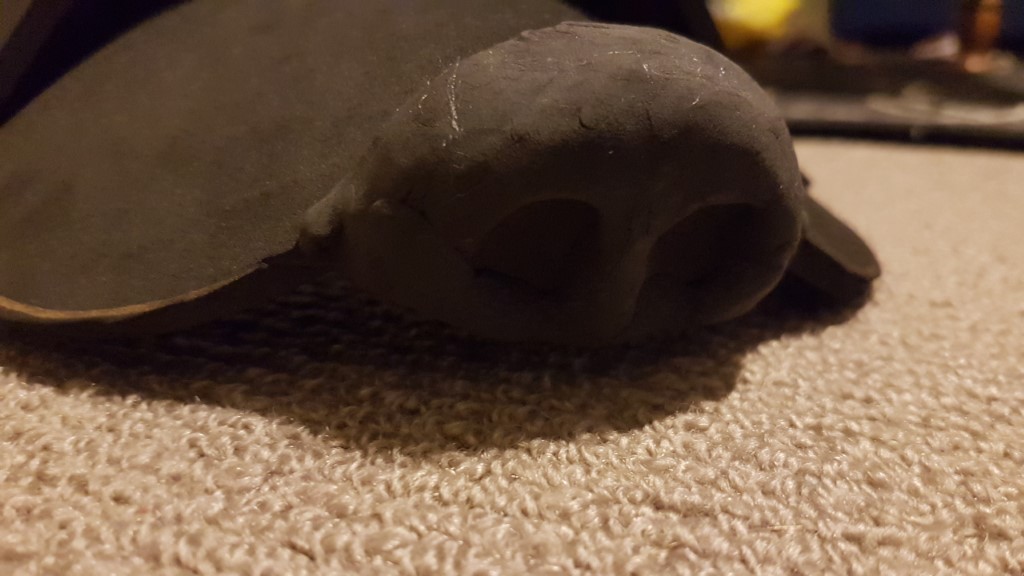
I used foam clay to shape a bear nose. This stuff is great as it feels like putty and can be shaped into anything I can think of, and dries into a foam like EVA foam that can be used in just the same way.
I sewed two pieces of fur together with the direction of the fur smoothing outwards from the forehead where I placed the seam. I pushed the fur in to the eye sockets but decided not to fill them with anything; in the game you can’t see what they’ve done with the eyes on the bear and I didn’t want it to look silly so leaving them in shadows works well. I cut slits in each side to go over the top of the ears and tucked and glued the fur underneath the “skull” underneath and beside the nose. I got carried away with making the rest of the cloak without taking the right progress pictures so have an after-shot of the fur-covered bear after it’s attached to the hood!
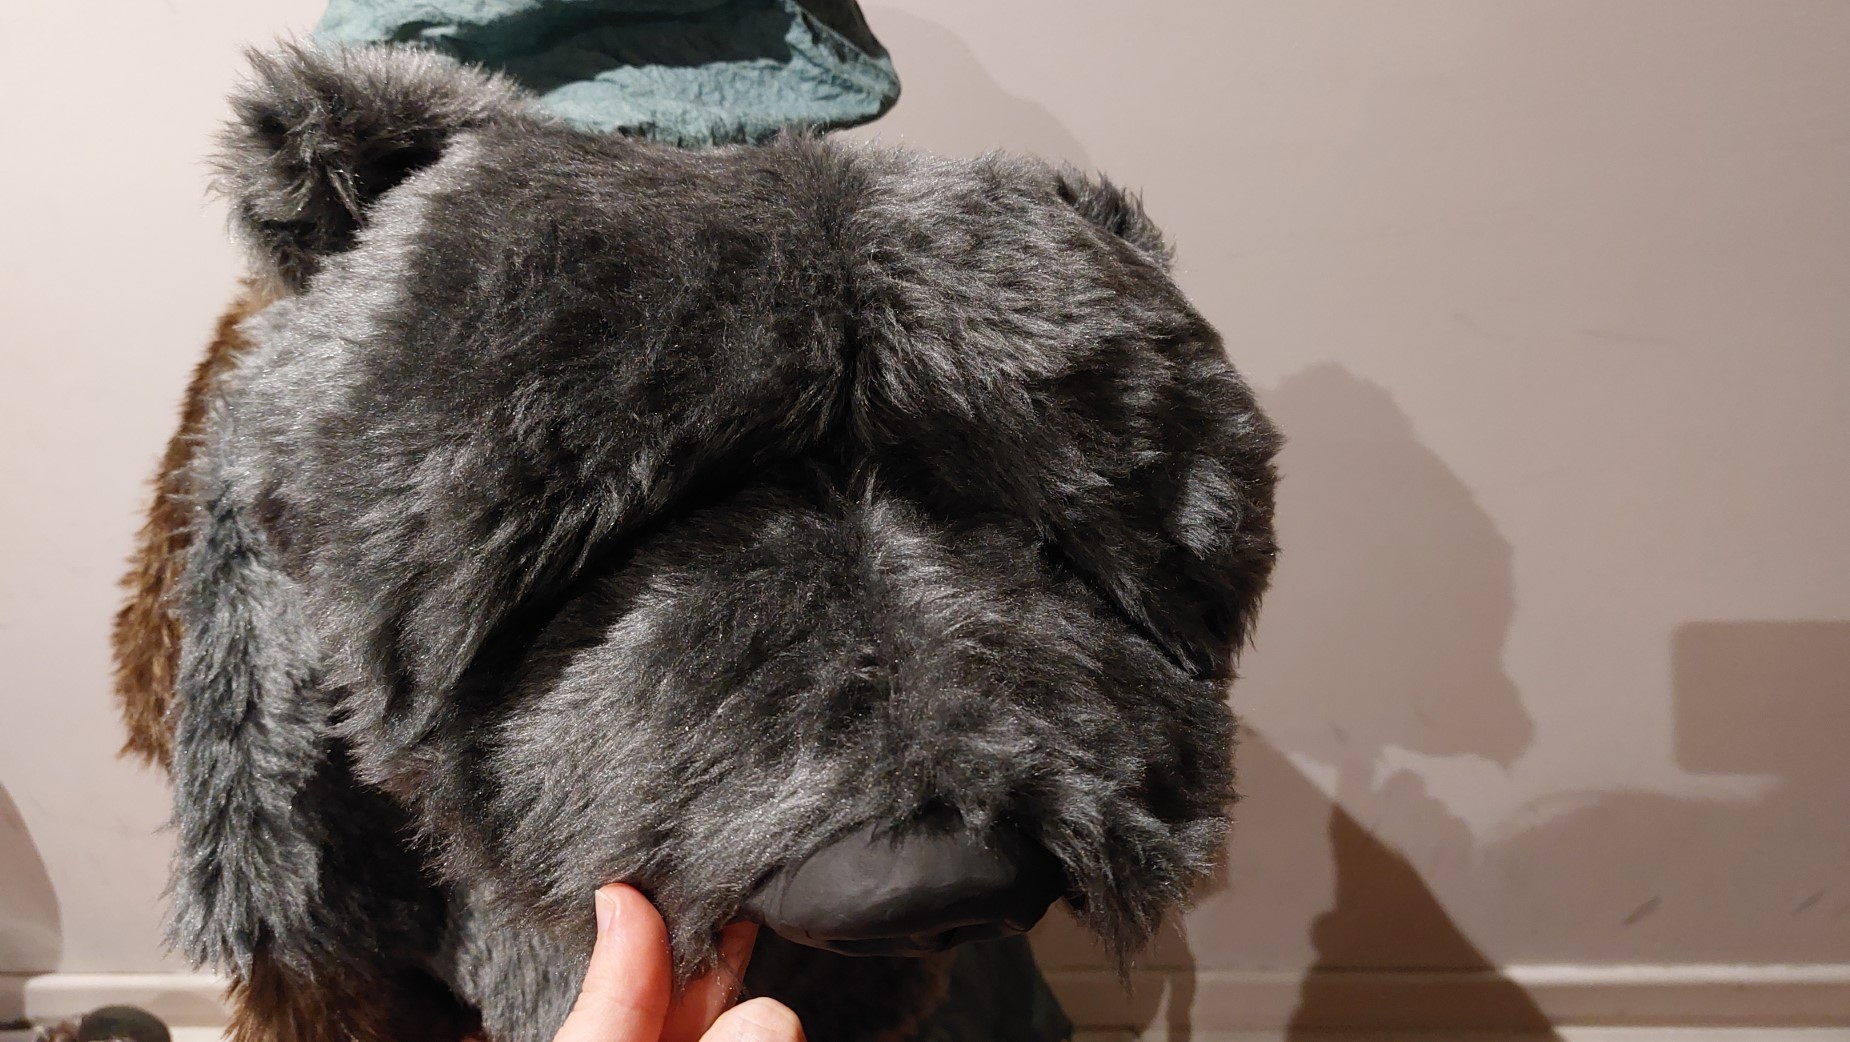
It sits on the shoulder - I made sure the fur was long enough to stretch across the shoulder without needing any other attachments for when I made the rest of the fur cloak and hood.
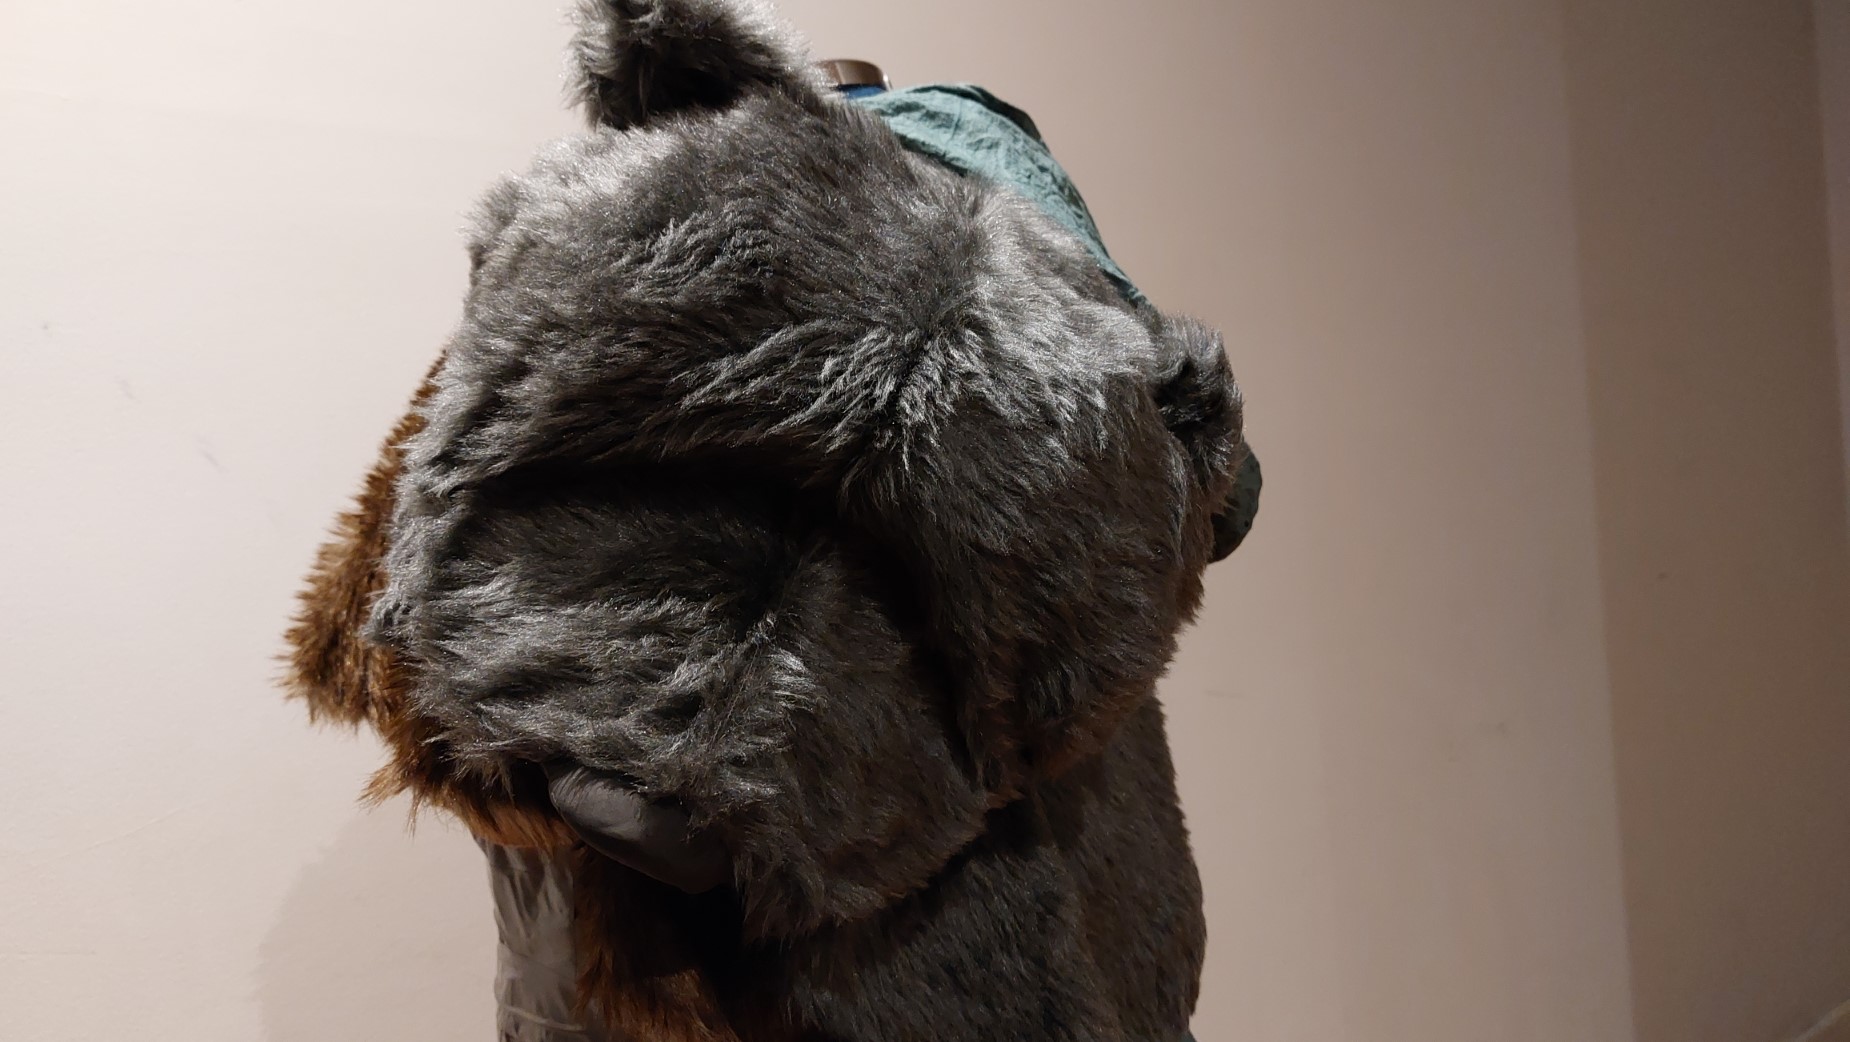
Fur Cloak
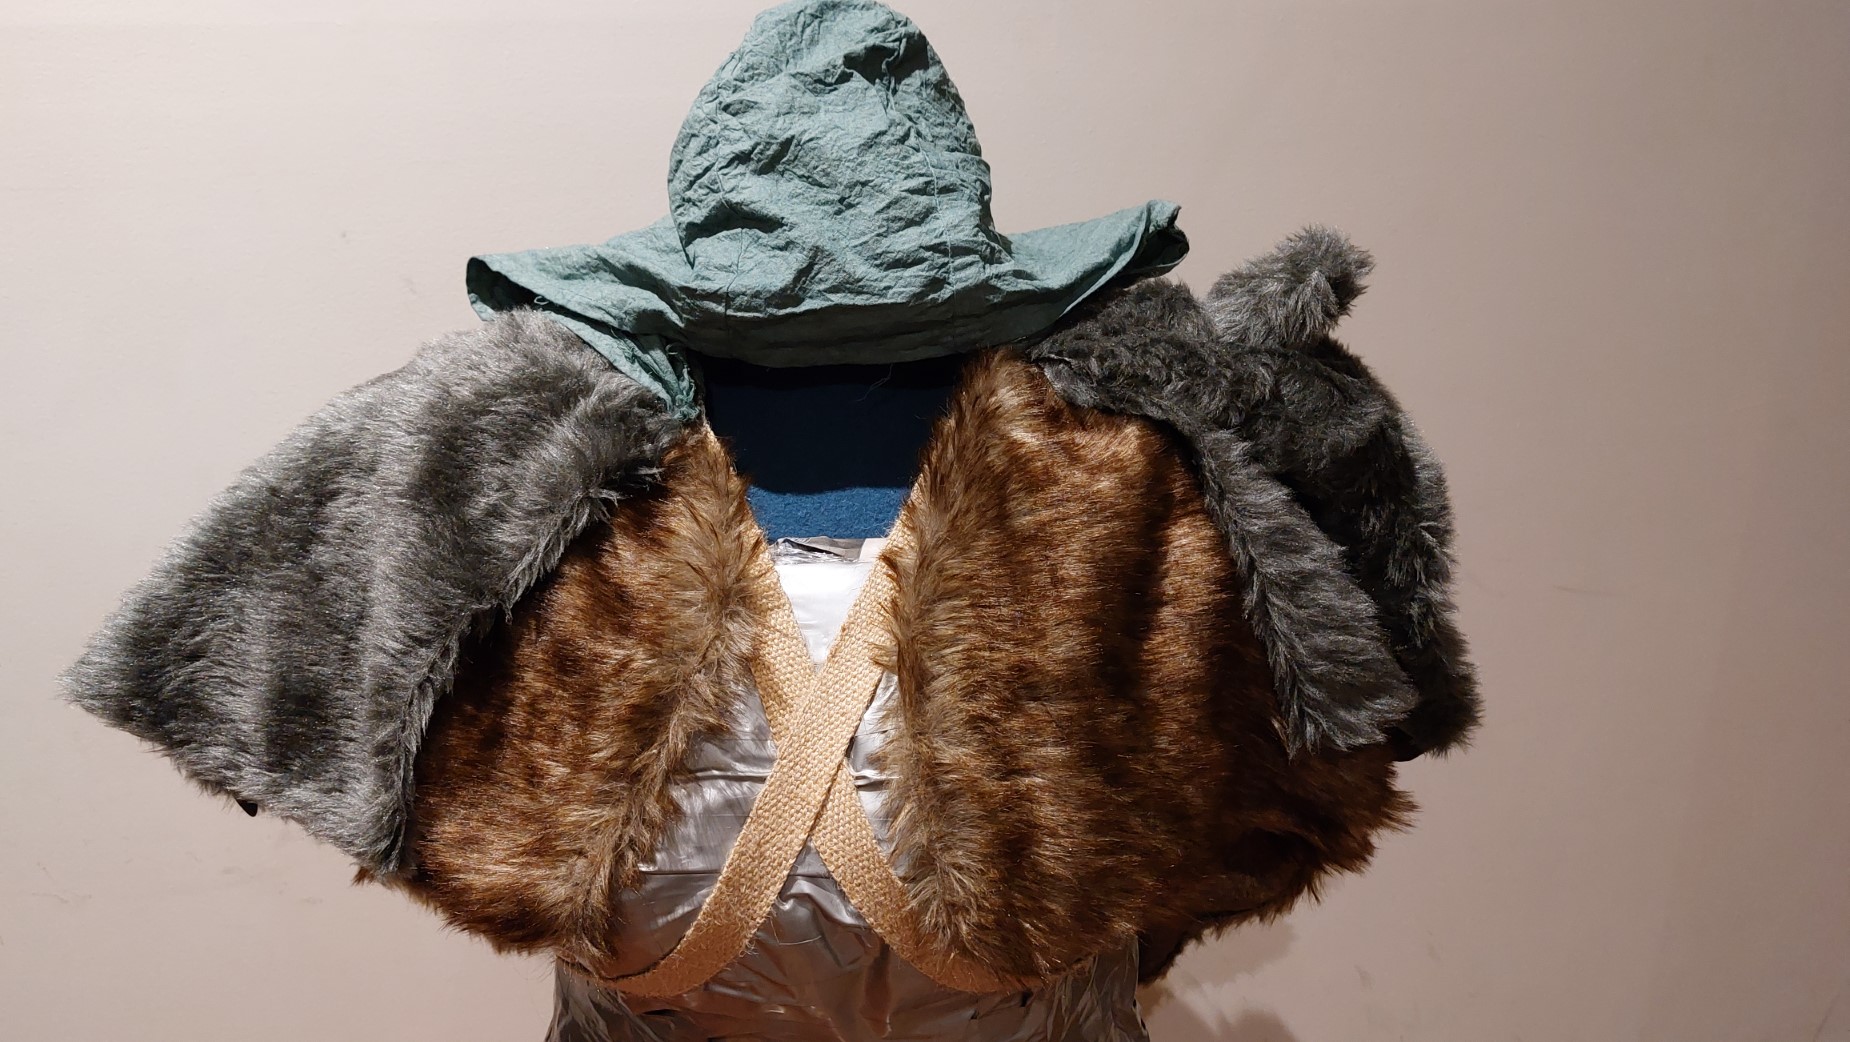
Next I made the fur cloak which was made of two pieces of faux fur (brown on the bottom and the grey on top) draped over the shoulders.
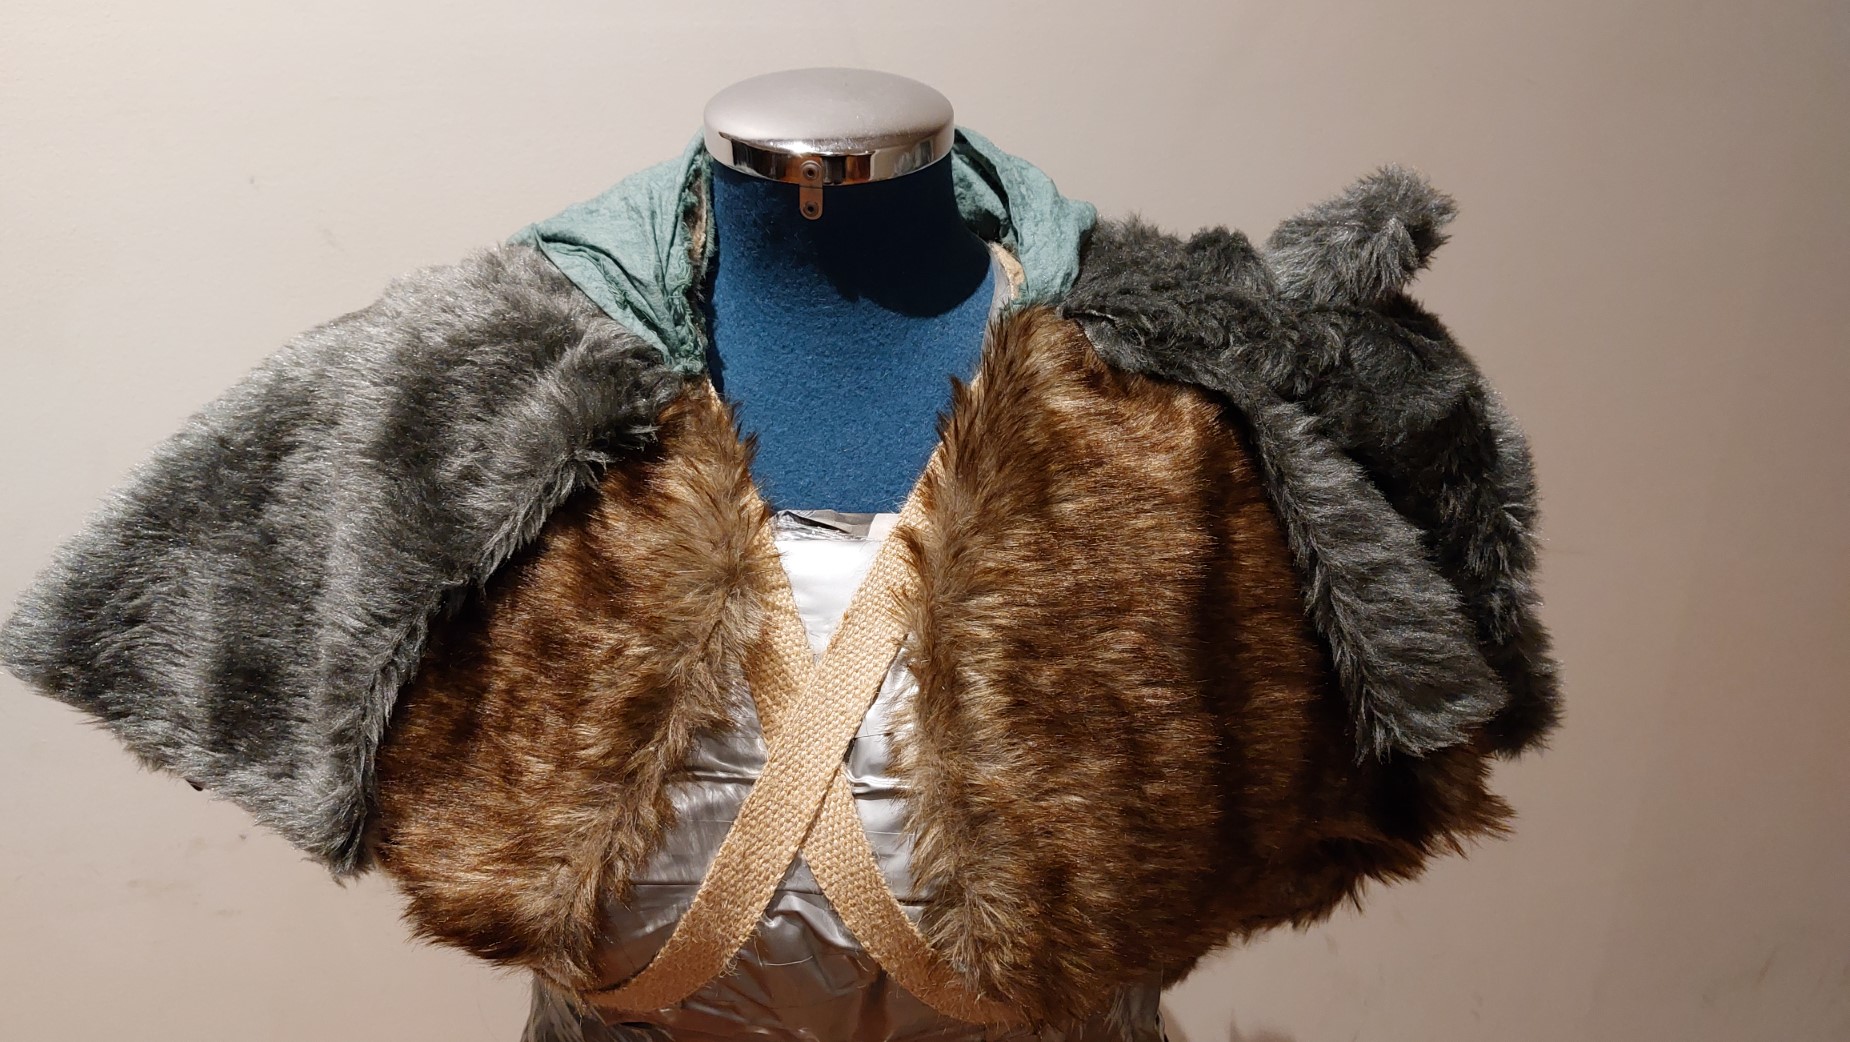
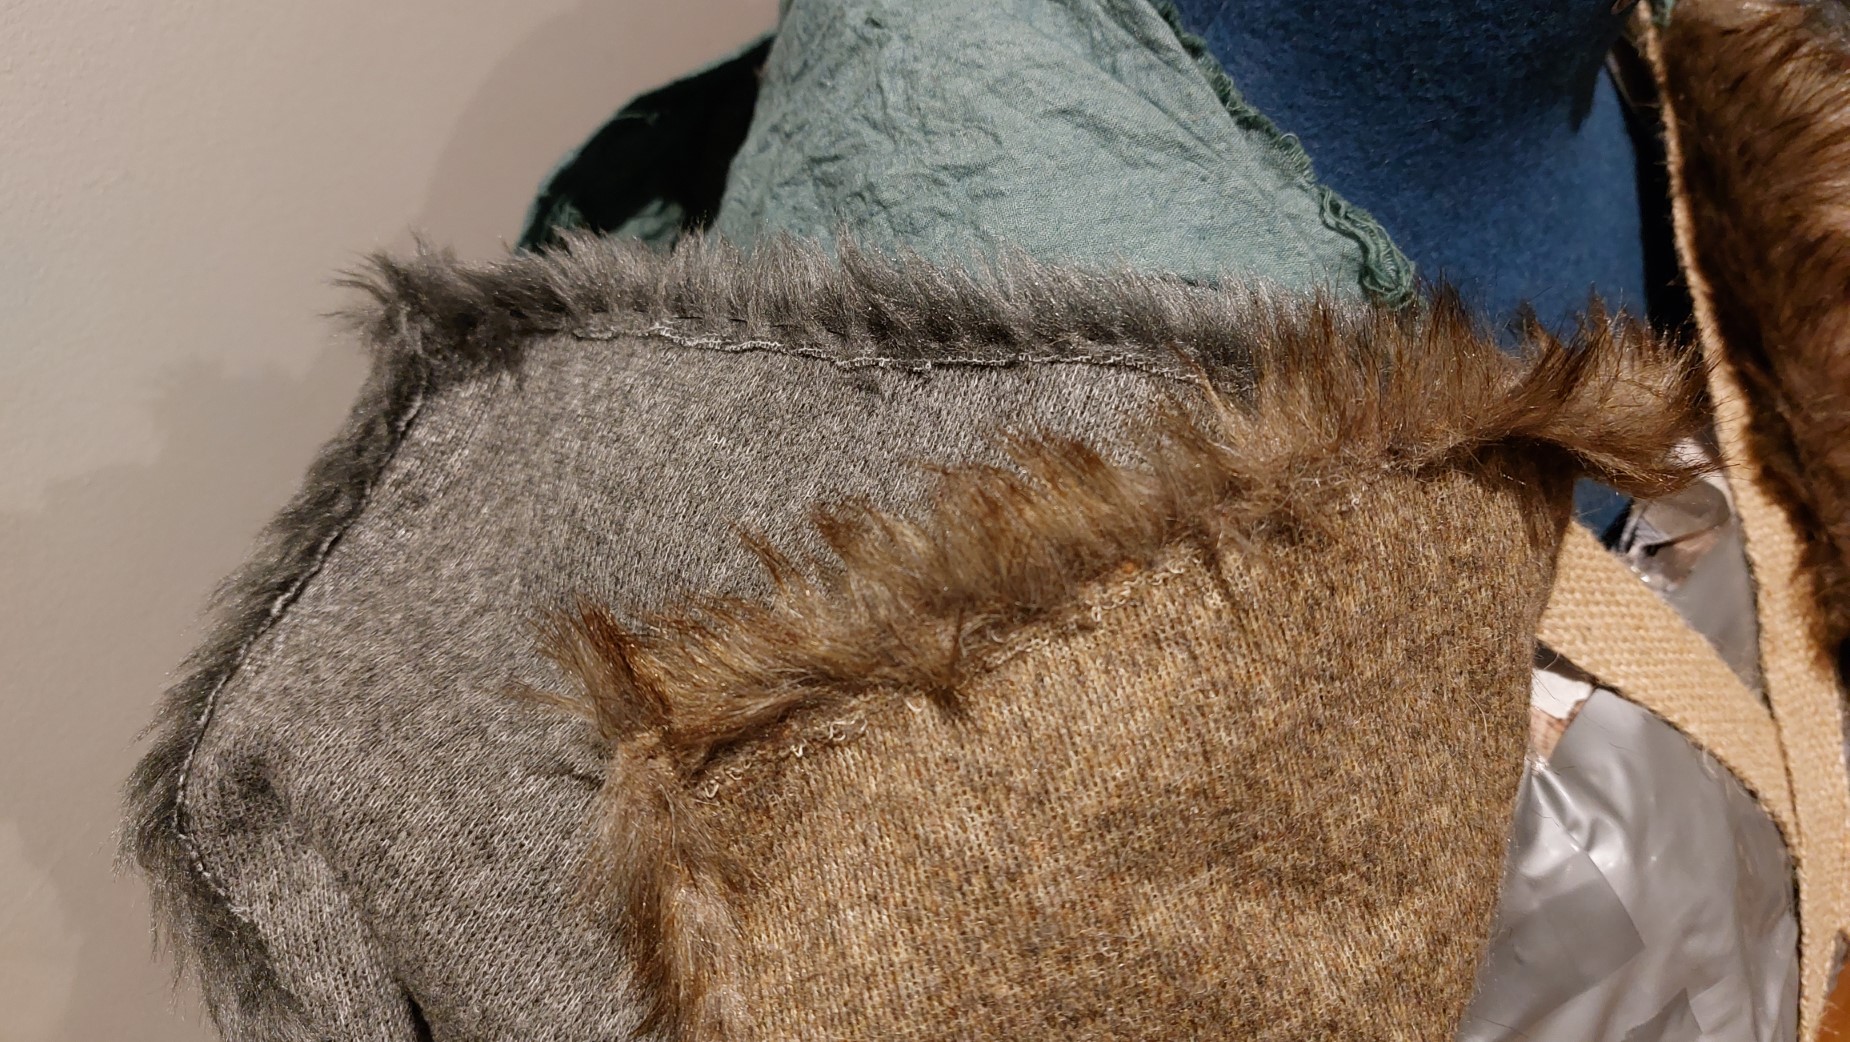
These were finished with the hand-stitching technique I’ve been using across all the fur pieces for Eivor. I then layered them so they nicely showed through with different lengths.
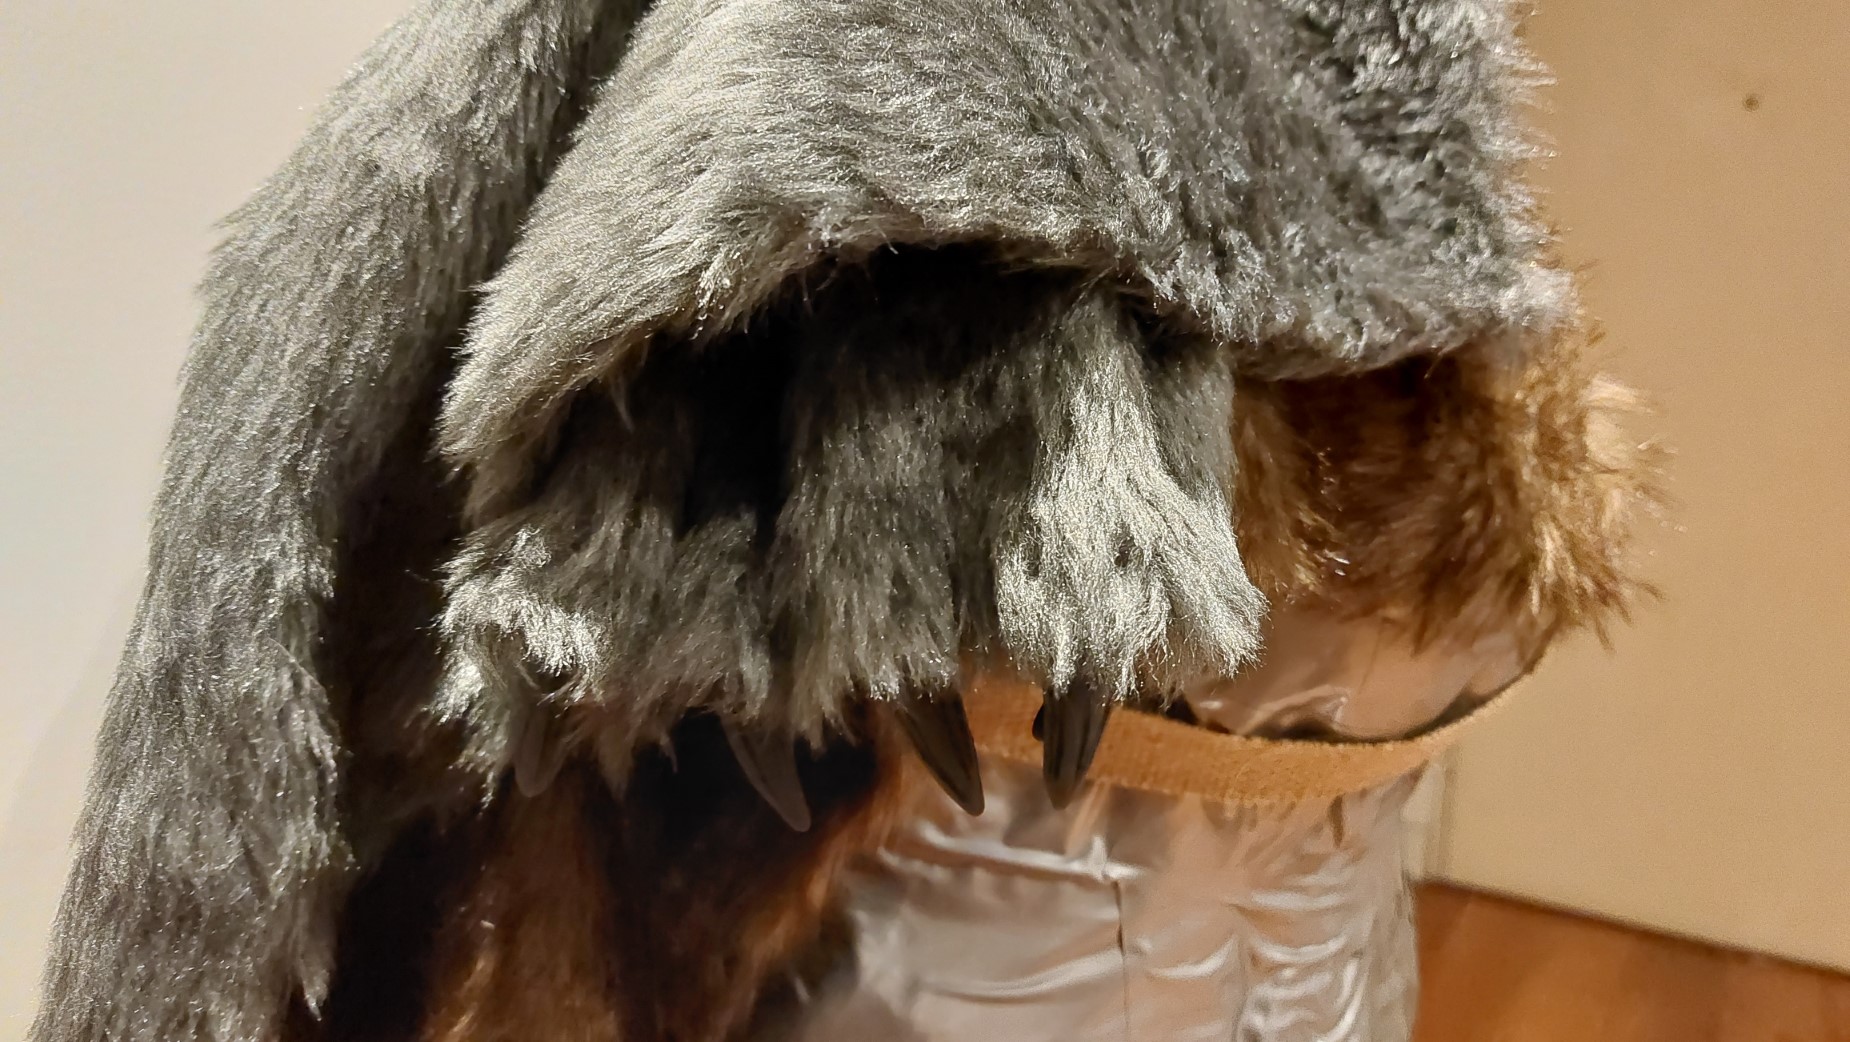
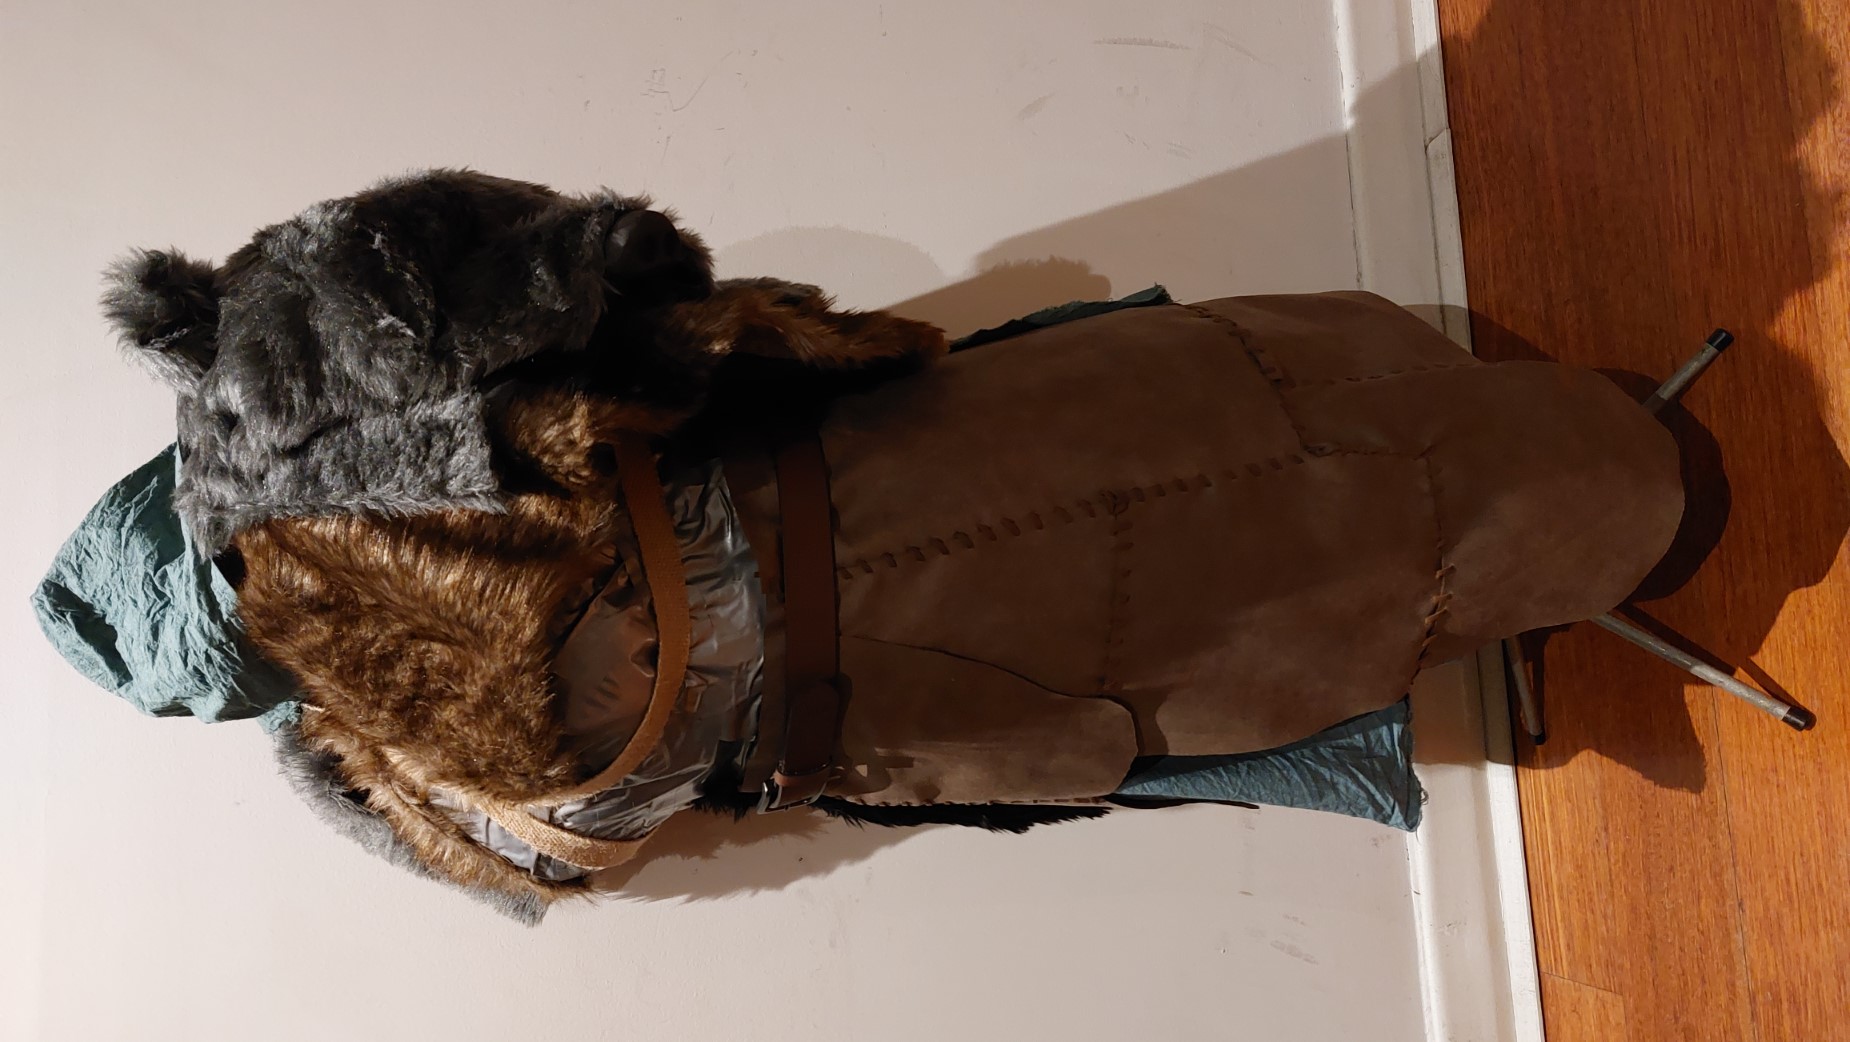
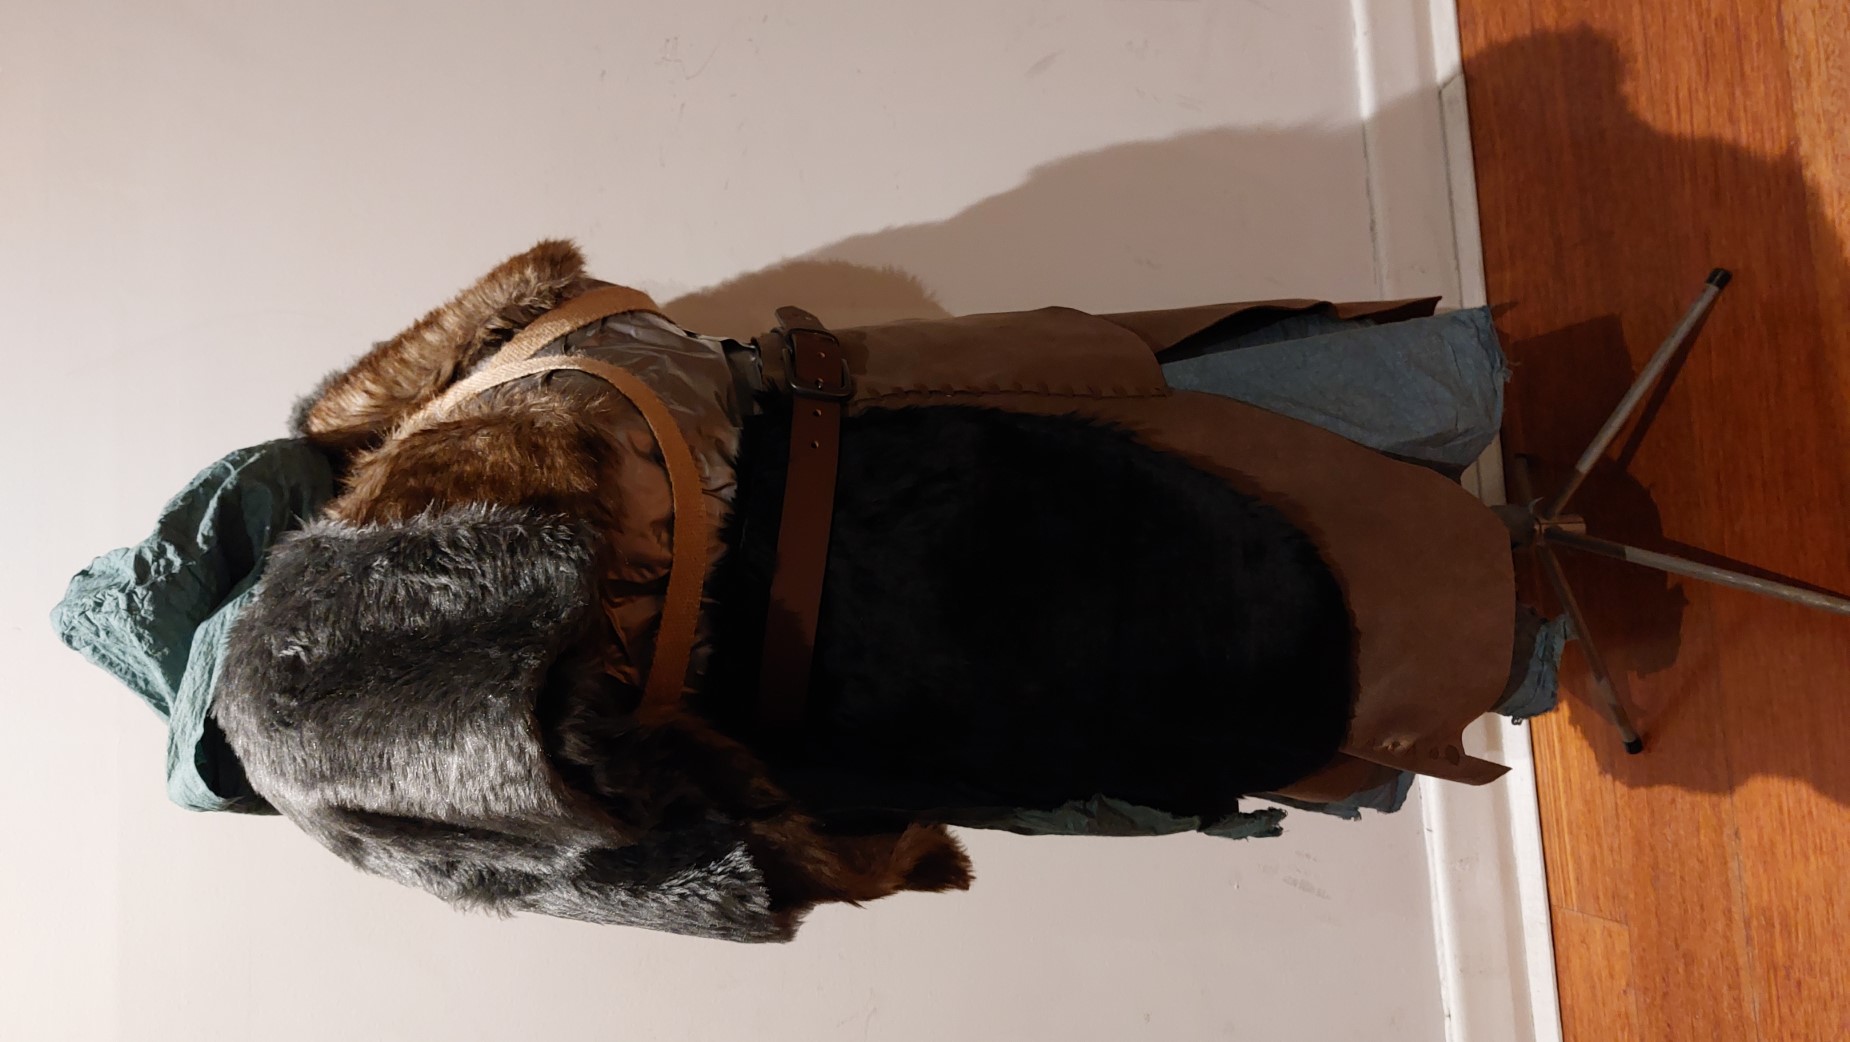
On one shoulder I would have the bear head and on the other Eivor actually has a paw sticking out from under the first layer so I also made a paw. I made the claws out of foam clay which I allowed to dry overnight which I then glued to another piece of fur, making sure to layer the fur in a way that implied the look of bones in the paw. I fixed this with a couple hand stitches further up the “paw” to retain the shape.
Assassin’s Hood
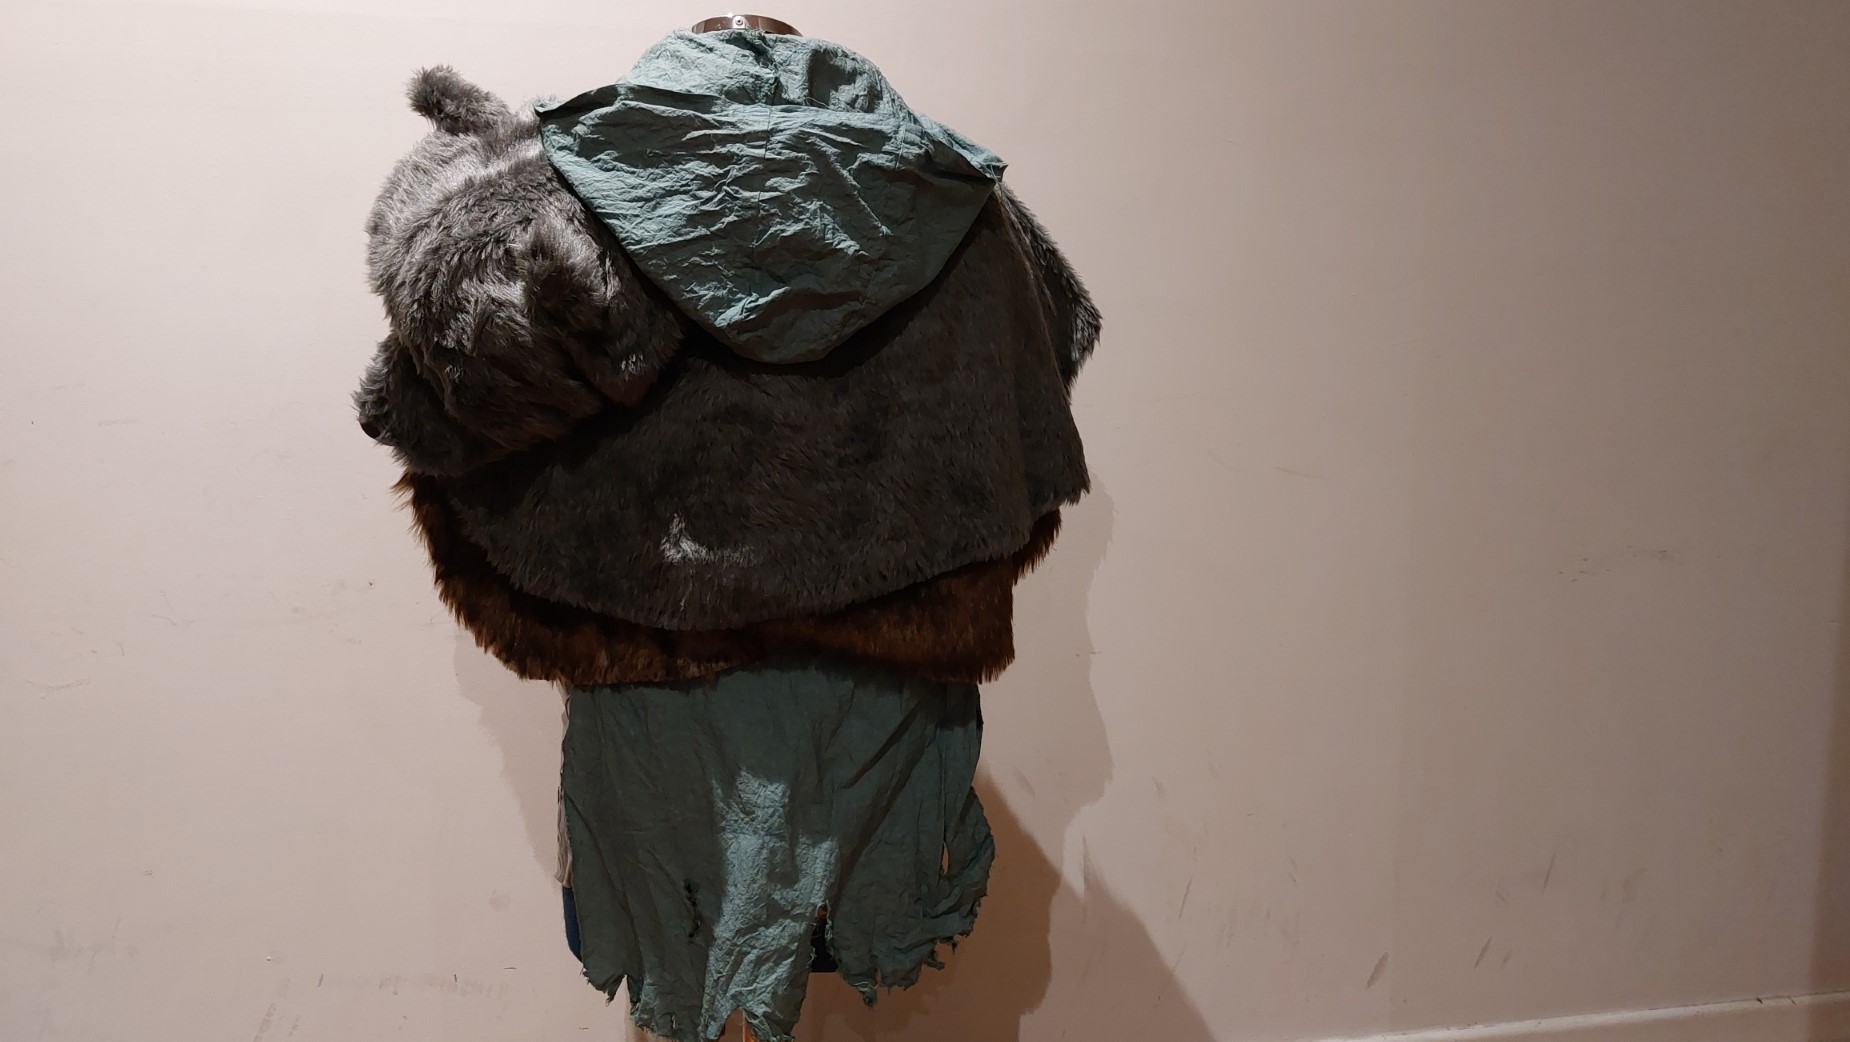
Finally I needed the ever-present hood. I’ve been doing a lot of my own patterning on this project but this one I really wanted it to look right so I had a McCall’s Pattern M7646 which looks to be inspired by the Assassin’s Creed series anyway. I took the hood pattern pieces and cut them out of the same calico as the skirt. I sewed up the hood portion only (without the neck piece) and cut yet another piece of calico to make up the cape. I sewed these together and used the same technique as I used on the skirt to weather the cape and dye the hood and cape green. Next I joined all the layers together - at the bottom is the cloak, then the brown fur, then the layer containing the paw on the right shoulder, then the grey fur, then the layer with the bear head and finally the green hood. This barely fit through the sewing machine but somehow I was able to sew the layers together.
Final Assembly
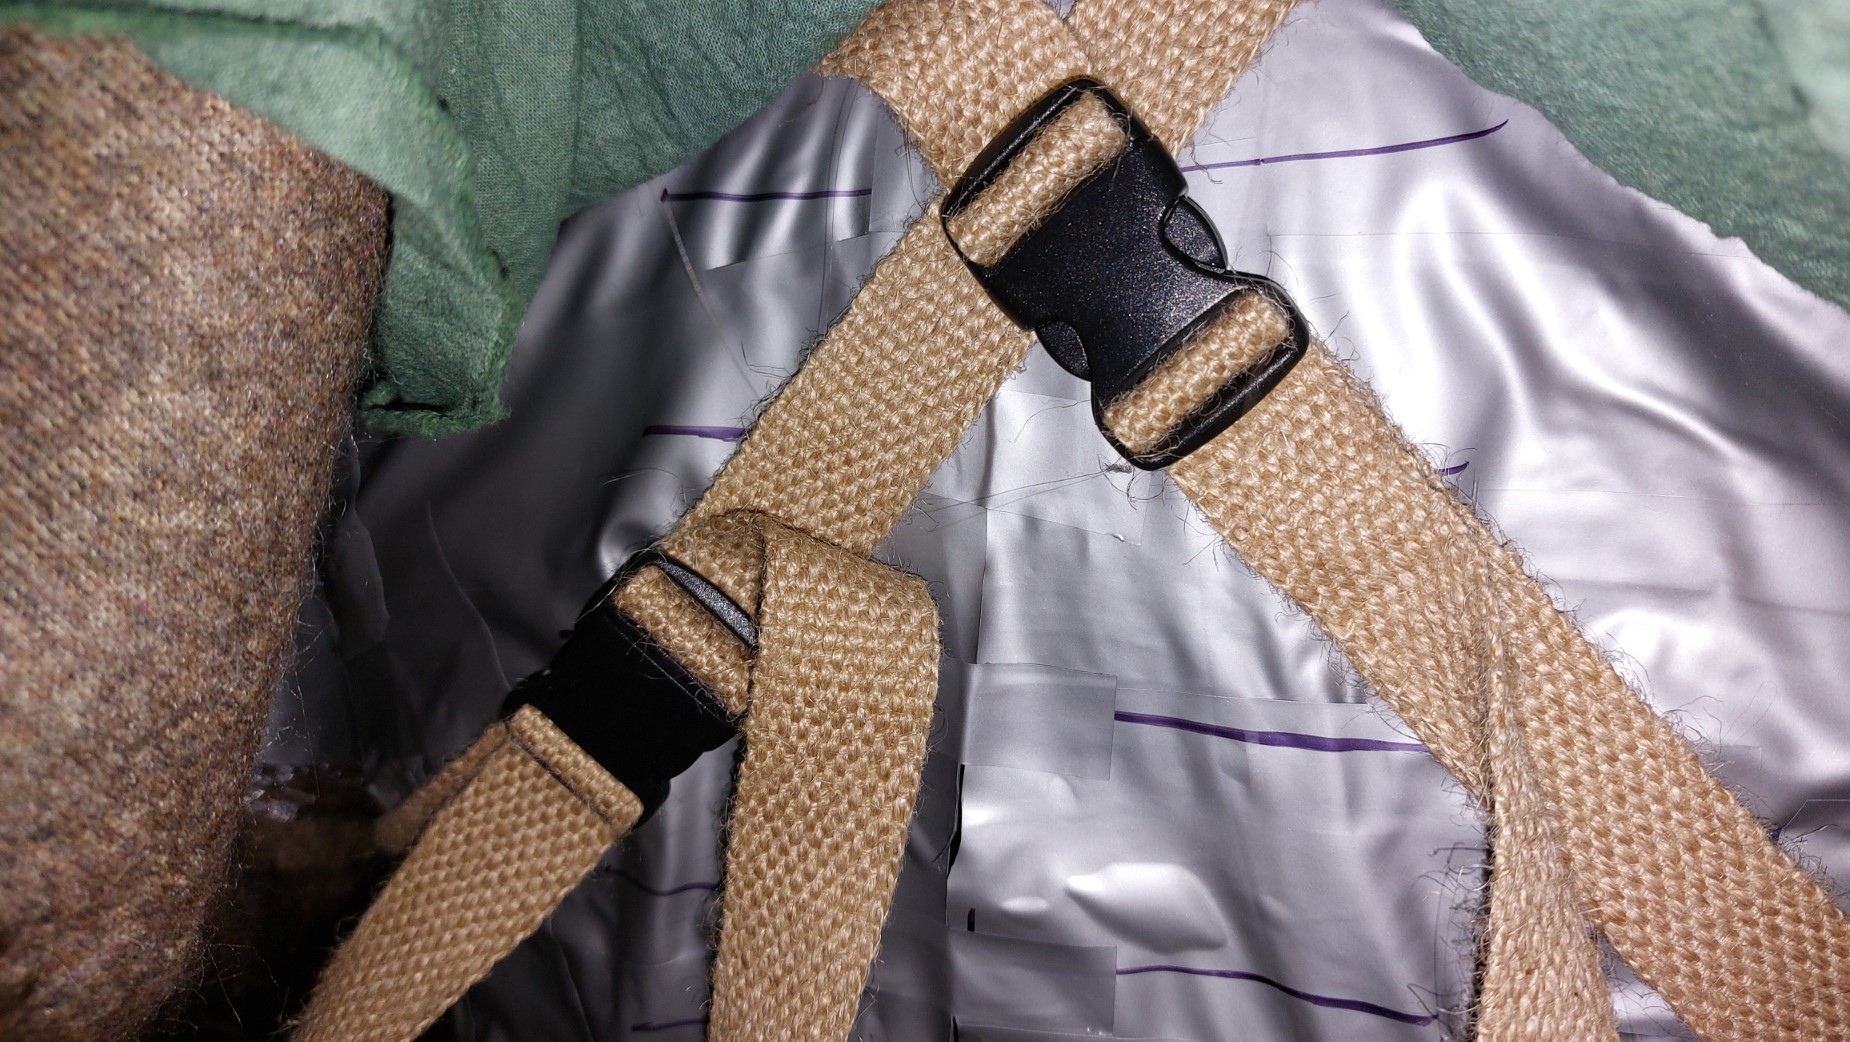
Now all I needed was a way to secure this to me, all the pieces actually ended up being very heavy and I don’t have the magic of game-physics to hold everything up so I decided to alter the design a bit and have two loops of a thick strap I found at Bunnings crossing my chest to provide support. They fitted nicely into some clasps I bought which were definitely not period-accurate but they are covered by the rest of the cape so I’m not too fussed about it. I’ve attached it using big safety pins for now as each time I put it on I seem to clasp it at a different place.
Here’s a view from the back including the weathering I did on the cloak.
The hood and cloak are now done!

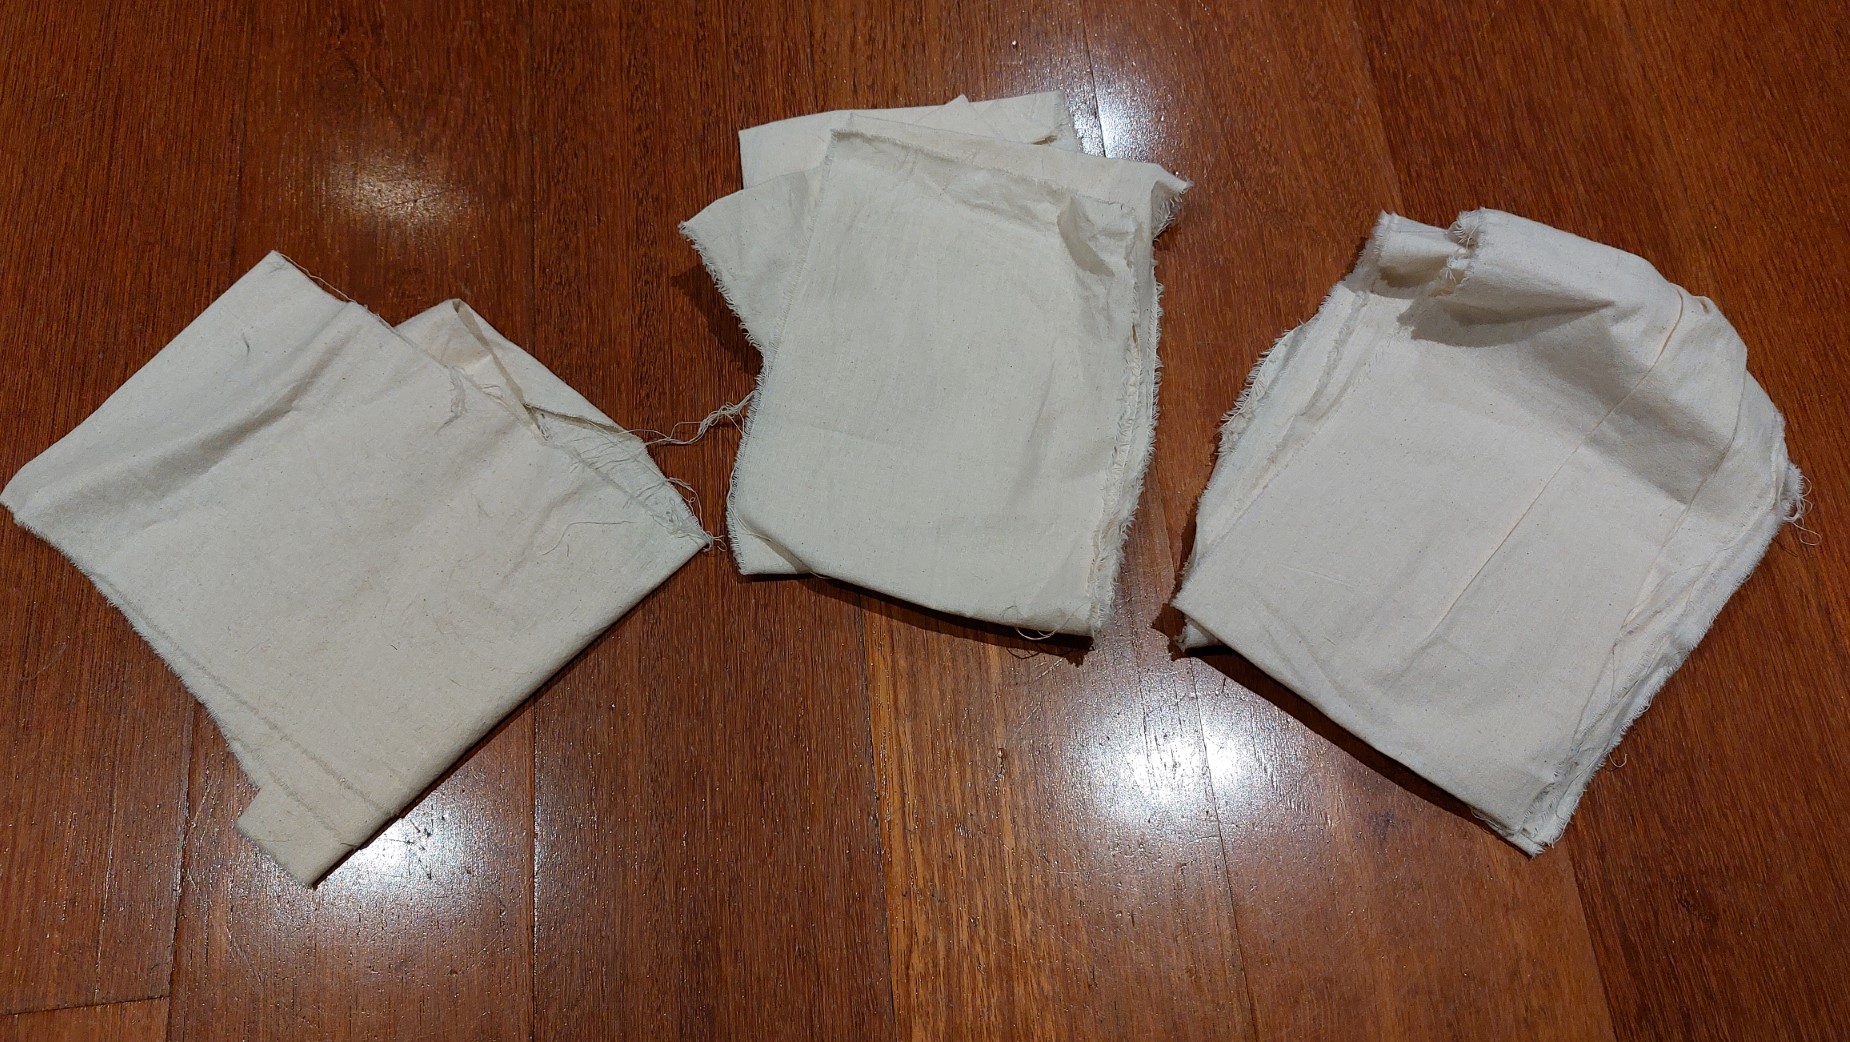
Eivor doesn’t wear a normal top as such under her cloak, it’s just a tube top of sorts. I cut up yet more pieces of calico into strips which I’m going to wrap into slightly more than a boob tube to go underneath.
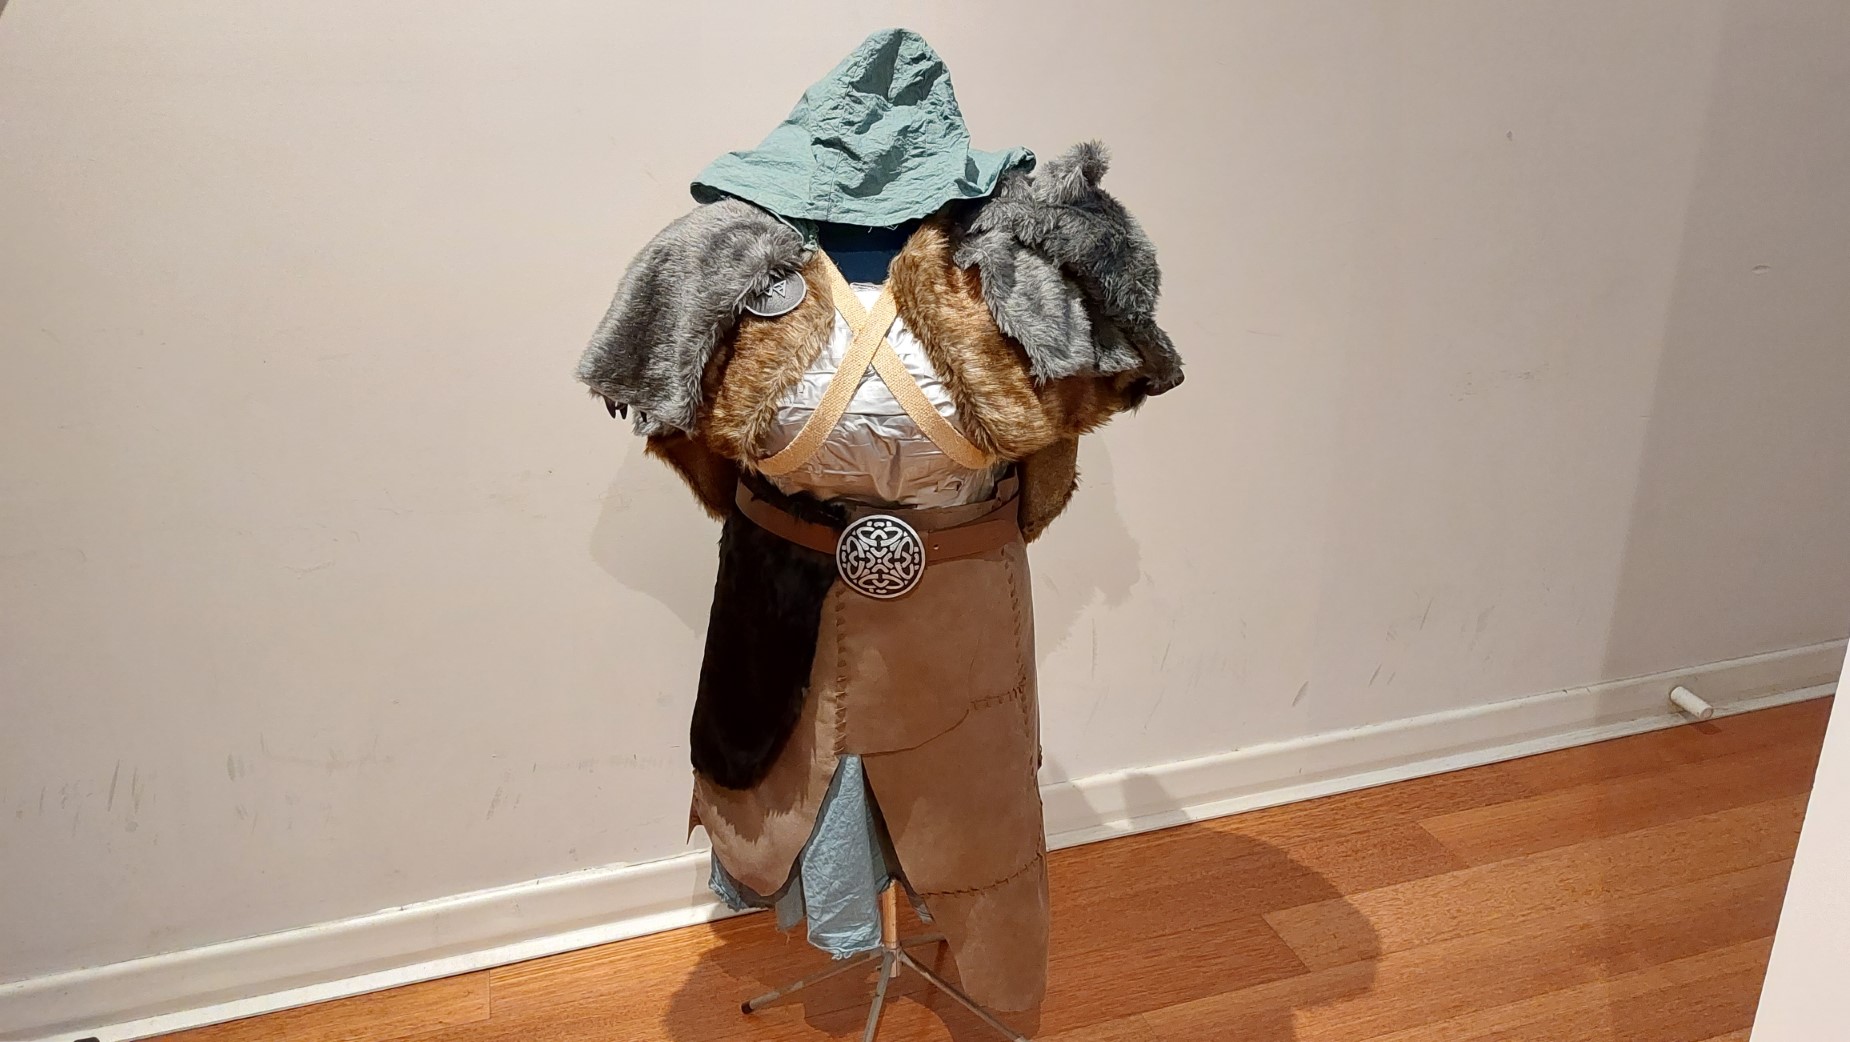
Here’s a semi-completed portrait shot of the main costume.
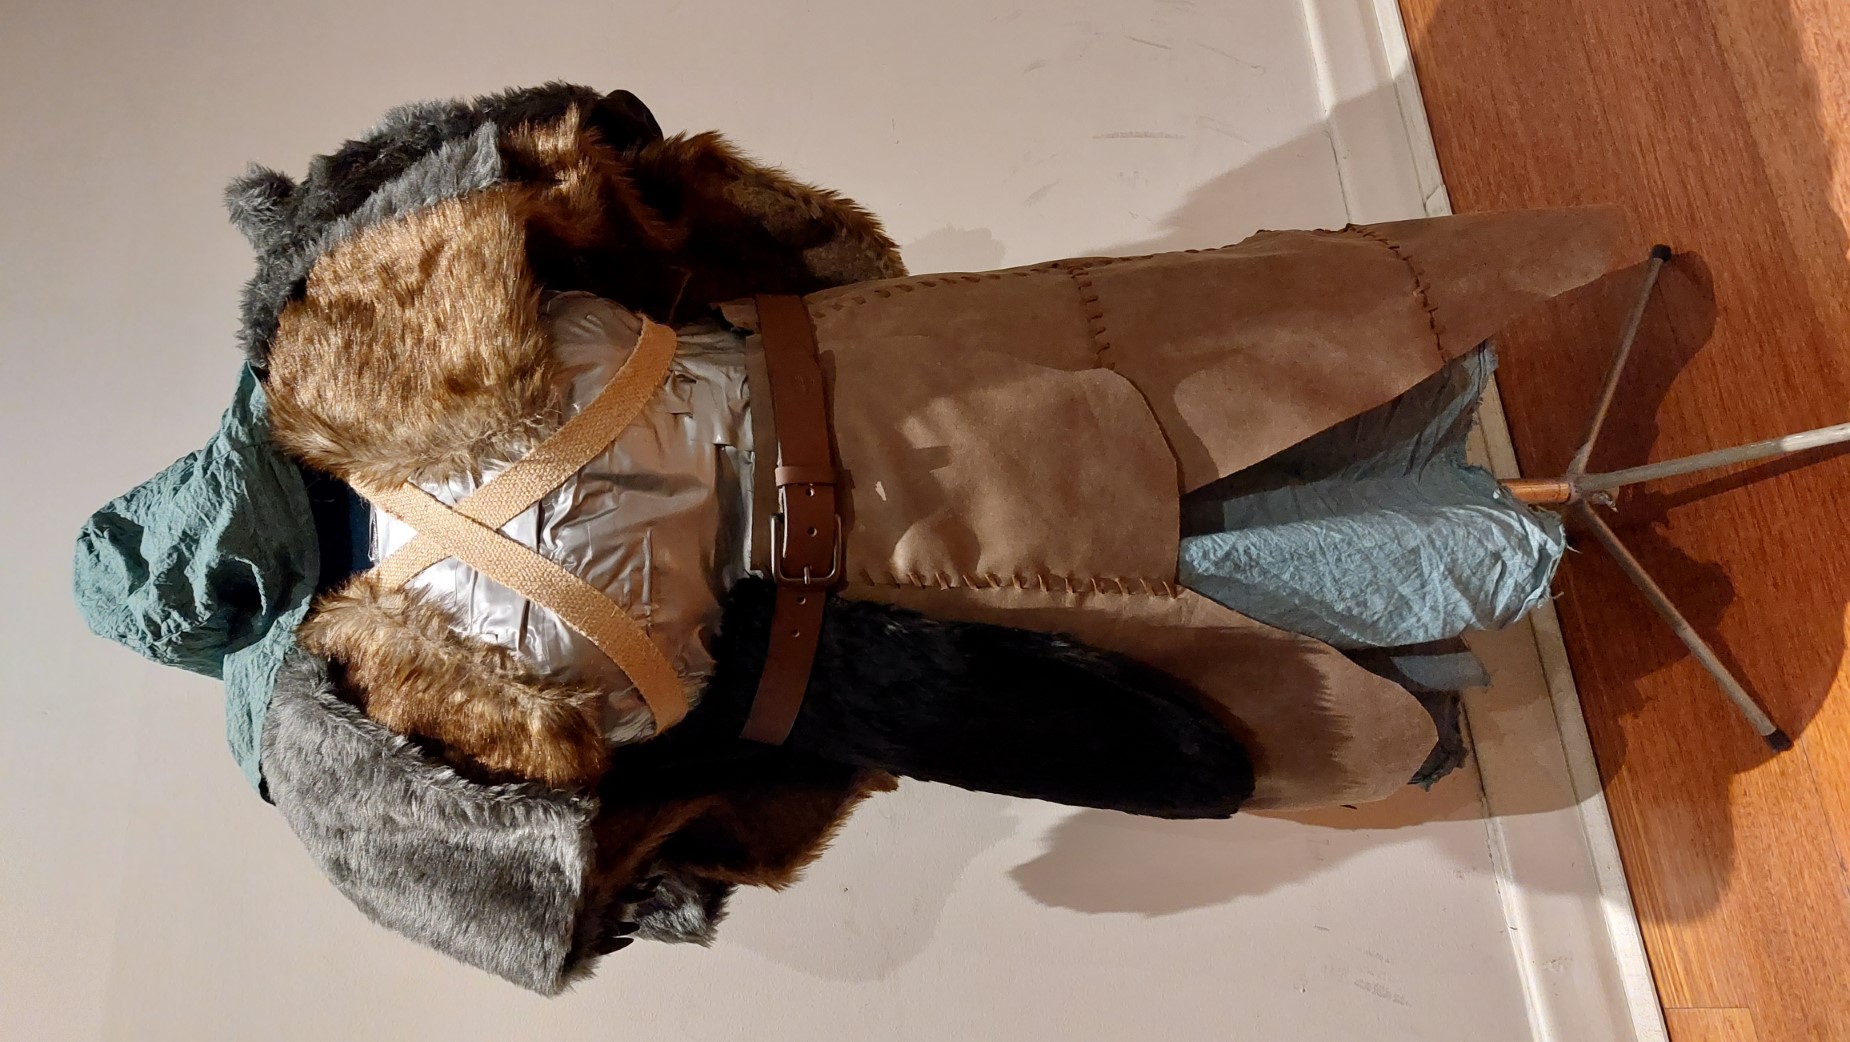
Showing the side with the bear head…
…and the side with the bear claw.
Here is the final cosplay!
I haven’t got a shot of me wearing the costume as unfortunately Melbourne has been plunged into yet another lockdown and my event had to be cancelled and I’m feeling just a bit too sorry for myself to put it on just for a picture… So enjoy another view of the original Eivor from the game and I’ll update this post when I can get my viking on!
