Eivor Cosplay: Axe
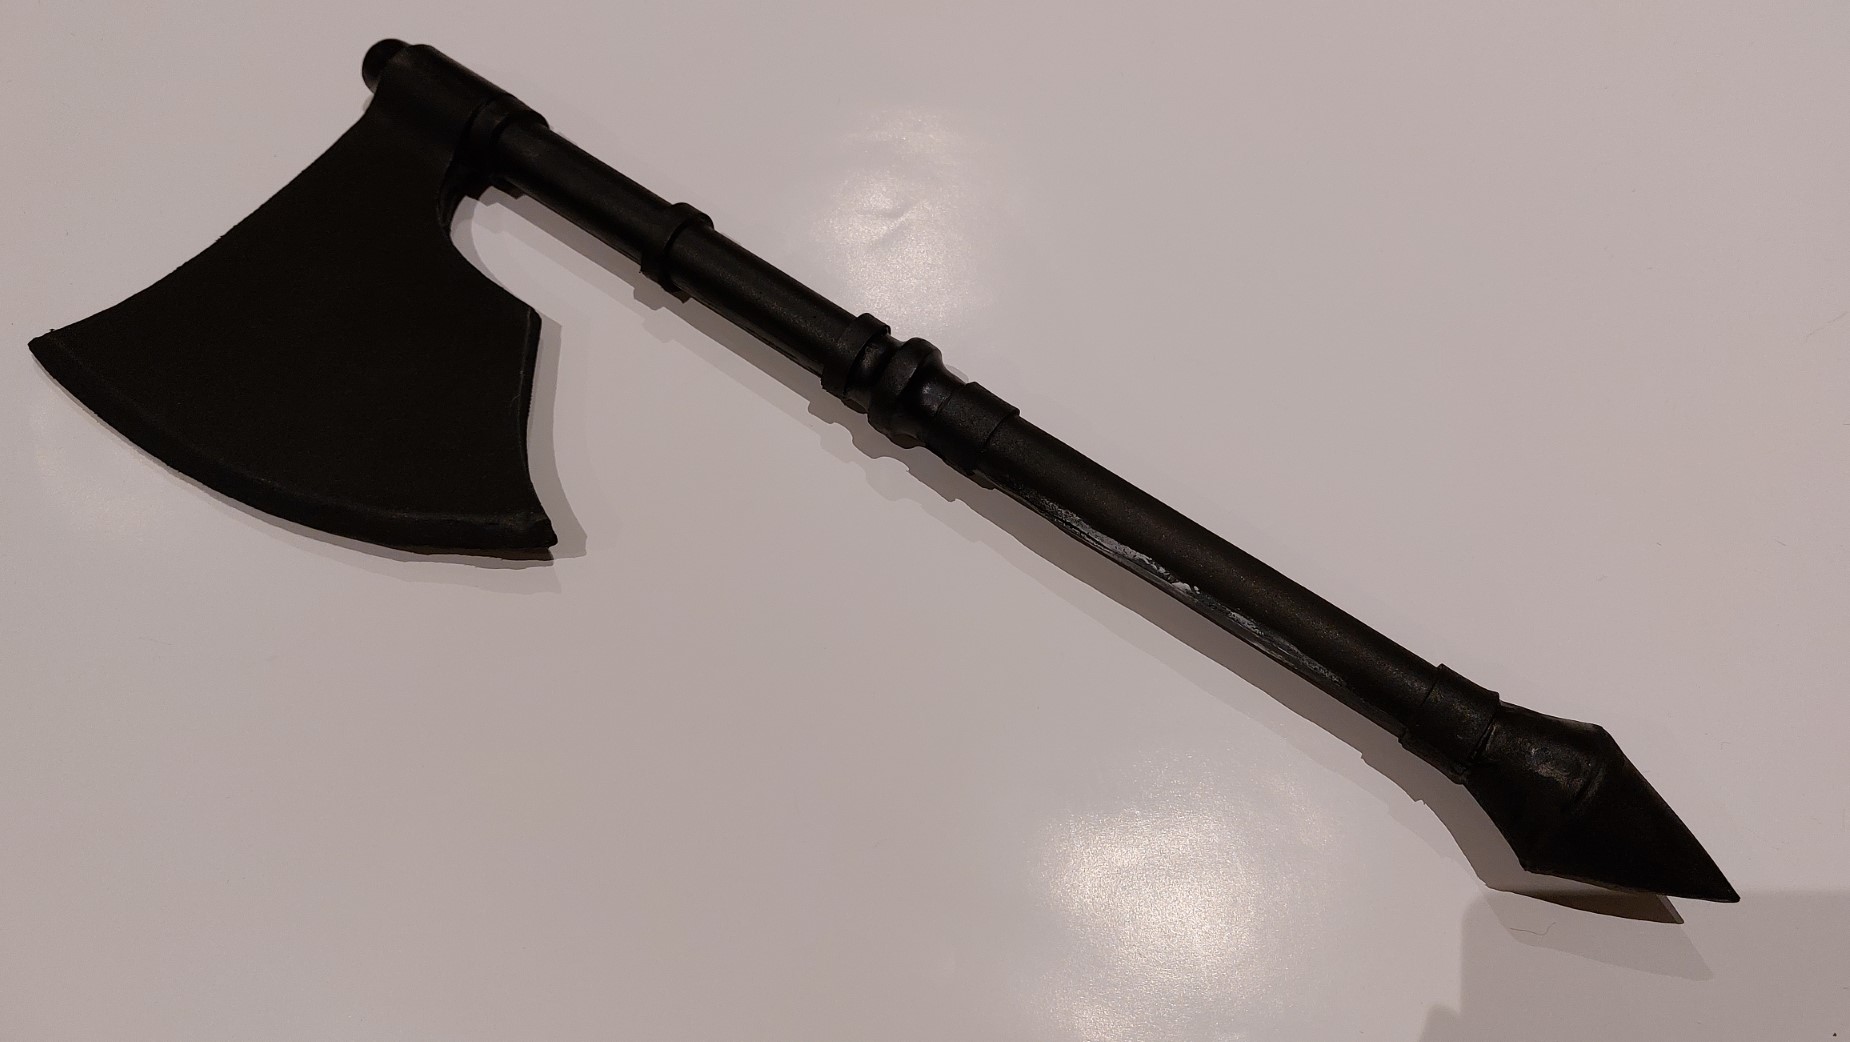
I started creating an axe from EVA foam to go with my Eivor cosplay from Assassin’s Creed Valhalla.
I lost steam halfway through this project with us going back into lockdown here in Melbourne and my event I was going to wear this costume to was cancelled. I still wanted to document how far I’d gotten with it anyway, in case I decide to come back to this so apologies for the half-finished post!
As usual I started with some screenshots from the game Assassin’s Creed Valhalla. When I started this project I hadn’t upgraded this axe to its final design so this is the one I started with.
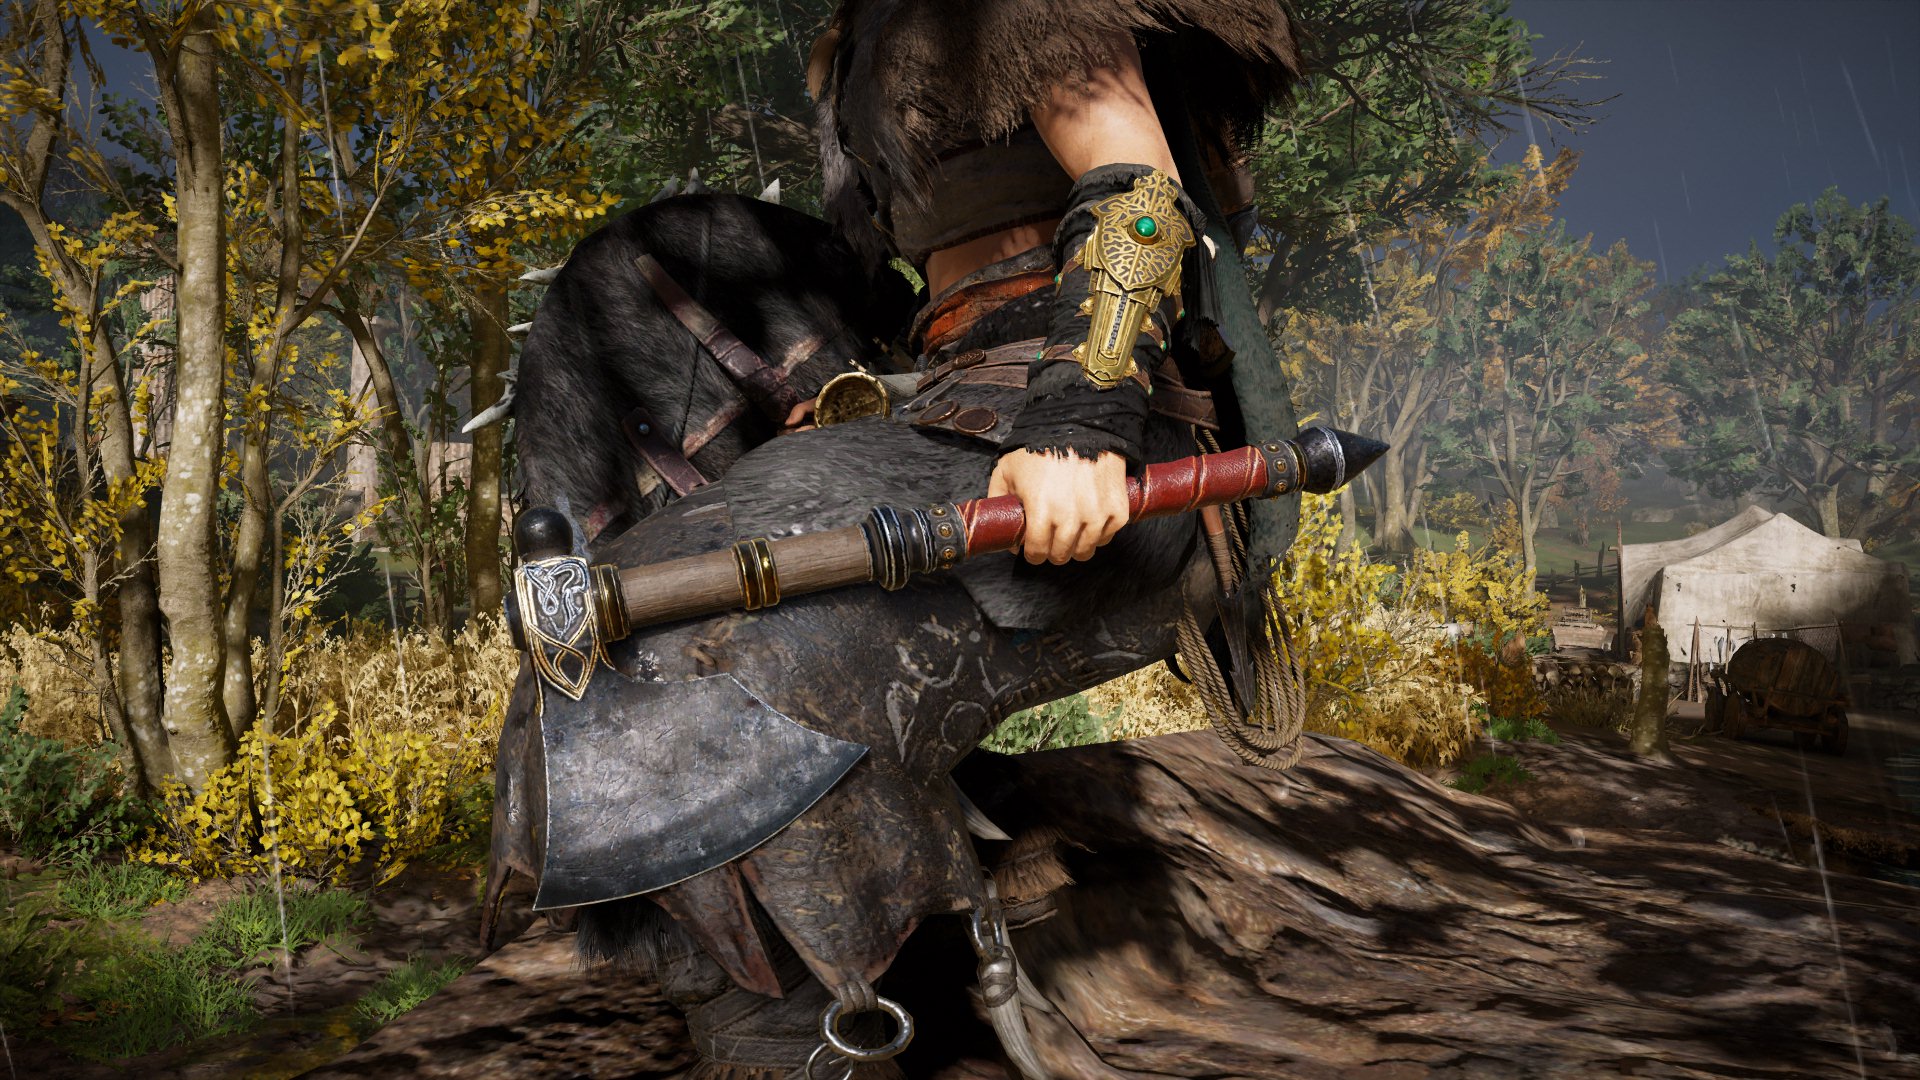
Just like the other foam elements for Eivor I loaded the screenshot as a canvas in Fusion 360 and traced over all the key elements.
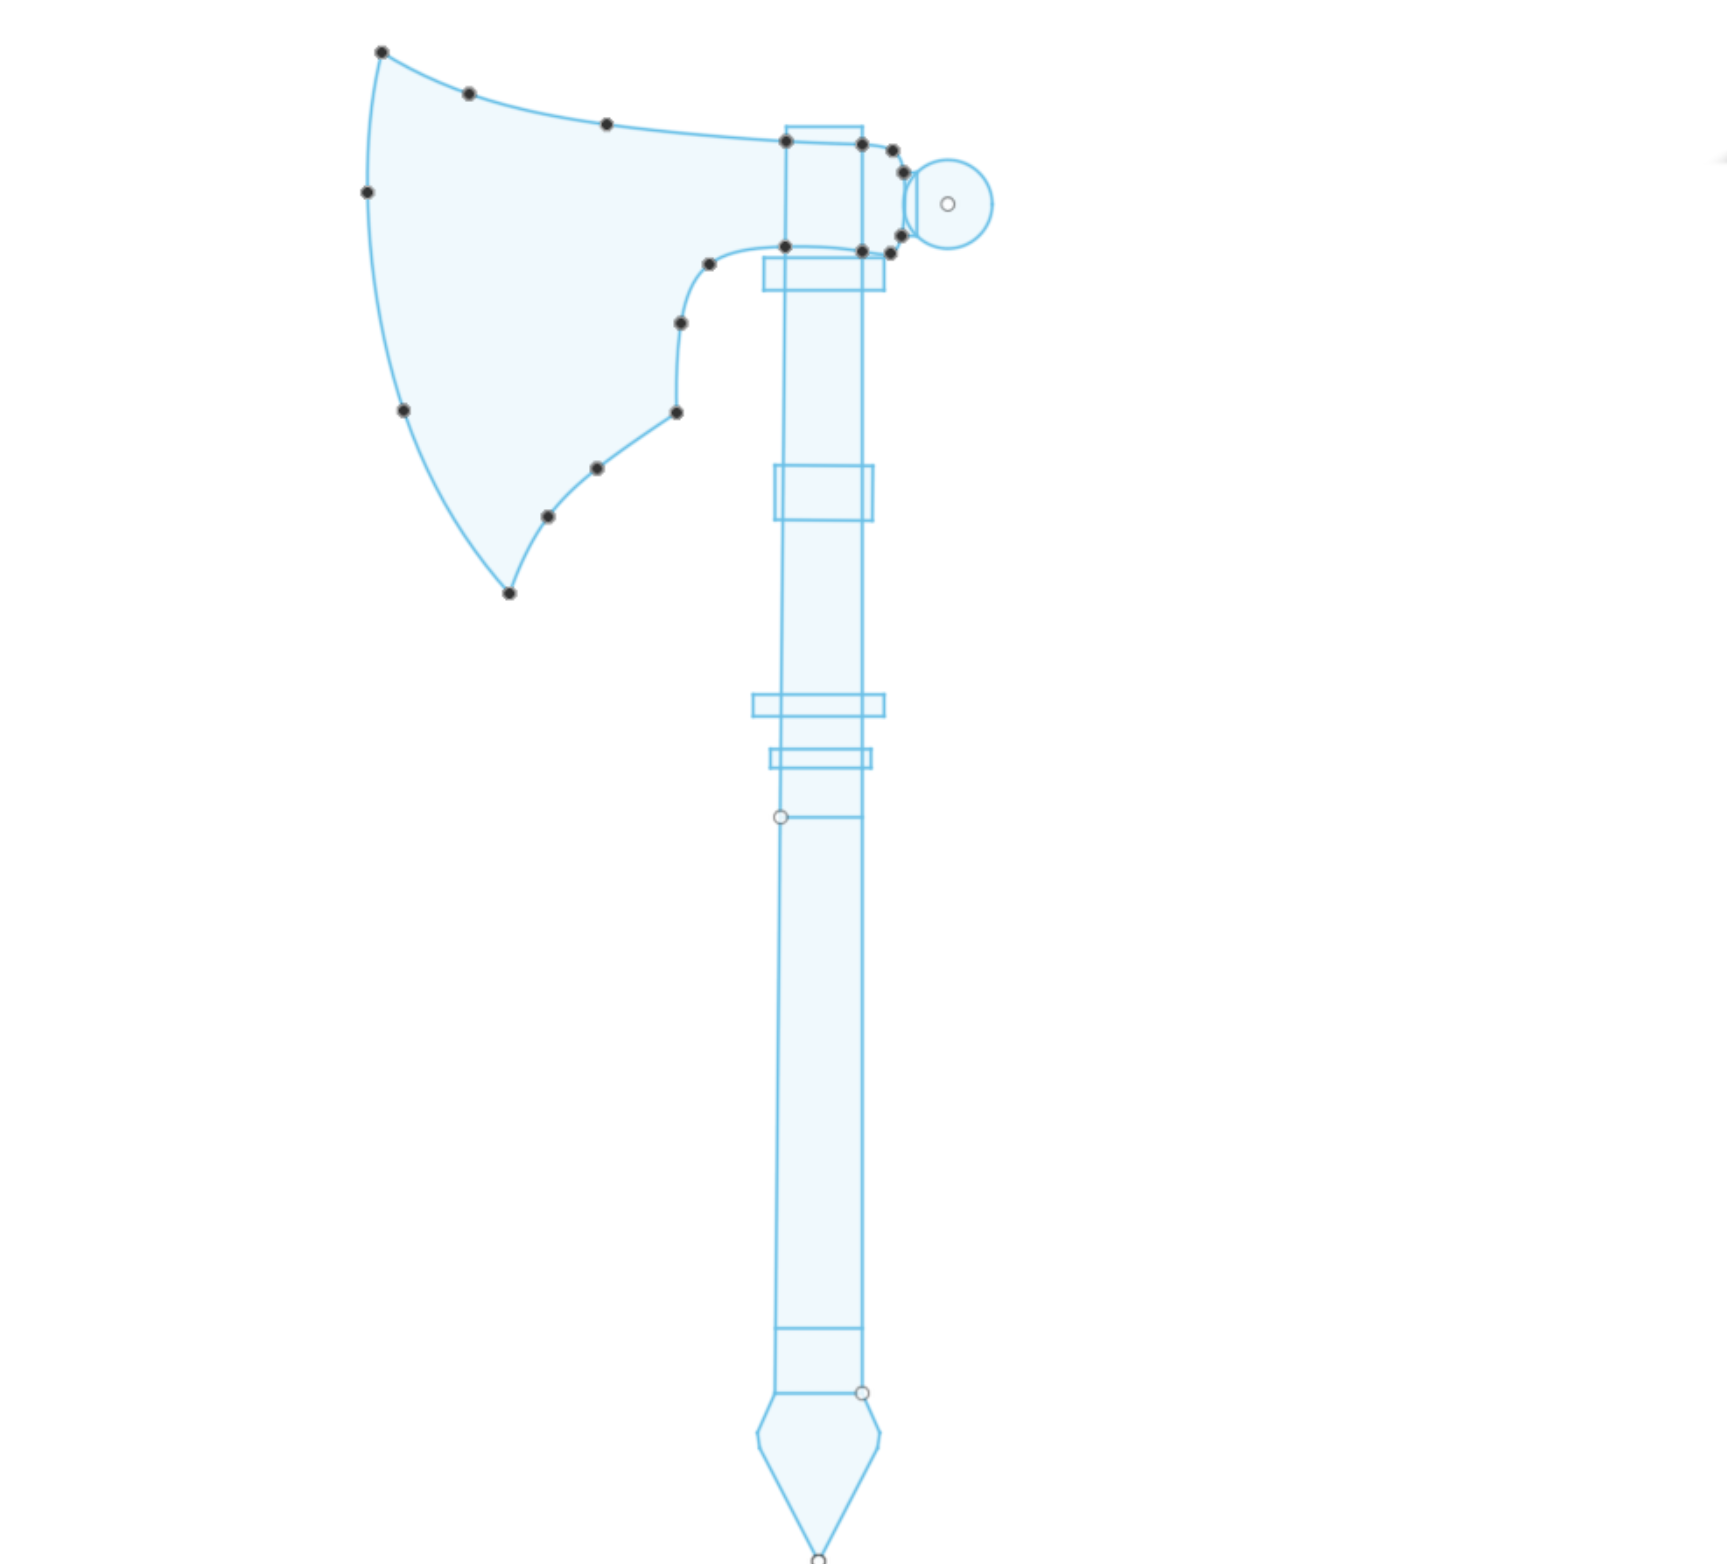
I used a PVC pipe as the main handle of the axe so I used that as a base to adjust the sizing of the rest of the axe. I think I printed at least 3 different sizes of the blade to try the different sizing.
Then I traced the blade shape into EVA foam and extended the part that attaches it to the handle so that both sides are cut from a single piece. This way, I could roll this piece around the handle for a really secure fit and glue the two sides together for a thicker blade. I glued everything in place with contact cement.
I then cut out strips of 6mm EVA foam for the raised details and again glued these to the axe. I had to take care to cut them accurately so that the seam was minimal.
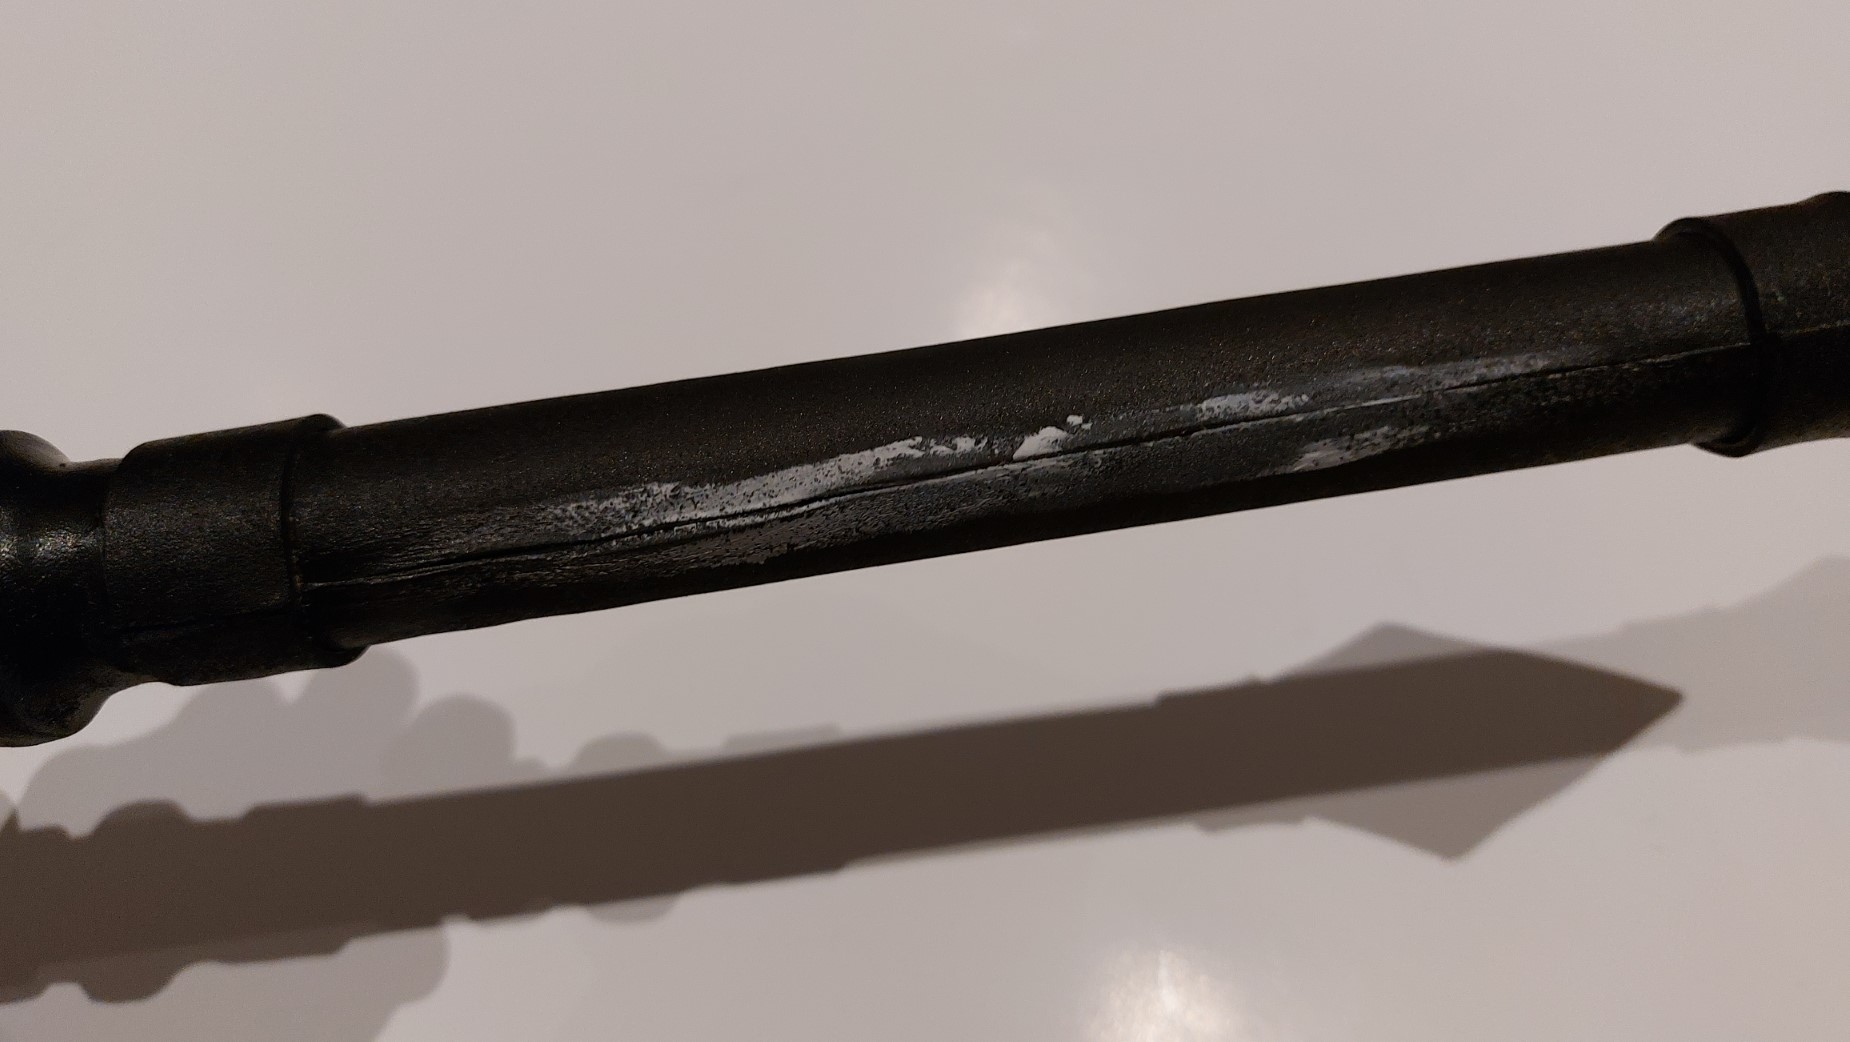
Then I covered the remainder of the axe with 3mm EVA foam pieces, again taking care to try to minimise the seam - I messed up on this big section of the handle, but this will be covered up by fake leather in the future anyway. I did try using Dap Kwik Seal to seal up the loose edge but I think this is better used for much smaller cracks - so a worthwhile experiment.
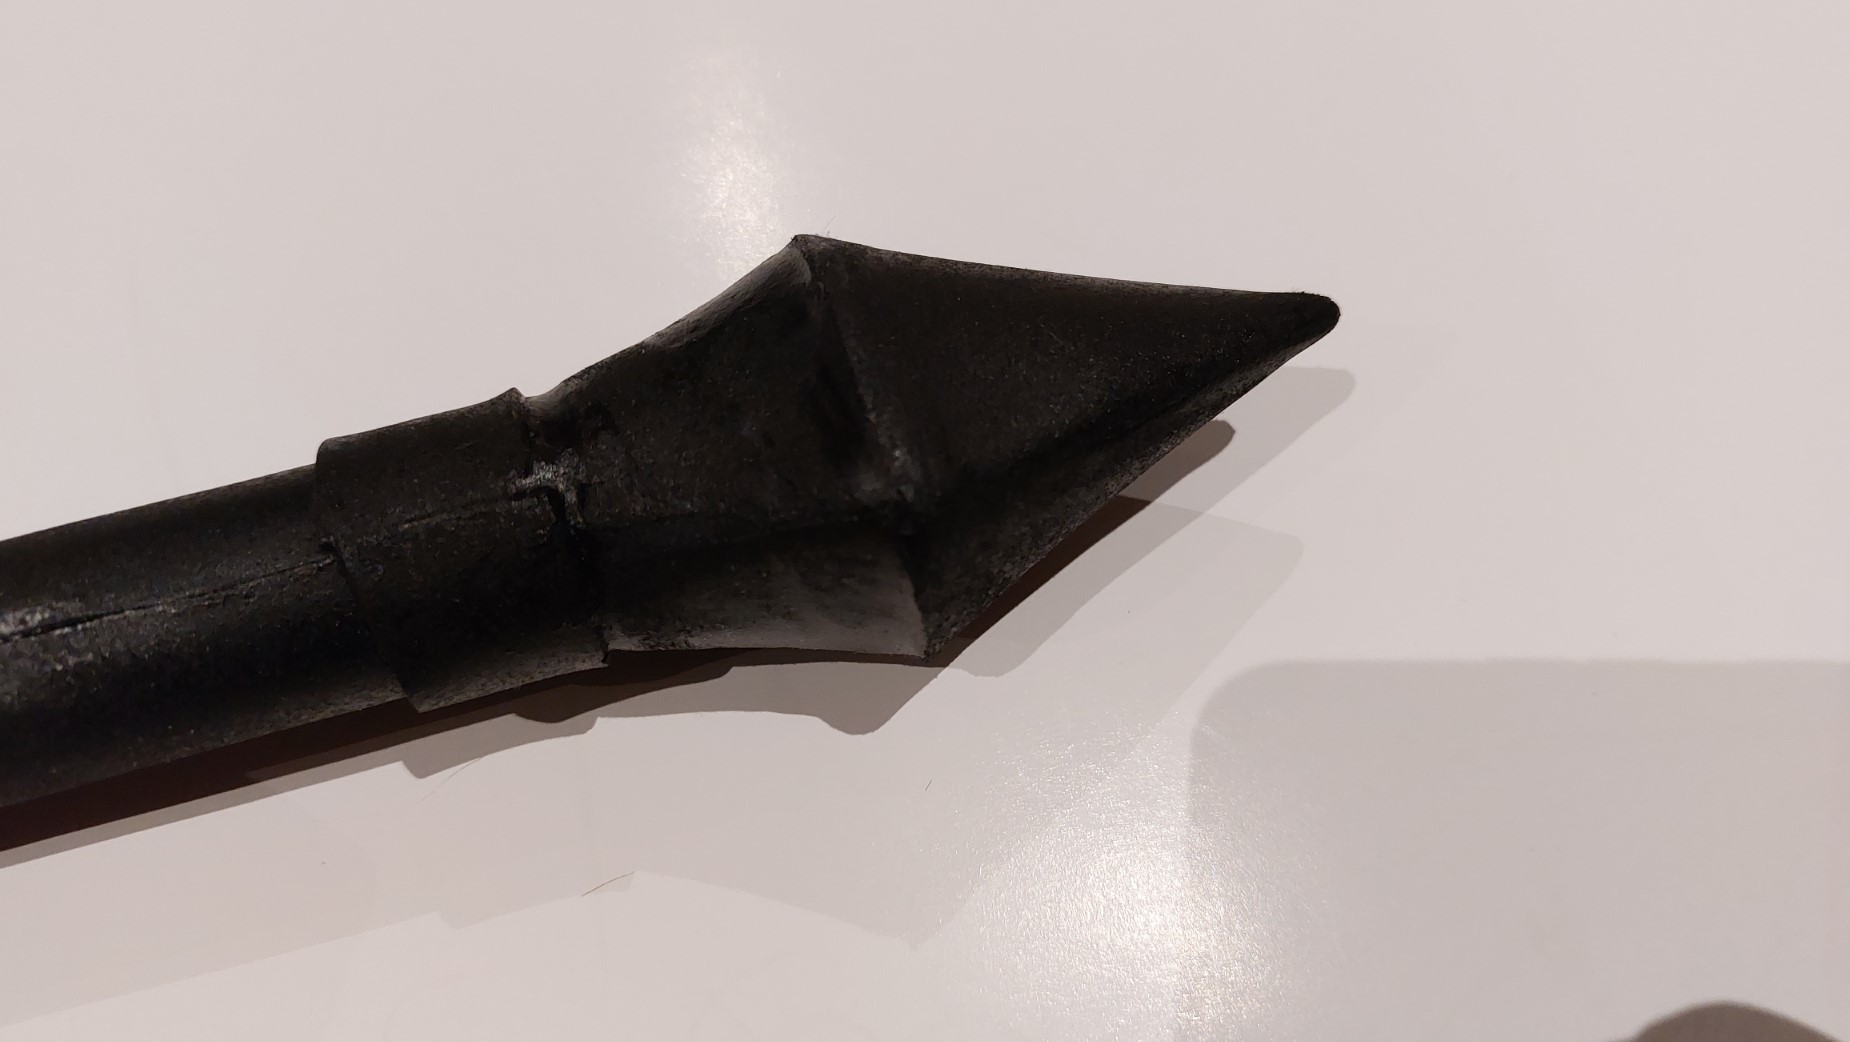
To make the end detail I cut out cones of EVA foam and glued them together and this time I instead used foam clay to seal up the edges. This worked much more seamlessly as it was difficult to glue the foam with a neat seam especially at the point so the foam clay filled in the gaps completely.
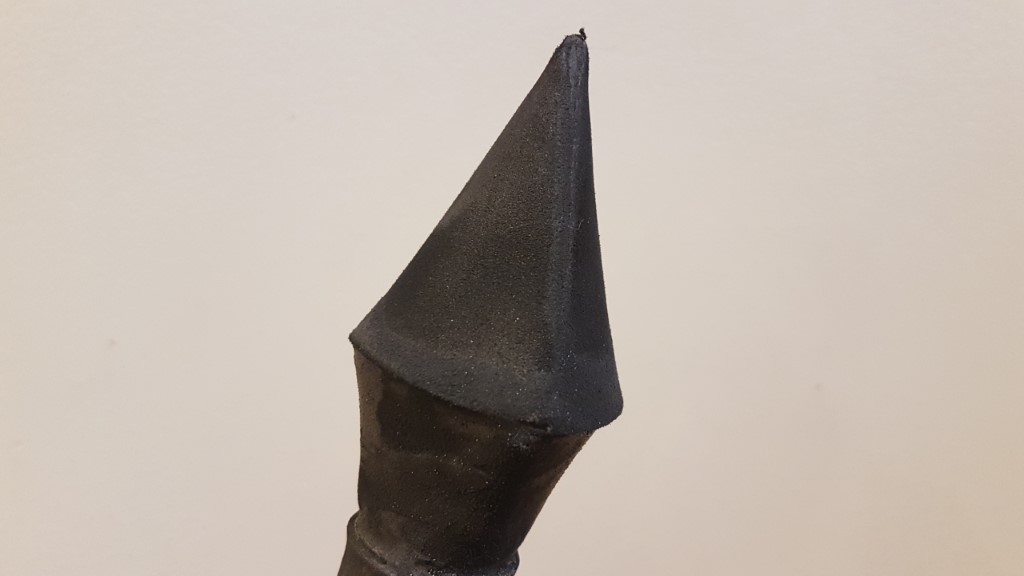
The foam clay worked so well that I used it everywhere on the axe to fix any other gaps. I added some detail here (please note this picture is after priming it in the next step) to seamlessly merge the shapes between the EVA foam strip and the PVC pipe.
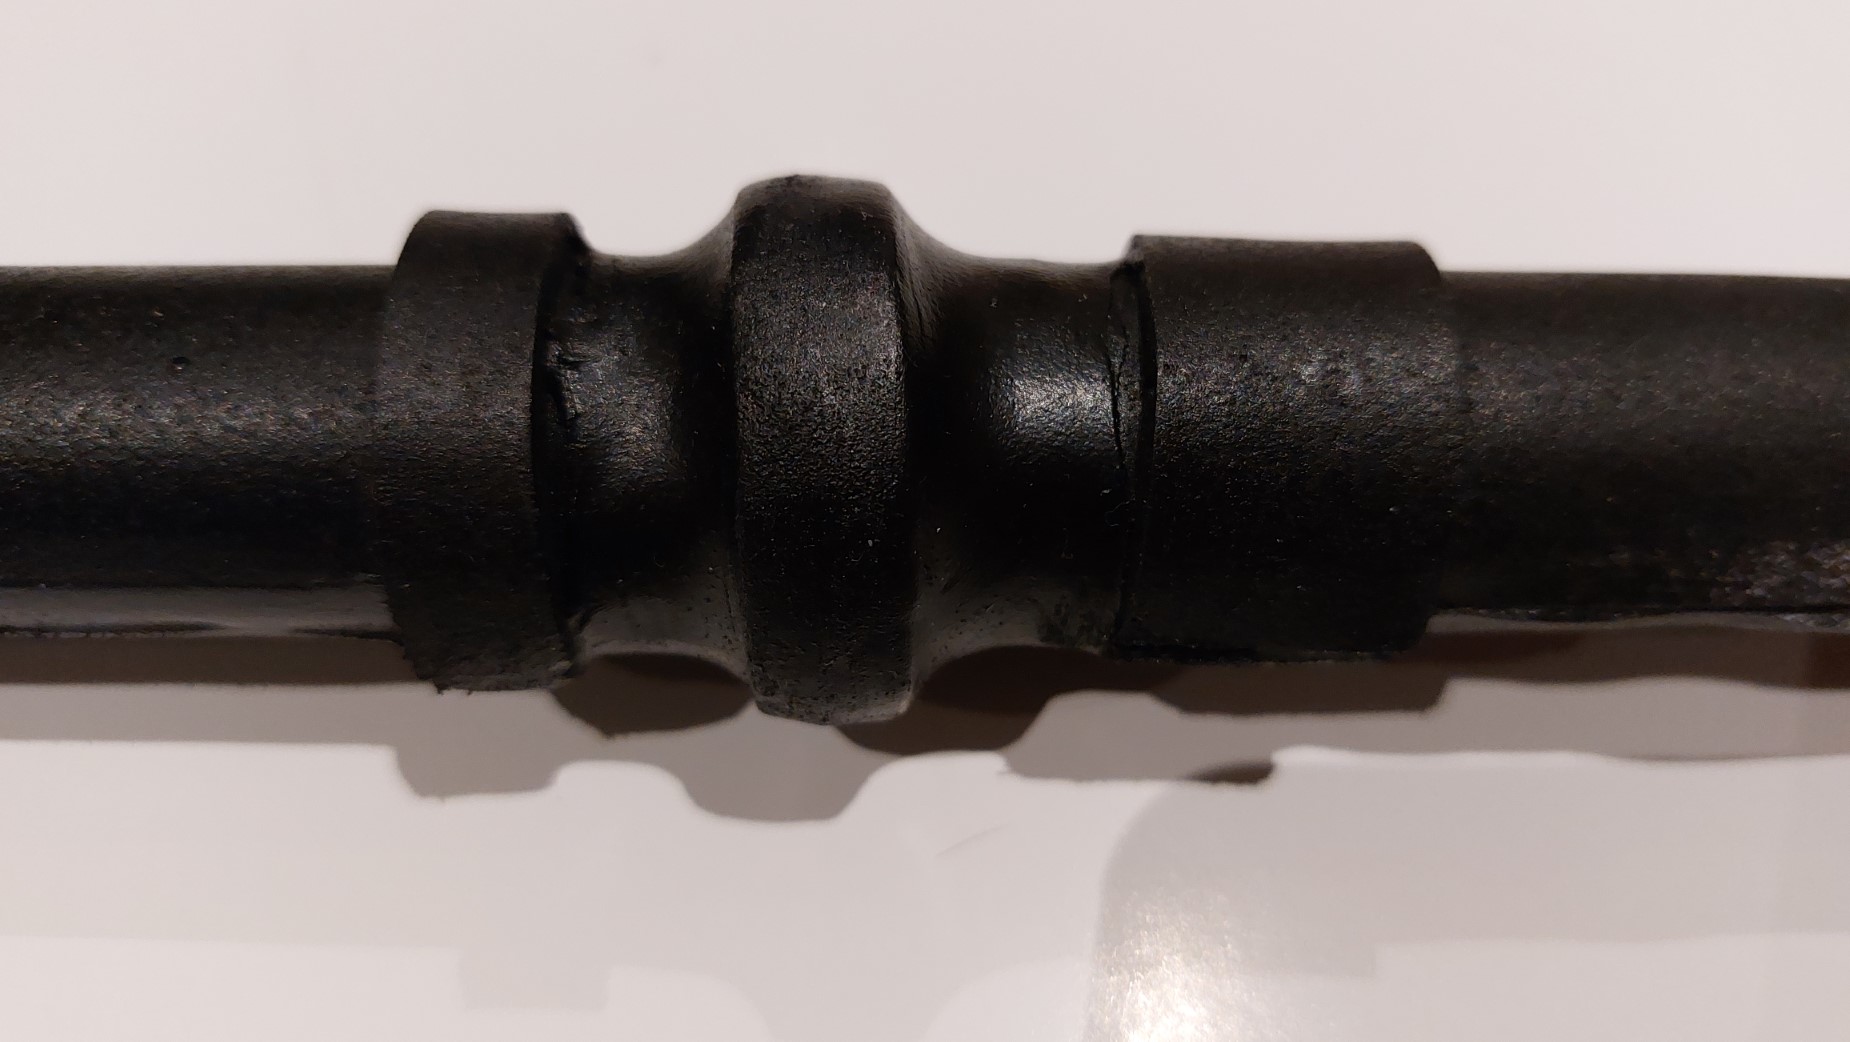
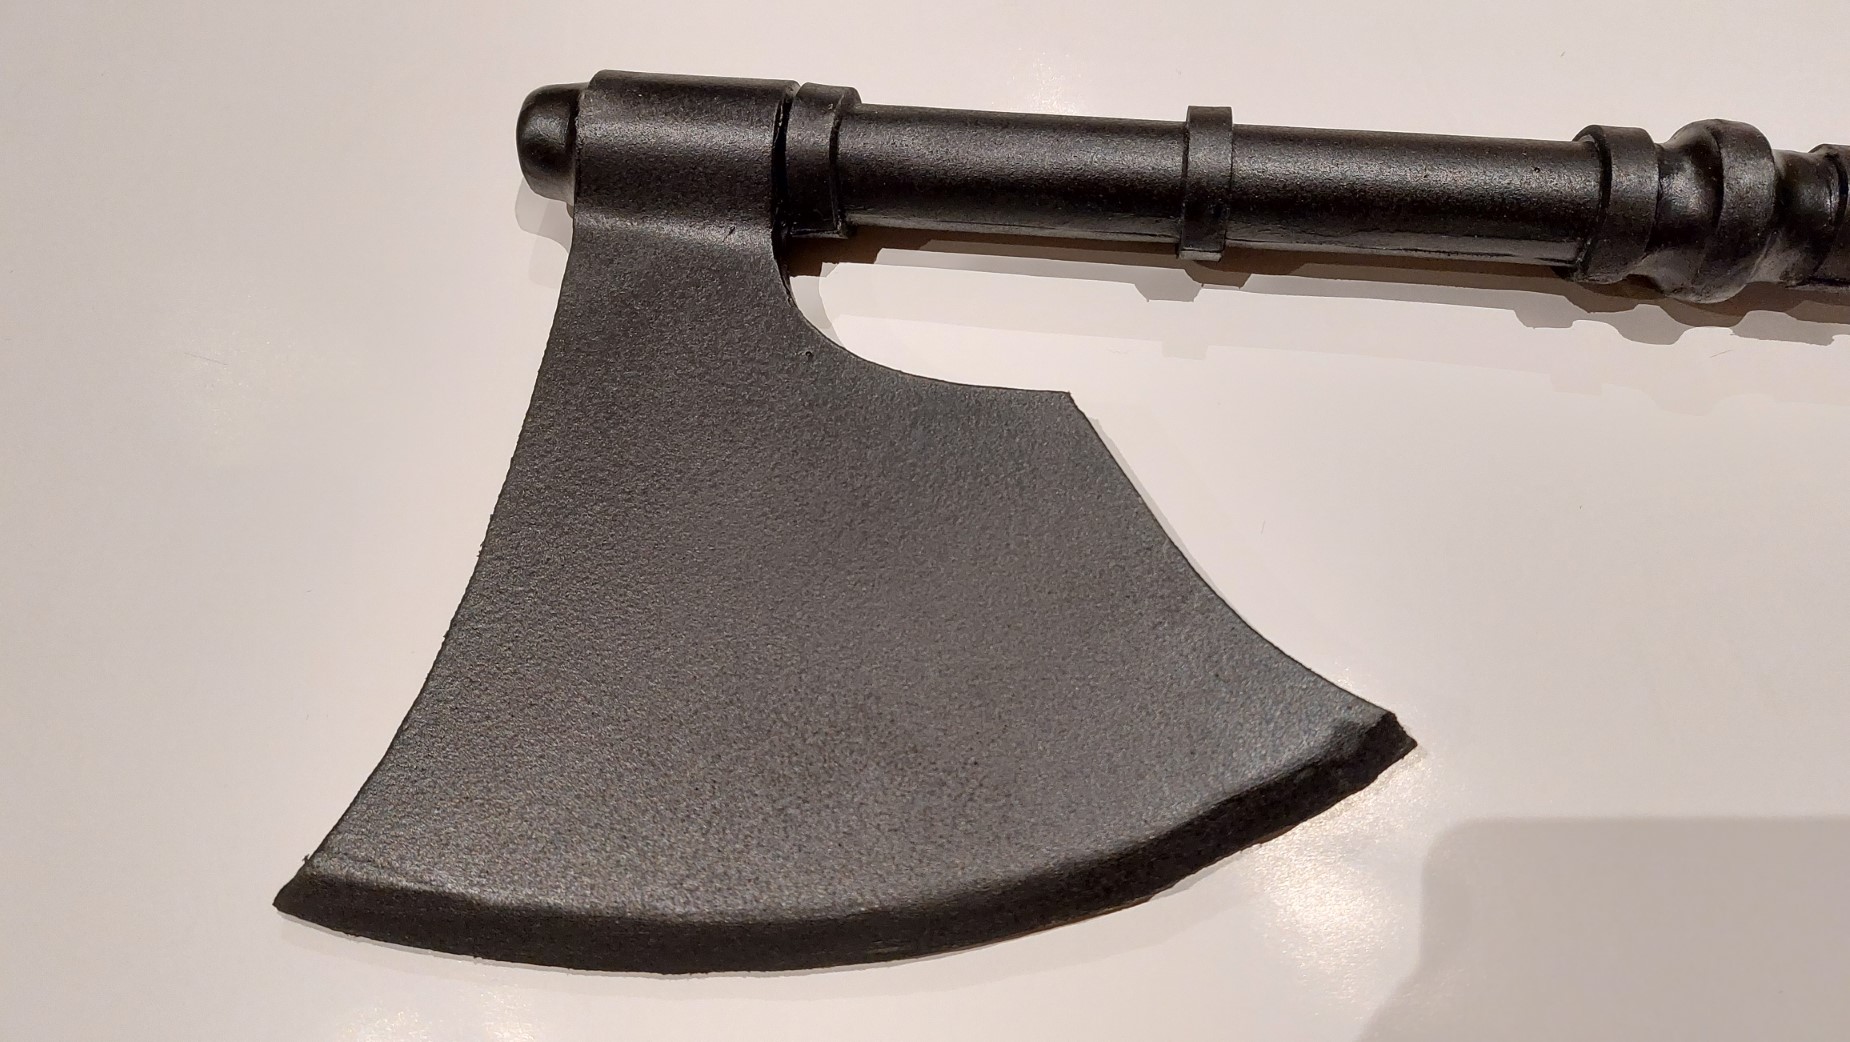
I don’t have a picture of the next step but I sanded down the blade of the axe to create the sharp edge in the same way I sanded and shaped my Skyrim Daggers. This picture is taken after priming but it shows the shape.
After I had the shape pretty much completed I primed the axe with PlastiDip which is a rubber coating that sticks really well to EVA foam and gives a good base for painting. Here is the end section after priming where it’s very difficult to tell the difference between the foam clay and the EVA foam.
I held the axe by the handle while priming because this part will be covered by leather in the future and won’t be painted, here is the primed axe… where I realised I forgot the balancing weight behind the axe head.

I will revisit this project in the future - stay tuned!