Building the Vegepod
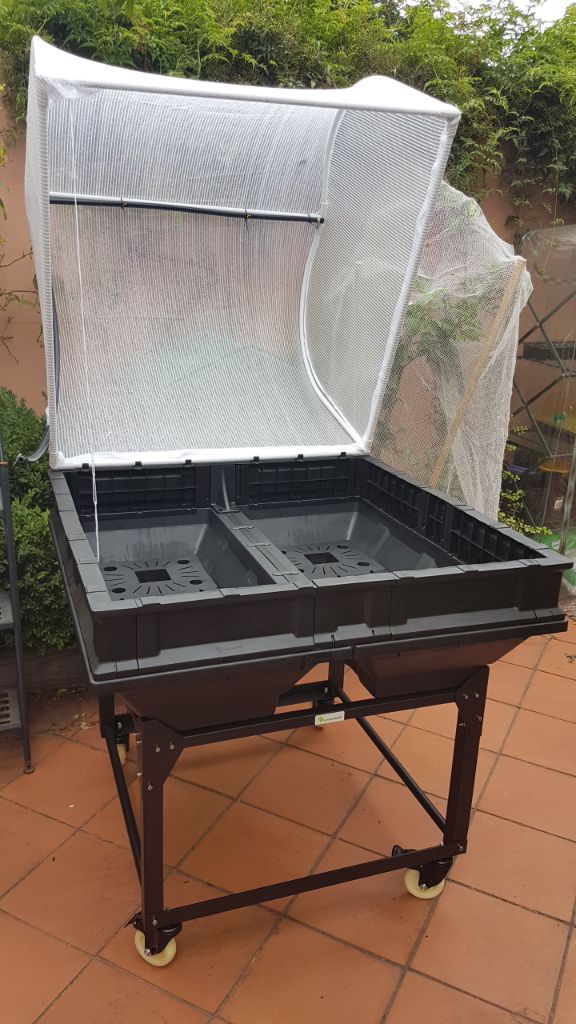
Today I wanted to post about my Christmas present - my new Vegepod!
The Vegepod is a garden bed which makes growing veggies and herbs incredibly easy with its self-watering-pot design and innovative mesh cover. It’s as close to set-and-forget as you can get with a garden bed. It comes in three sizes (1m x 0.5m, 1m x 1m or 1m x 2m) with the mesh cover and optional trolley or stand. I opted to get the 1m x 1m with a trolley so I could move it around and experiment a little more.
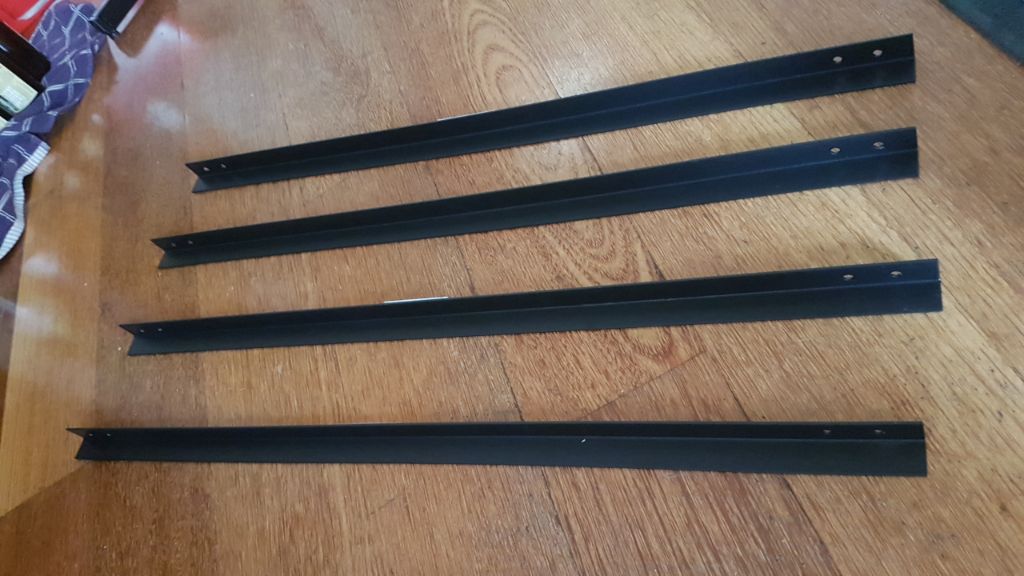
The setup would normally be very straight-forward; Vegepod and some of their fans provide a number of guides on youTube to clarify the process and everything goes together quite nicely. I did run into trouble when I realised my kit had four of the same trolley brackets instead of two from one way and two the other. There is a very active Vegepod community on Facebook which helped me clarify that this was a mistake. But easy peasy I just went back to the nursery around the corner where I got the Vegepod et voila!
Now for the build log, mainly a photo dump!
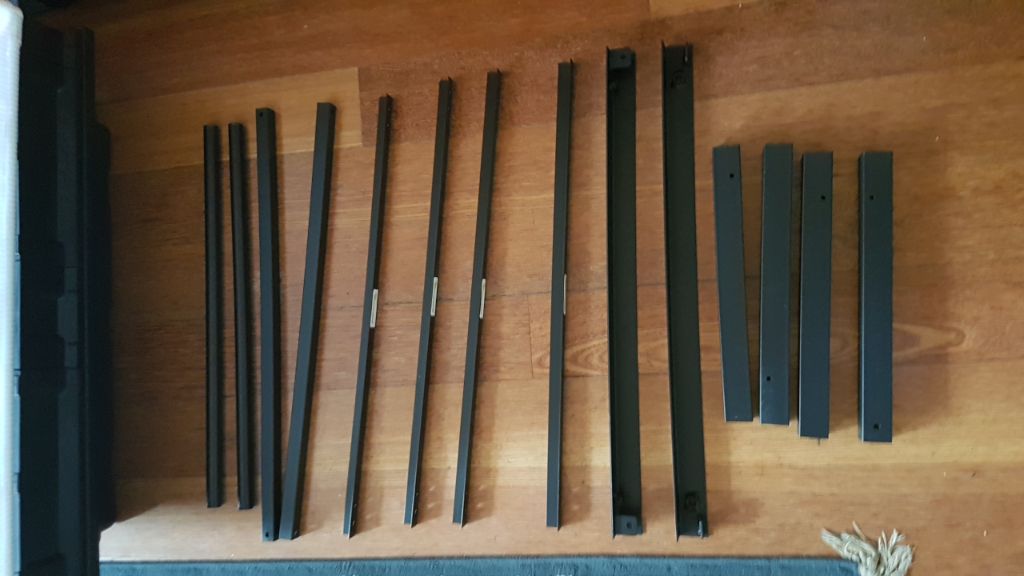
Here are all the materials.
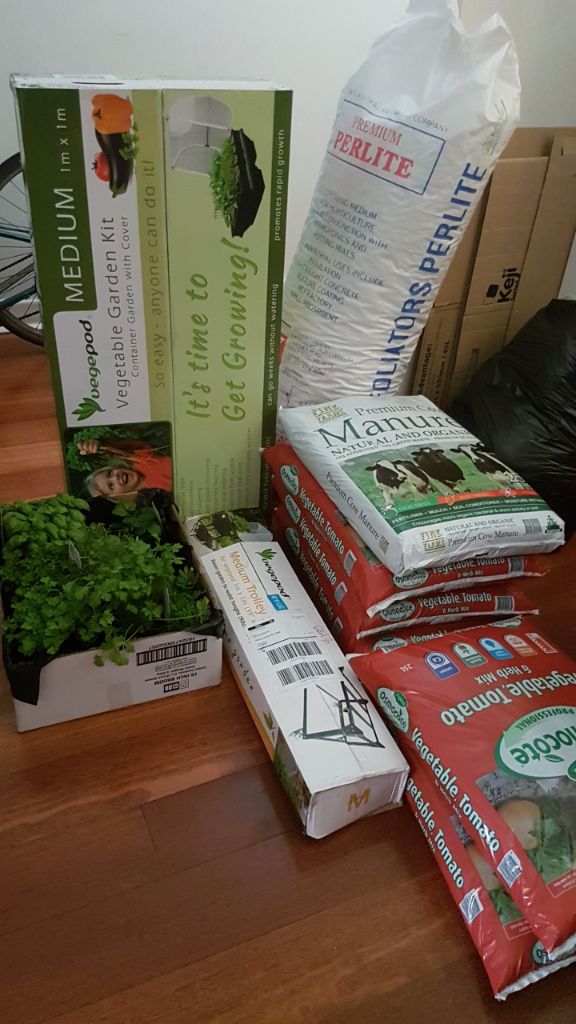
Getting started!
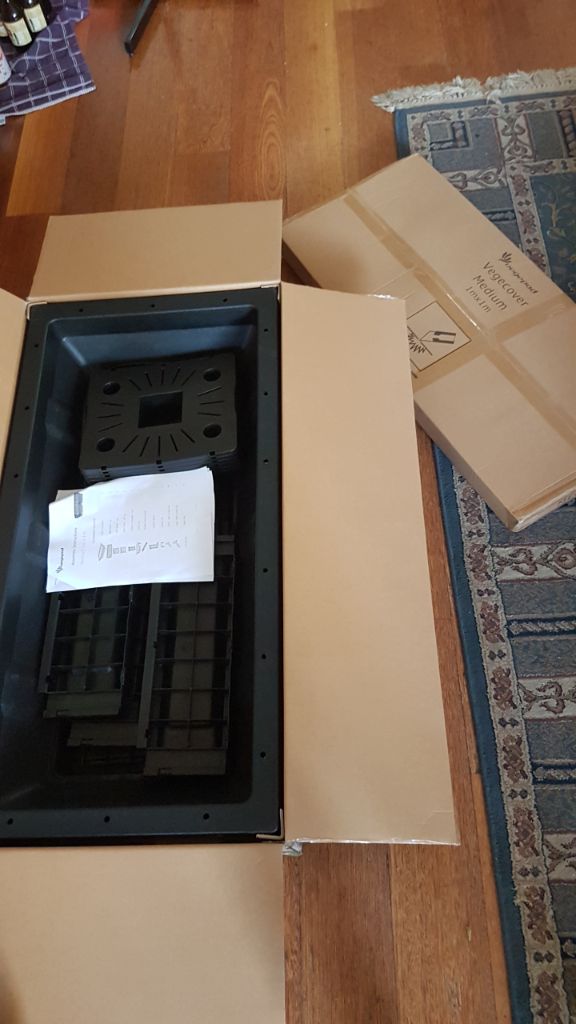
Frame above the reservoirs.
The reservoirs were already assembled.
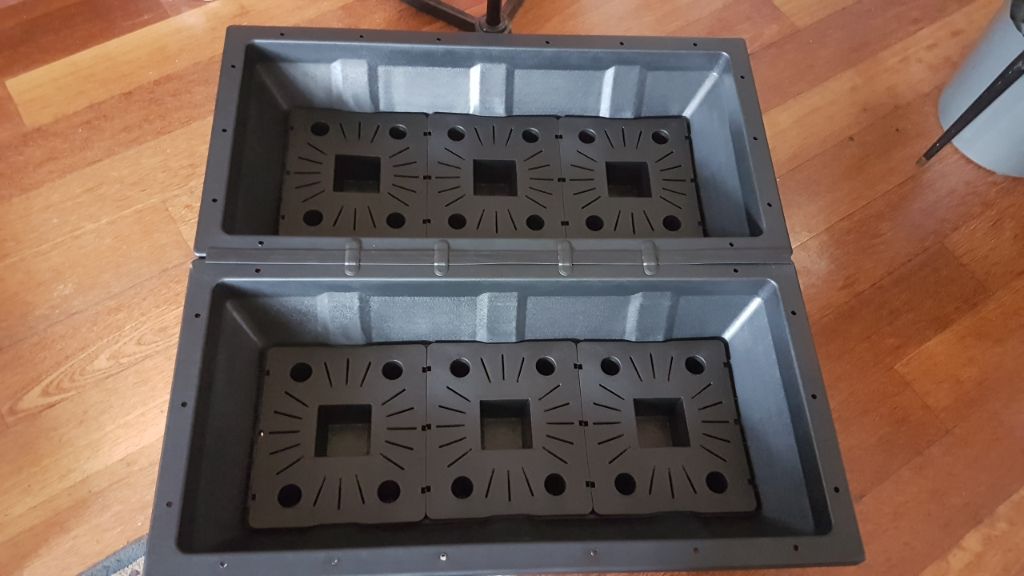
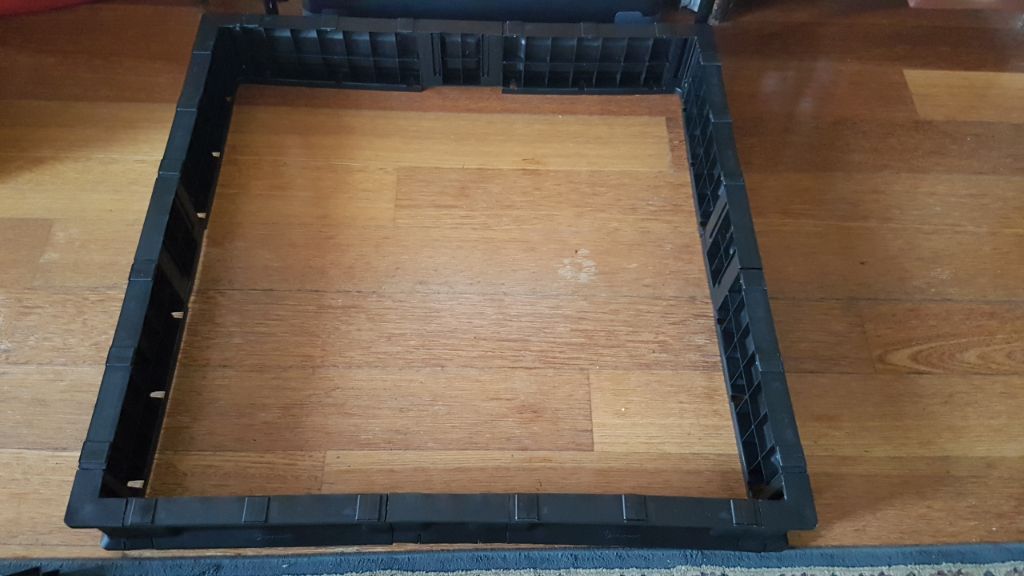
Adding the frame to the reservoirs.
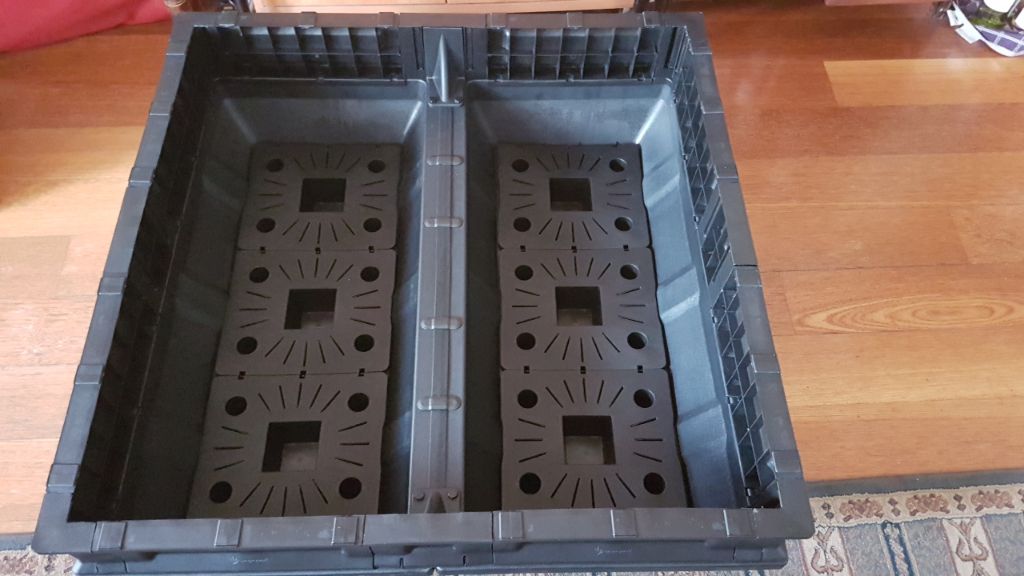
Assembling the frame that will hold the net.
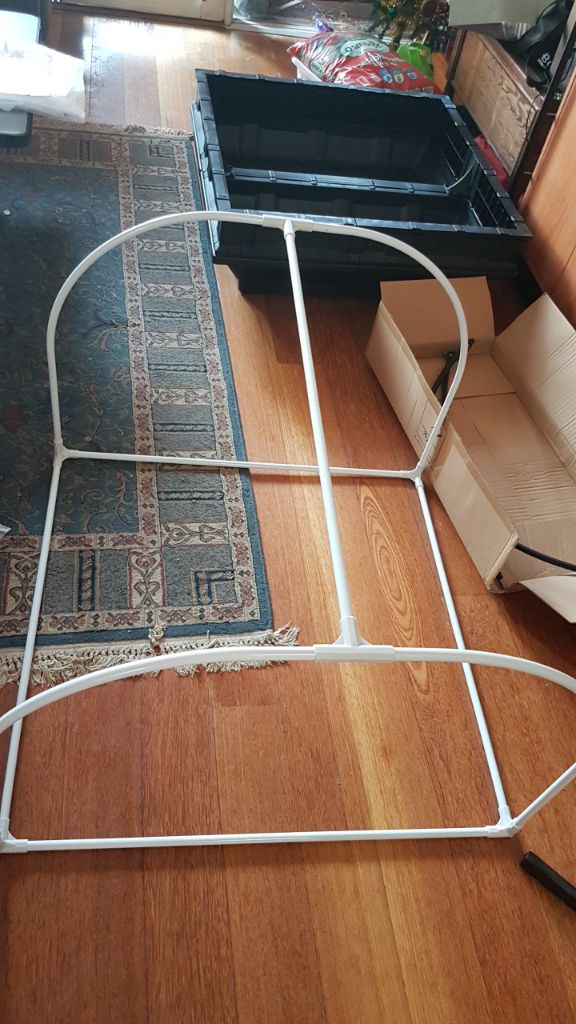
Lining up the frame with the base.
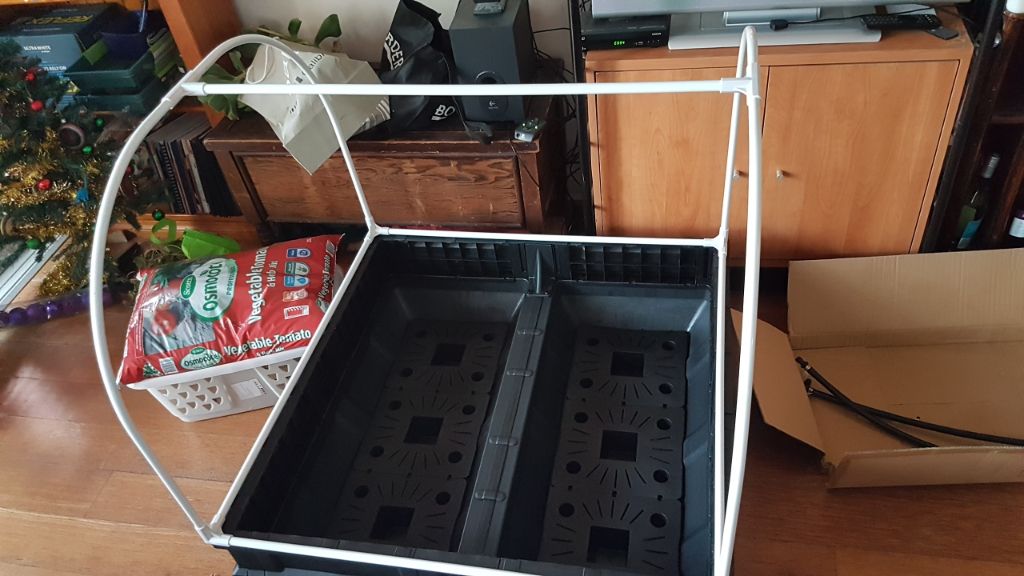
Now with the net stretched over the frame, this was surprisingly difficult and fiddly!
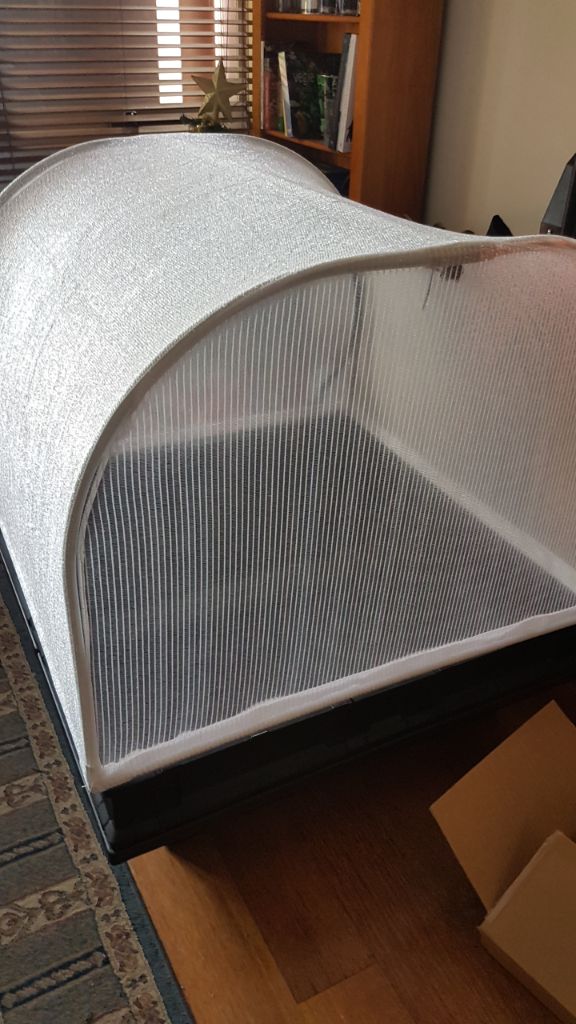
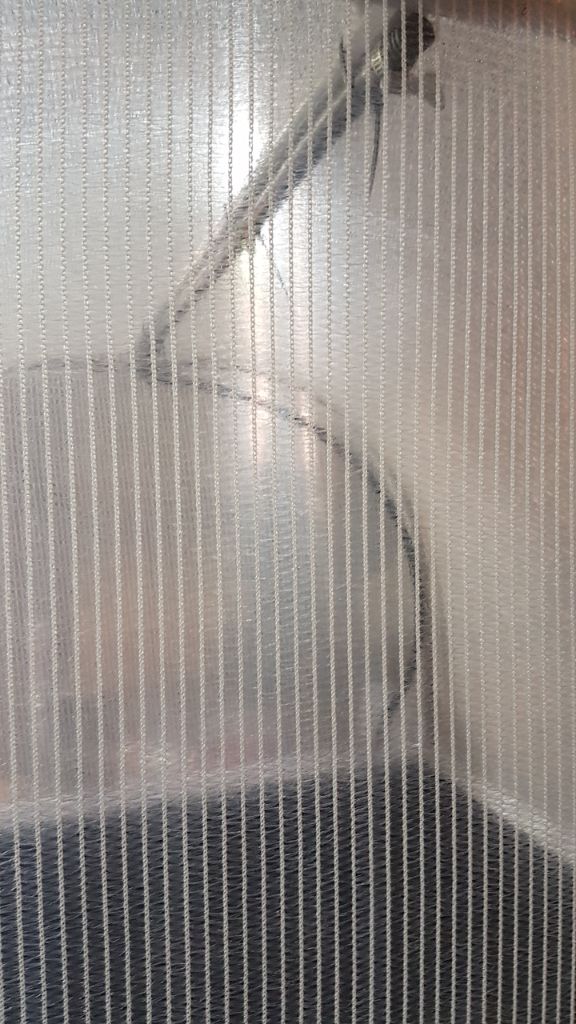
There is a mister pipe mounted on the inside of the frame.
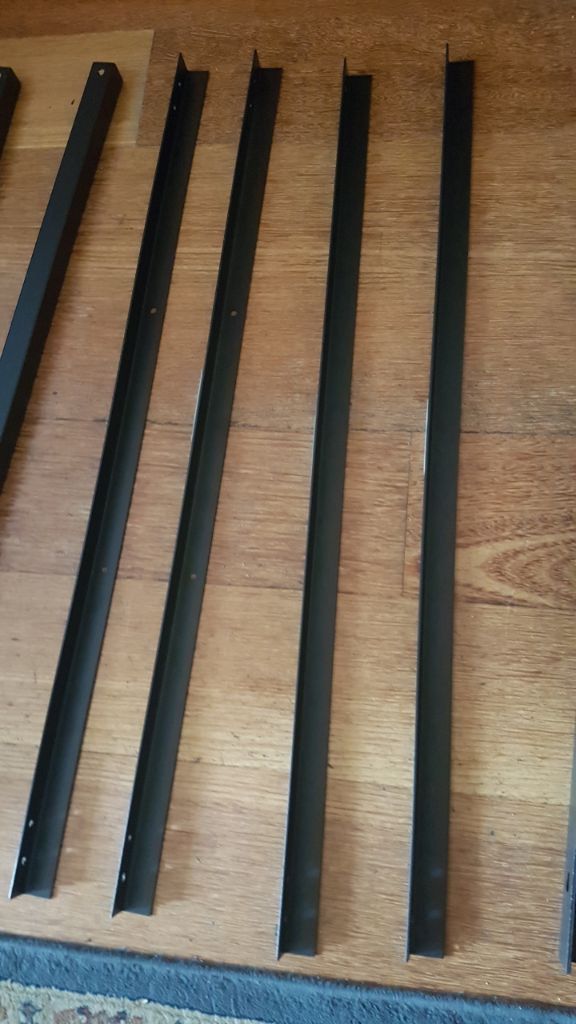
Now onto the trolley build! I chose to put my pod on wheels so I could move it around the backyard.
Here are the wrong legs I got, I was so disappointed but the friendly people at my local nursery were more than happy to help and replace them from another kit - so there wasn’t as much downtime as I initially thought.
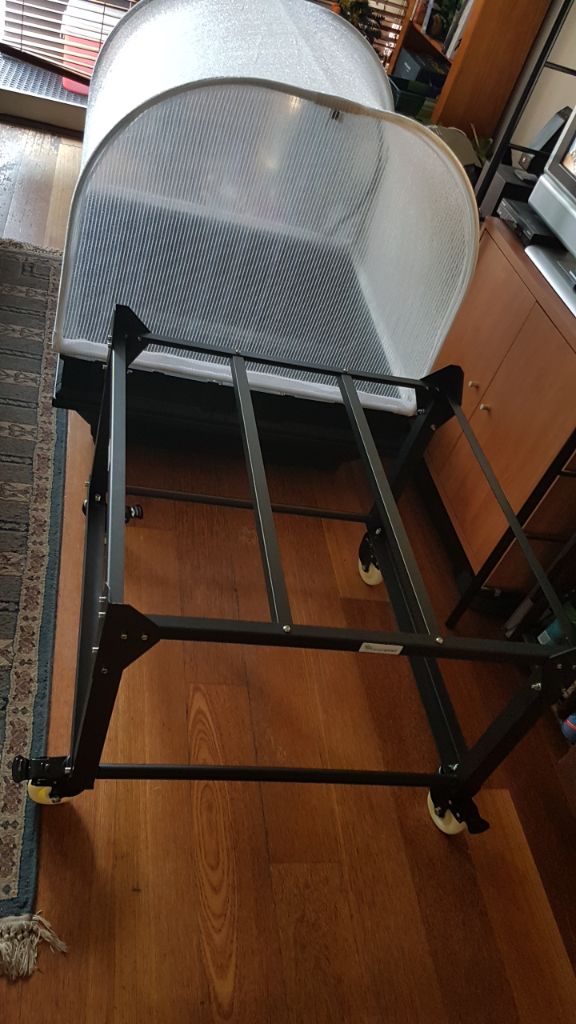
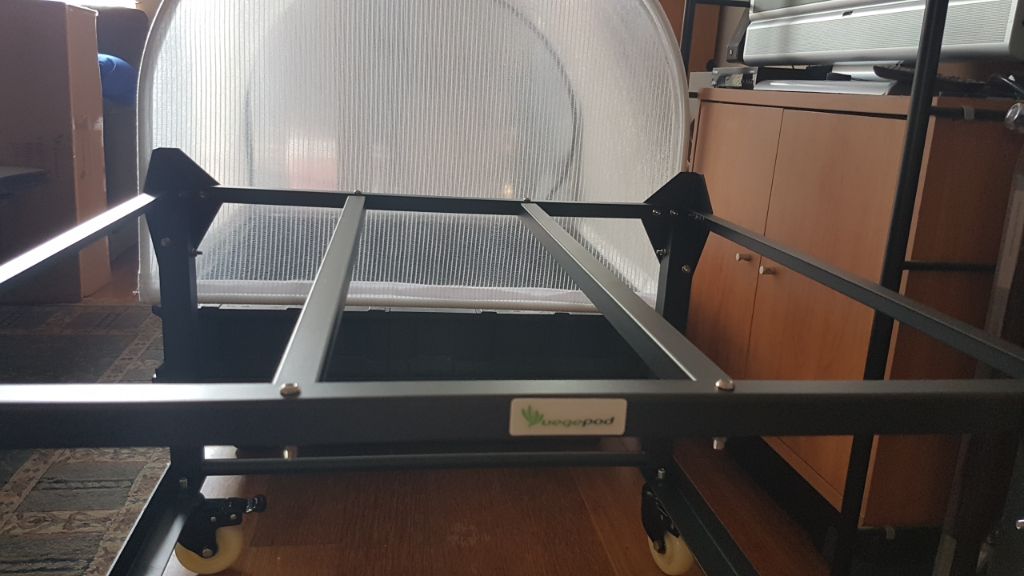
Here is the trolley complete! I’m sorry I didn’t get many of the build after getting the new legs, I just wanted to smash the build out!
Here is the completed pod!

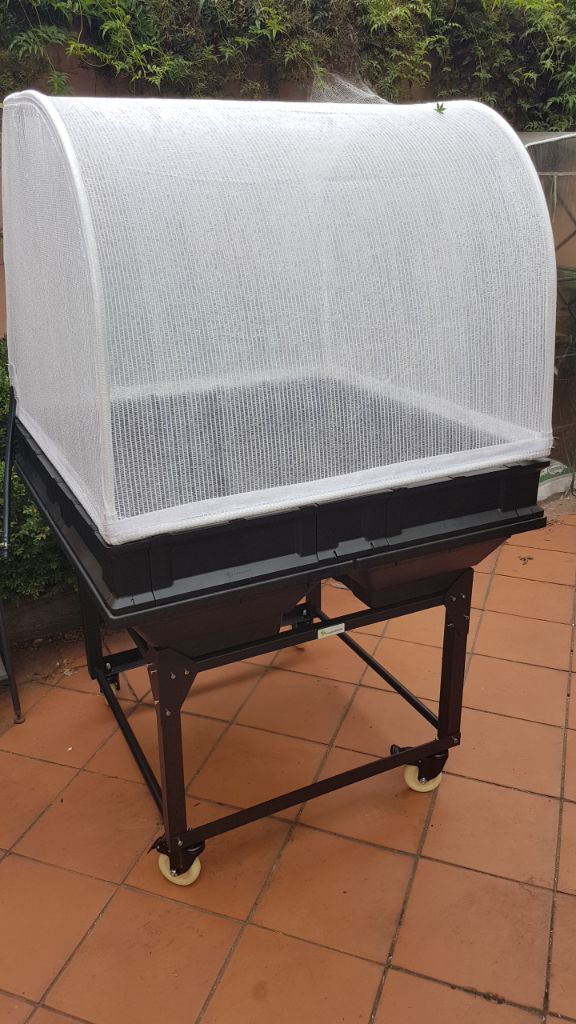
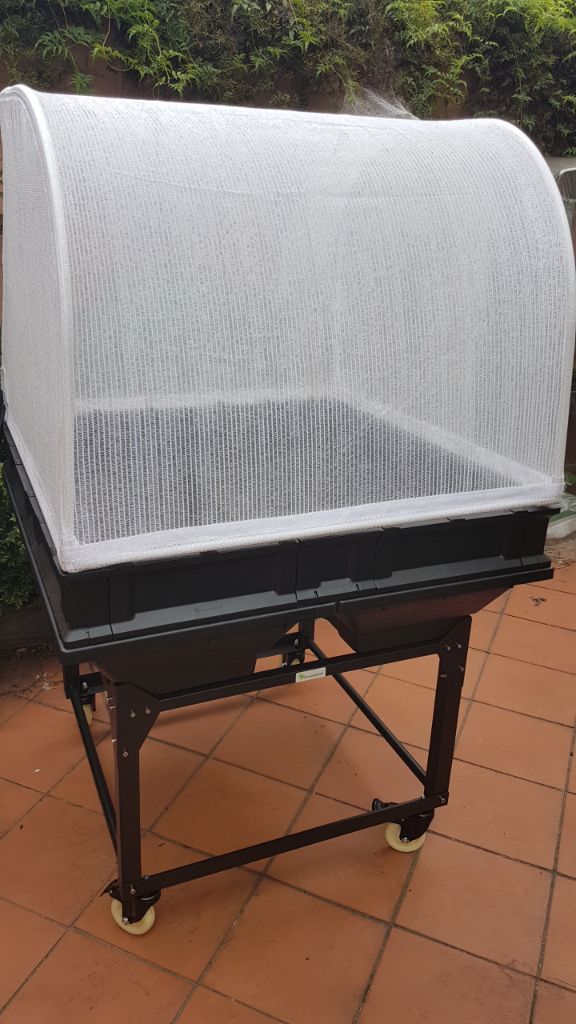
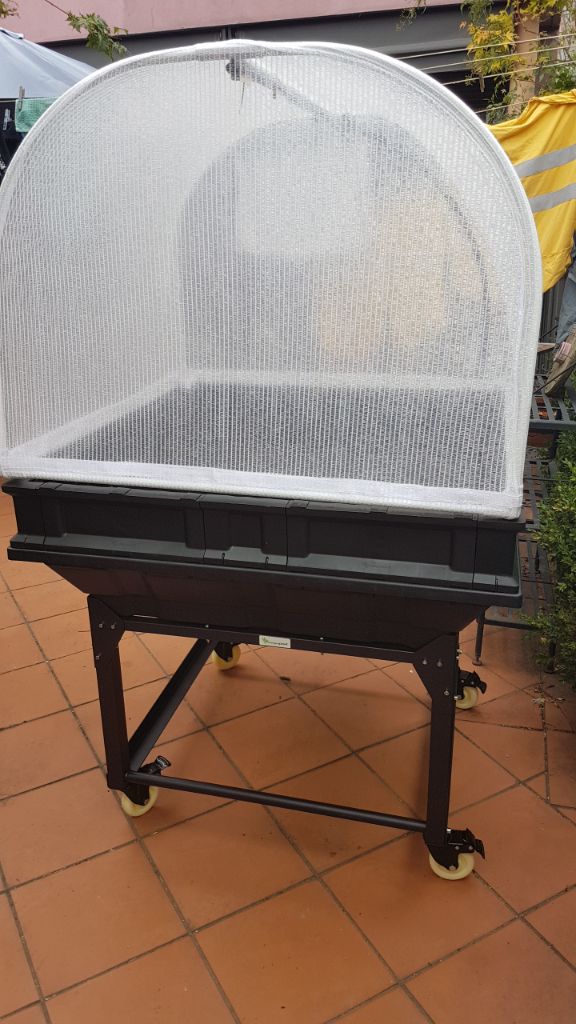
Next up I’ll need to fill it and plant it up!