Zombicide: Miniature Painting Supplies
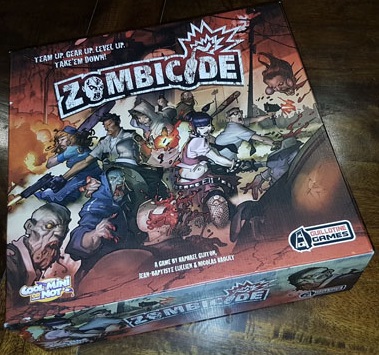
One of my all-time favourite board games would have to be Zombicide by Guillotine Games. In this post-apocalyptic board game you and your group of survivors must fight off the hoards of zombies to reach your mission objective despite the increasing number of undead shuffling or hurtling their way to you.
In addition to simply loving the game, a great side-effect of painting zombies as an introduction into the miniatures painting hobby is that any mistakes can be easily covered with dirt/blood. This means I’m more inclined to try new techniques or just experiment. For these minis I’ve decided that “Tabletop standard” is the minimum I’m aiming for (that is; as long as they look good on the table from where I’ll be playing the game from) and anything better is a bonus.
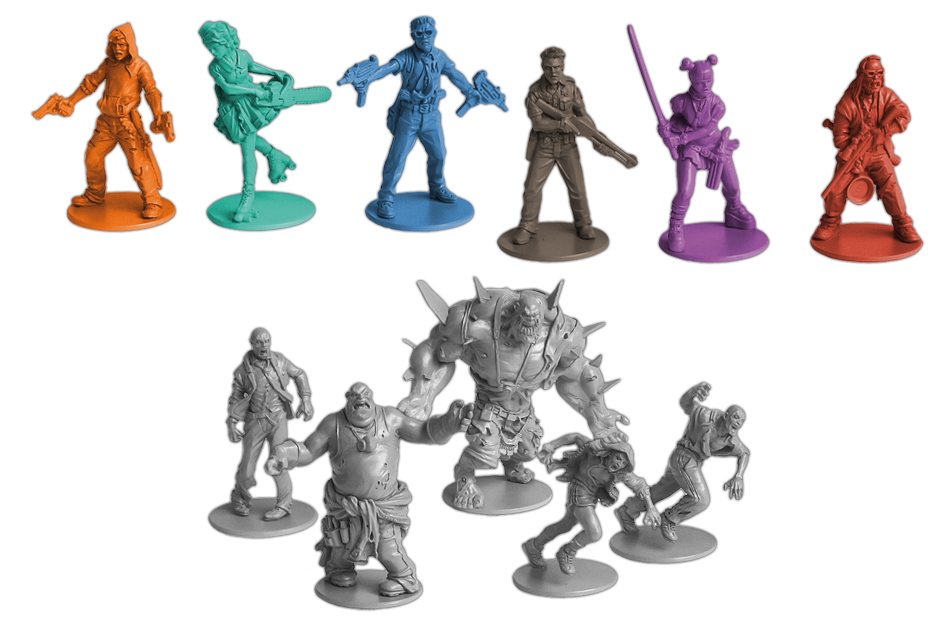
A fantastic feature of this board game is the quality miniatures that accompany it. There are (in the base game) 71 different minis; 4 different types of zombies: 40 Walkers, 16 Runners, 8 Fatties and the dreaded Abomination along with 6 survivor minis and that’s just the base set! There’s many expansions; Prison Outbreak, Toxic City Mall, Rue Morgue and Angry Neighbors, then there’s a new Medieval version Black Plague with it’s own Wulfsburg expansion! I don’t think I fully realised the scale of this new hobby I was getting into, but I don’t think I’ll be running out of minis to experiment on anytime soon.
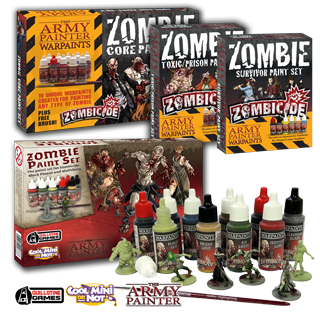
The paints that I chose to start with were the official Zombicide Paint sets from the Army Painter. I got all 3 from the first iteration (shown above), if I decide to paint our Black Plague set I’ll also get the bottom one shown above. As a newbie to the hobby I was overwhelmed by paint choices not only with different colours but from different manufacturers; Games Workshop’s Citadel range, p3 paints, Vallejo; so going for a ready-made set I thought would give me everything I needed to get started and I’d branch out if/when I actually know what I’m looking for. These paints come in nice dropper bottles and can be used out of the bottle as they are already thinned, but it is recommended to be thinned slightly more with water to get better control of the coverage.

The Army Painter also has a great range of primers in various colours to prime the models before painting. I chose to go with the Skeleton Bone colour so they would already have an accurate base colour on which to put the washes, blood, etc. without having to actually paint on the flesh tone.
The starter set also comes with a beginner’s paintbrush but I quickly decided to get a number of others for different effects. For my good brushes, I wanted to ensure that I didn’t get paint into the ferrule of the brush as this causes the bristles to come apart and eventually fall out of the brush. So for mixing paint I got some cheap craft brush sets and splurged on a few good brushes to experiment with sizes, brands and techniques.
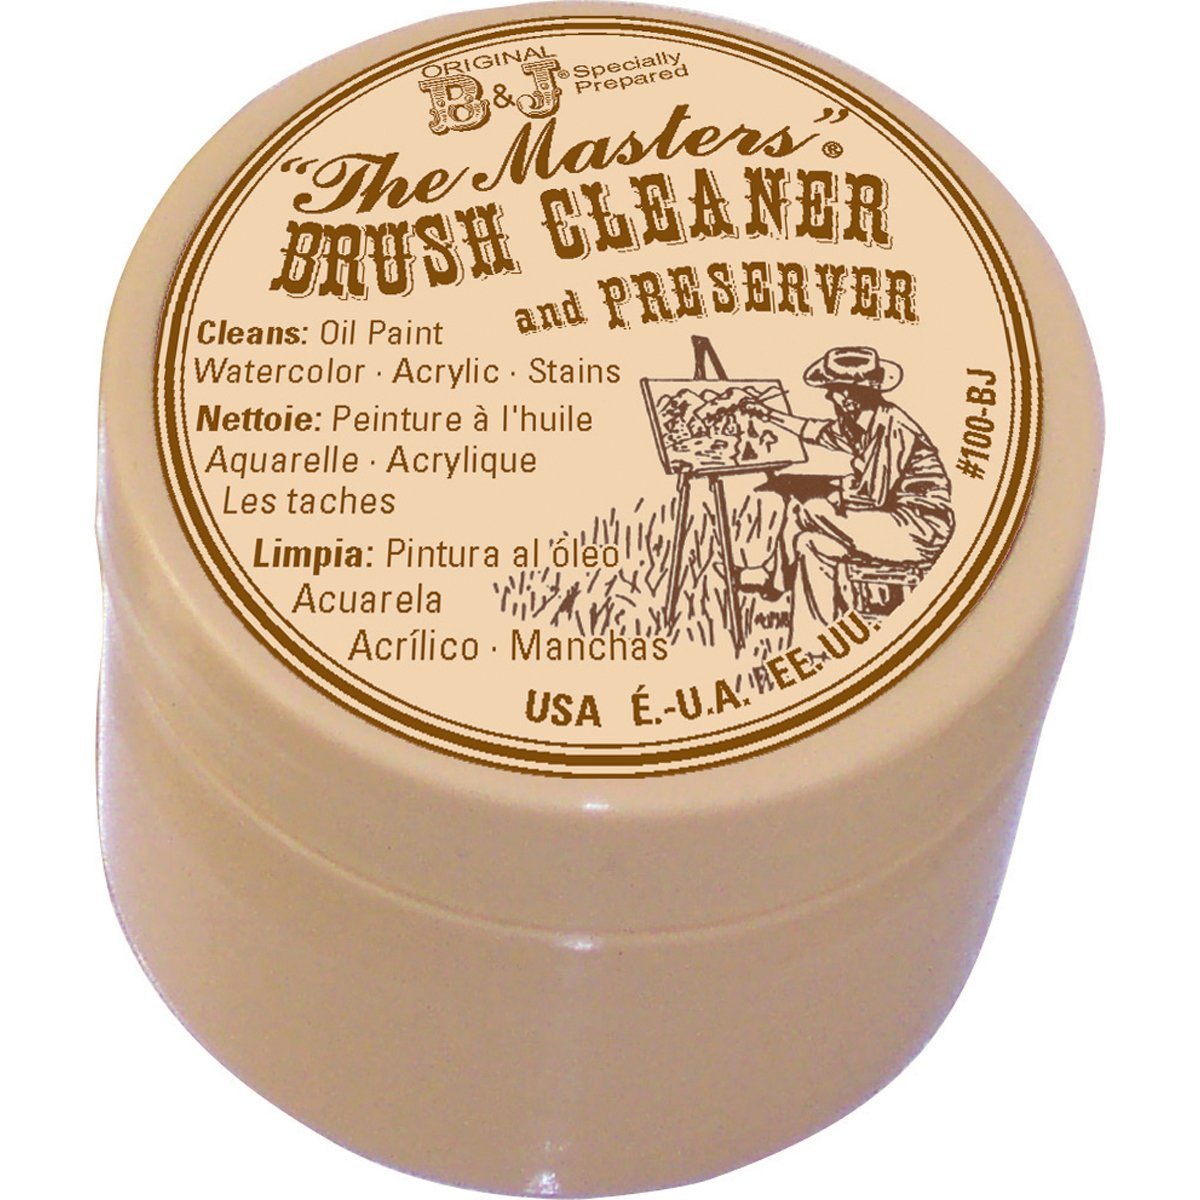
With great brushes comes great uh, required cleaning. With a few good brushes I did want to make sure I took good care of them so they’d last. Obviously washing a brush with water is a good first step but I wanted to find a solution that would make sure there was no remaining paint that would misshape my brushes. Some sites and videos that I had watched recommended this The Masters Brush Cleaner and Preserver
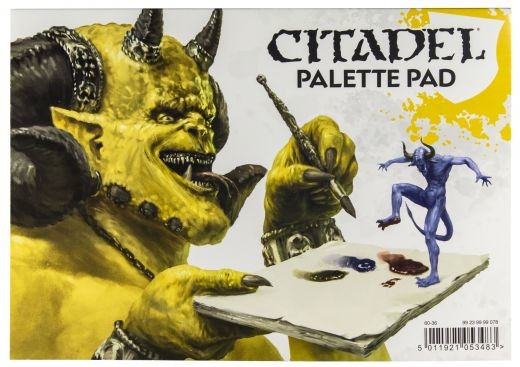
Lastly, I wasn’t sure on what kind of palette to use for the paints, I bought a cheap plastic normal paint pallette which I quickly realised would mean cleaning it a whole lot. Luckily I was gifted the Citadel paint palette which is essentially slightly glossy paper where I can put small dabs of paint and water to mix that I can just leave any half-dried sections of paint and create another glob.
So that’s a summary of the supplies I gathered before actually starting as I’m completely new to the hobby. This is certainly not the only way to go for a beginner and I probably didn’t need a lot of this stuff but I wanted a range and to try a few different things out before settling on what works best for me. Up next I’ll be prepping and priming the models.