Zombicide: Prep and Priming the Minis
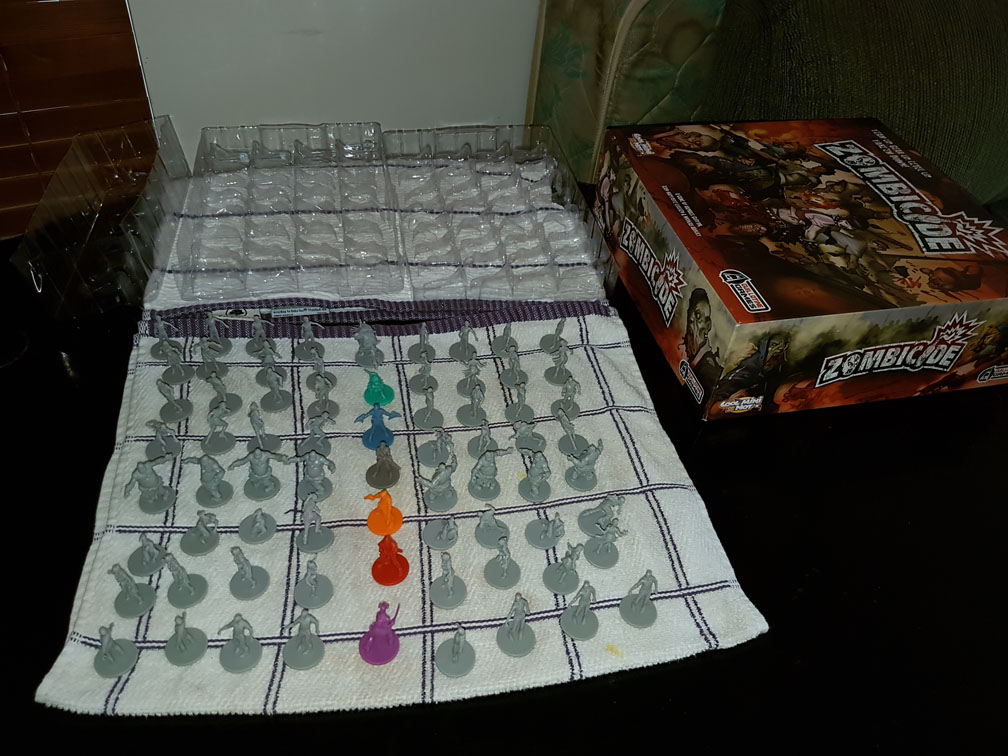
After gathering all of my supplies, it was time to actually begin!
The first step was to inspect the minis for any flash lines, these are inconsistencies in the model resulting from the moulding process where the plastic may seep out slightly for example between the halves of the mould. These lines can be removed with a craft knife or file but overall I found the Zombicide models to be of really great quality; often these lines can be seen on models that have had many, many production runs and the quality may degrade slightly over time. Most of my models didn’t need any touching up but it’s definitely a good idea to check.
Next I washed all the minis in warm soapy water, I was careful not to make the water too hot as that could misshape the minis. I left them all to dry for a few days to make sure they were completely dry.
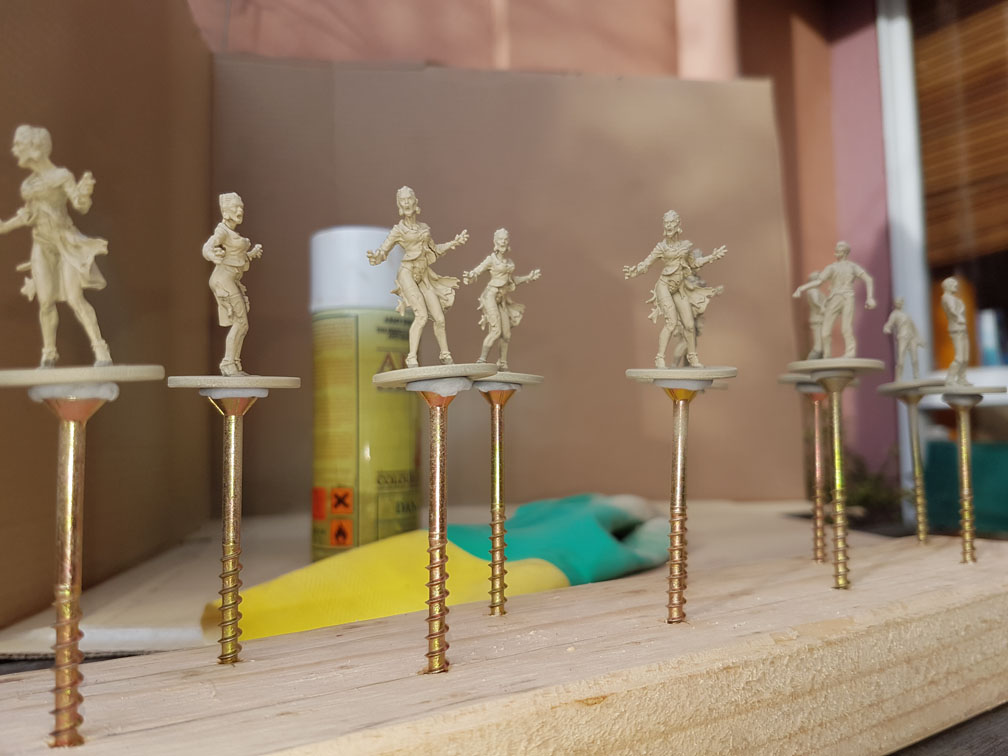
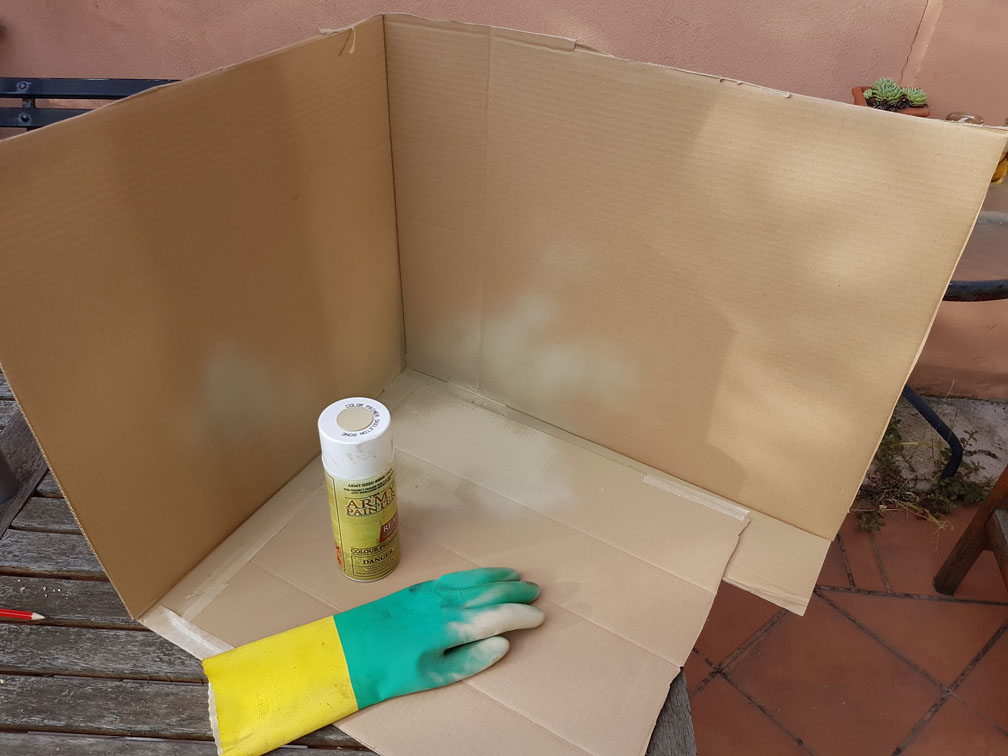
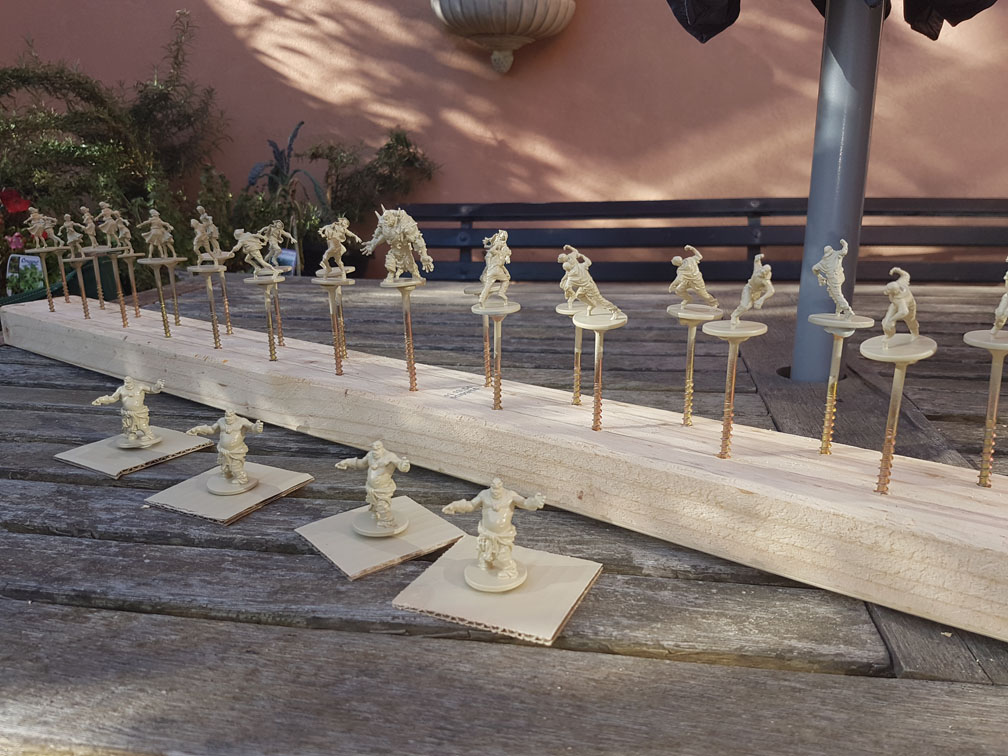
Before finally busting out some paint I needed to build a few more tools. First I needed a good way to hold the minis while I sprayed them and also a good drying solution that I could move around the house out of the way while they dried. Initially, I tried blu-tacing a group of minis to cardboard to spray but I couldn’t hold the minis at extreme angles while I sprayed (to get the underside of a fattie’s belly for example). So I came up with another solution; I bought some long wood screws to act as individual mini stands and got a spare piece of wood. I drilled 3mm holes at even intervals along the length of the wood and checked I could sit the screws in nicely. I also built a crude painting shelter out of cardboard to make sure my backyard setting wouldn’t also be a nice shade of necrotic flesh.
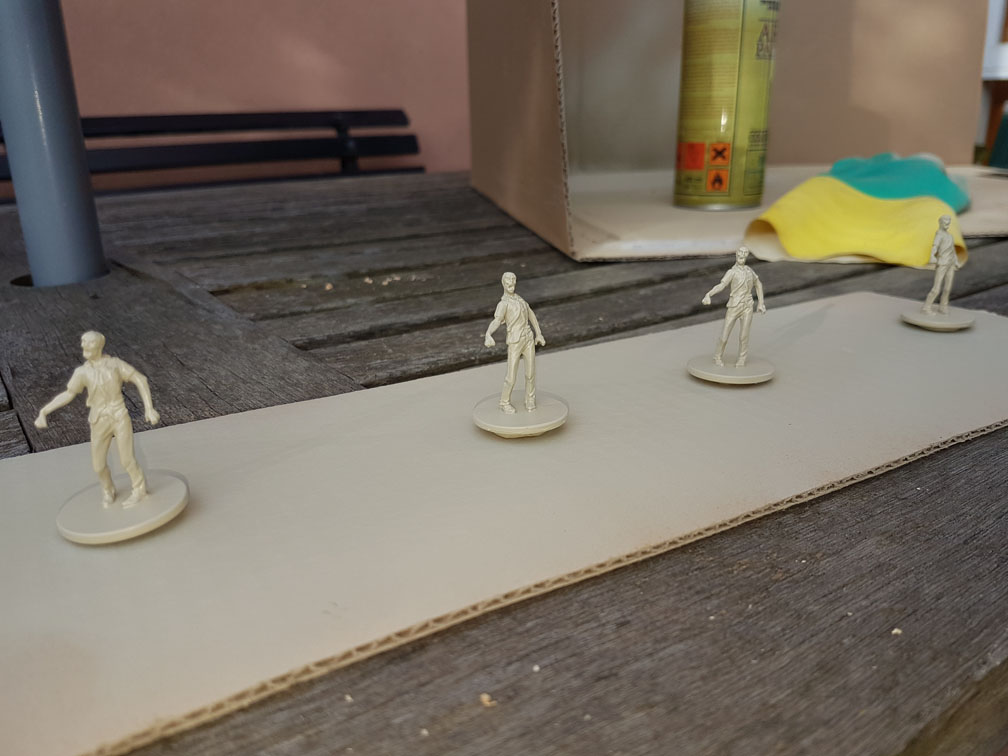
Finally; priming time! Each mini was blu-taced to the head of the wood screws and sprayed with one quick even spray on each side, only with an extra spray if I really missed part of the mini. I read that it’s really important to start spraying before you put the mini in the spray path, and keep spraying until the mini is out of the spray path to ensure even coverage. The screw-mounted minis were then replaced into the wood to dry for at least 24 hours. I actually did this step over multiple days as there were just a lot of minis to do in one go.

After priming and at least 24 hours of drying time the minis went back into their box to prevent more dust, etc. from sticking and potentially ruining the coming layers of paint. This also meant I well and truely got distracted so standby for the (eventual) painting posts!