COVID Face Masks
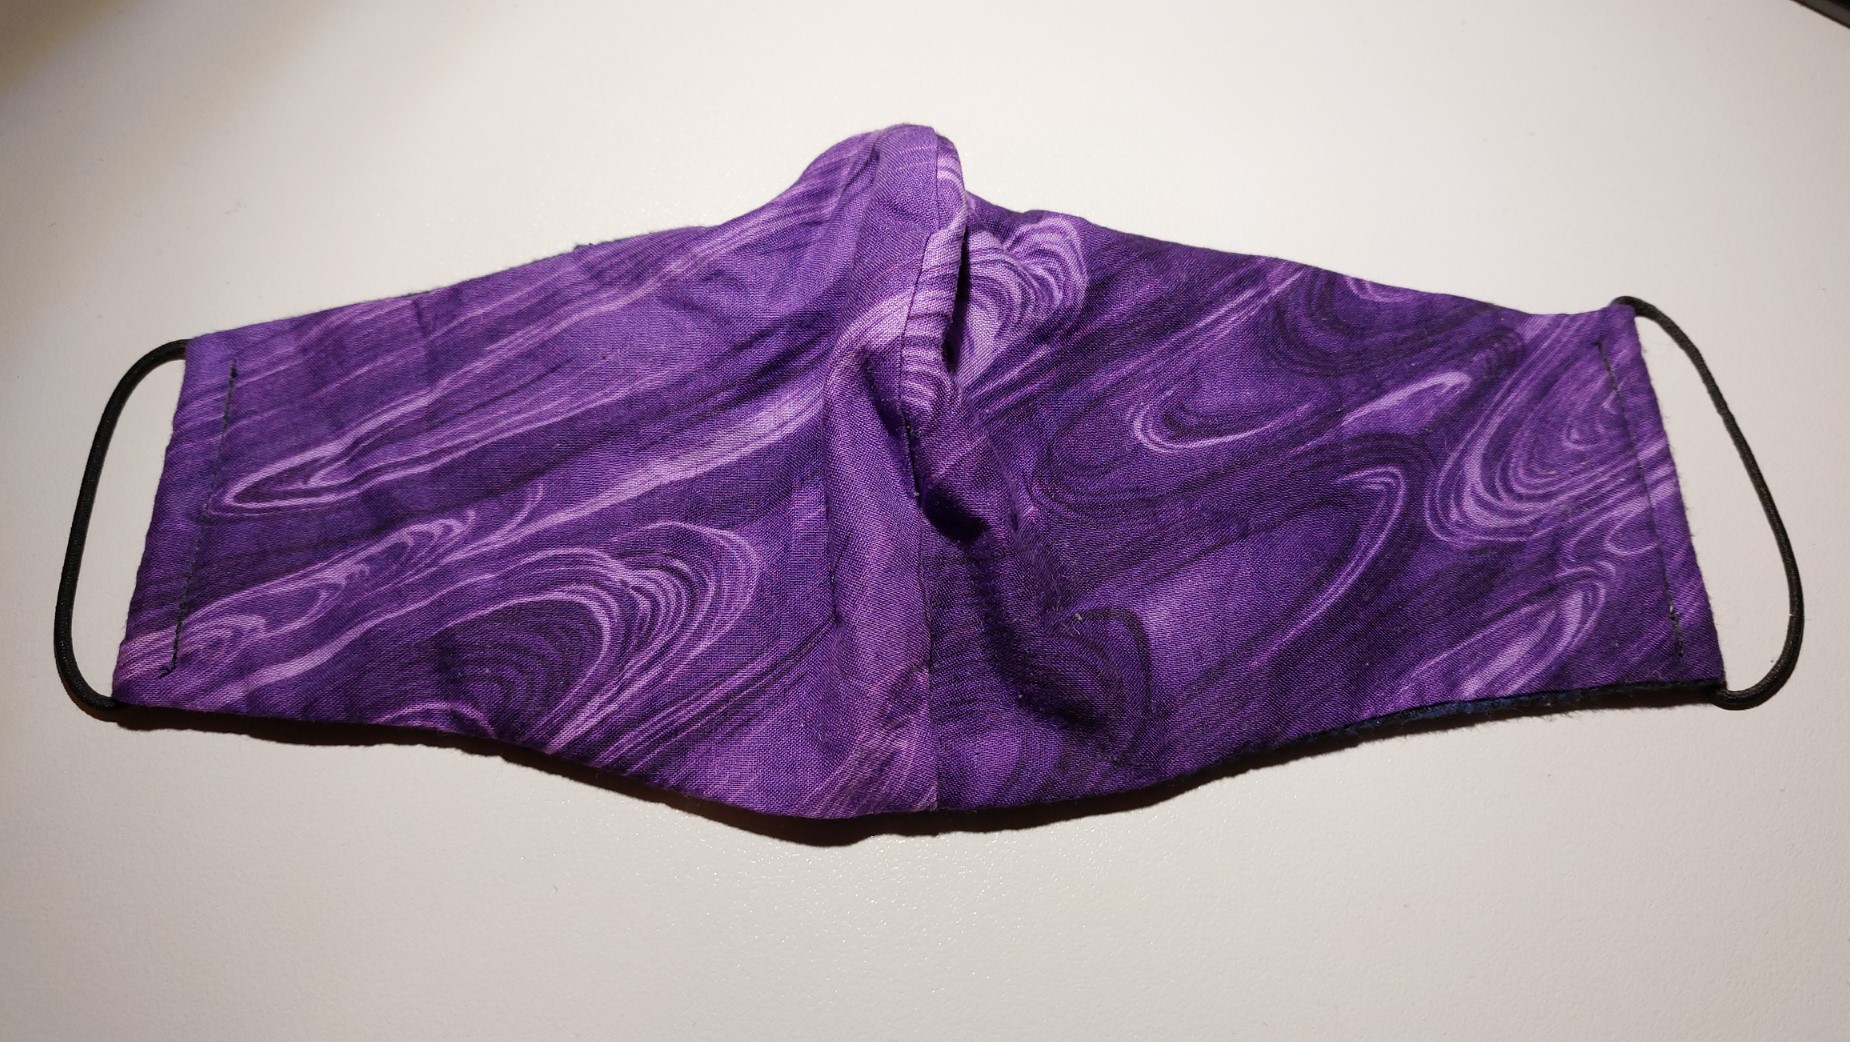
As the situation for COVID-19 is getting worse here in Melbourne during lockdown it looks like masks are the way of the future so I have sewn a couple of homemade masks to use on our weekly shopping trips. If all else fails at least it’s a good lockdown project!
I used this great 2-to-3 layer pattern called the “Olsen pattern” with instructions from Sew Can She. I see now that a child size has also been added as well as the adult that we used.
First I pinned and cut out all of the pieces. We made a few masks all from scrap fabric, for this one I chose this nice soft fabric for the inside and a lovely purple swirl I used for my quilt for the outside.
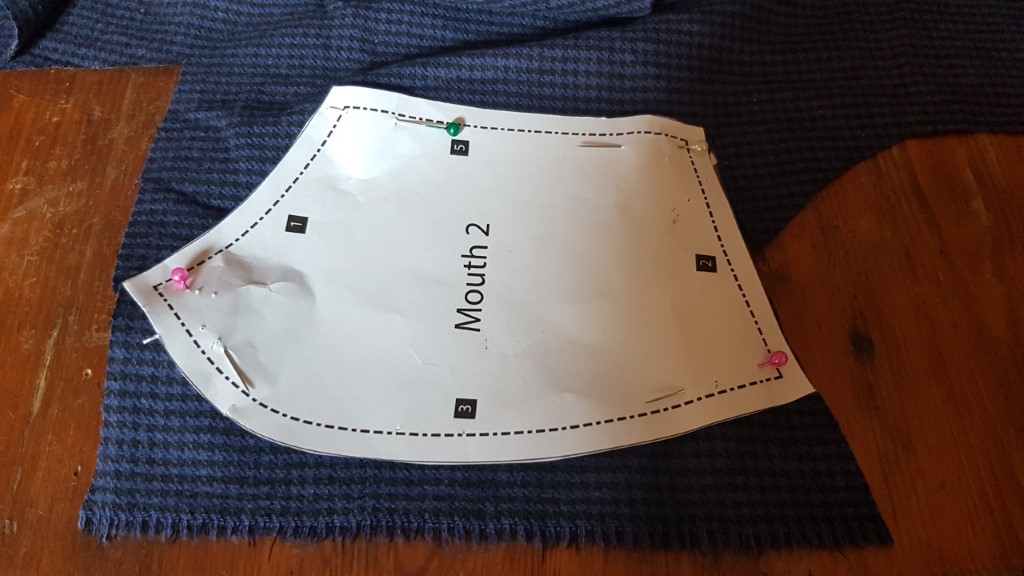
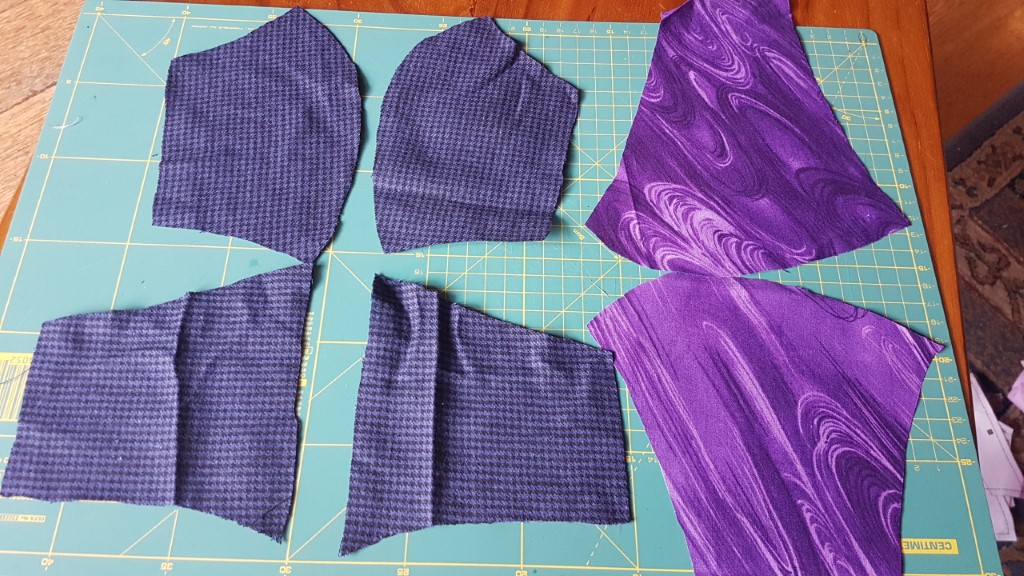
Here are all the pieces cut out. This pattern has a pouch that allows me to put an extra filter in it and also means there is no hand-finishing (if not using the nose wire) for this design.
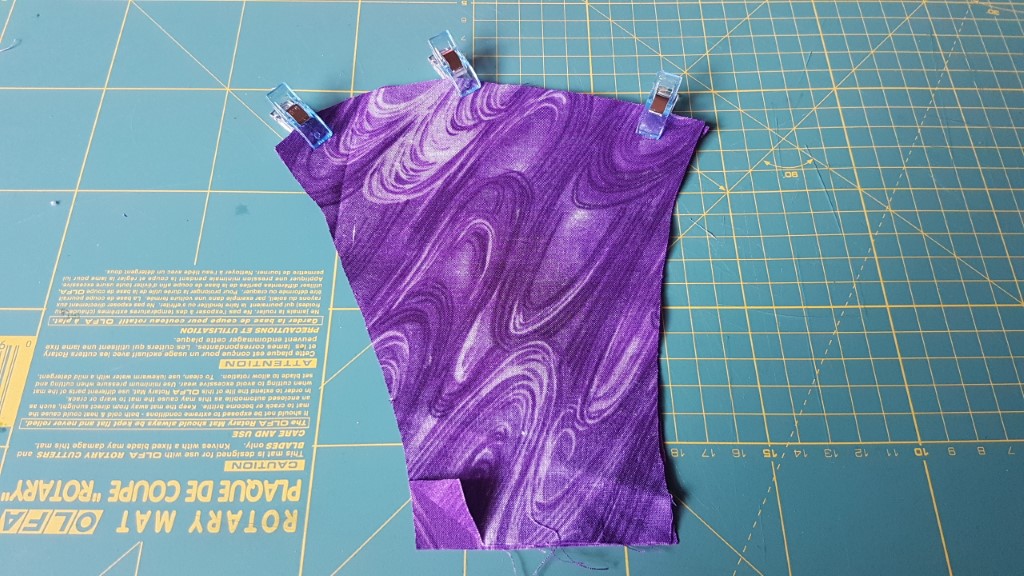
First I clipped the outsides right-side-together and sewed along the nose.
Then I folded, pressed and sewed the seams for the inner flaps.
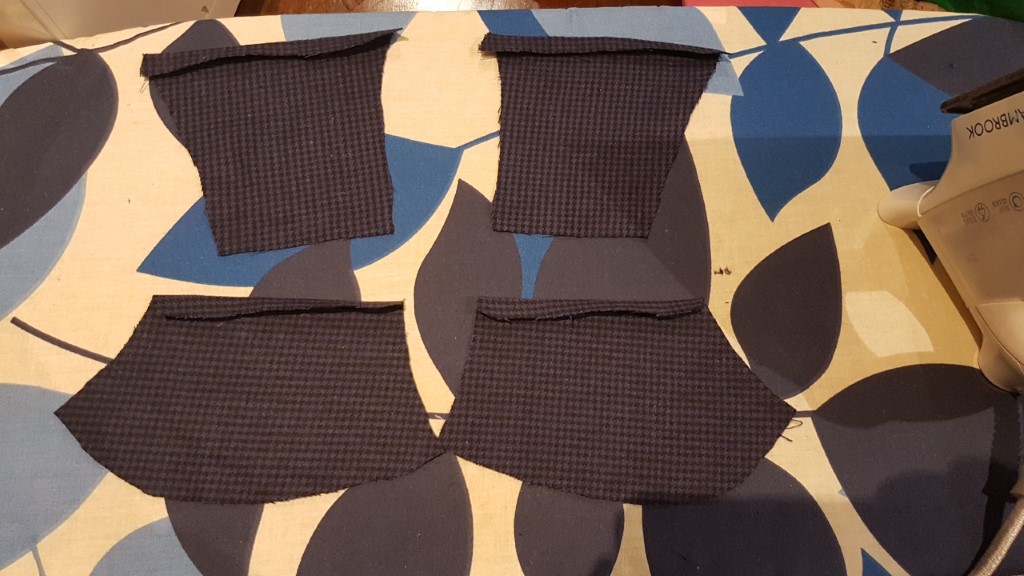
I tried out chain sewing as described in the Sew Can She instructions to do these inner flap seams where I didn’t cut the threads until after I finished the pieces. This saved so much time! I’ll definitely have to employ it in my other piecing projects.
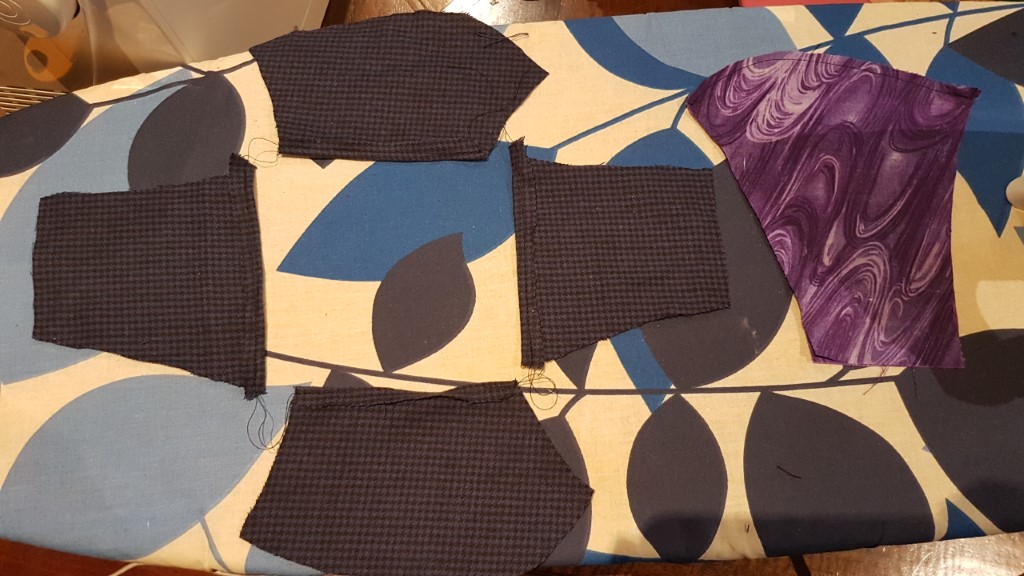
Then I clipped and sewed the inner layer which will be going over the nose.
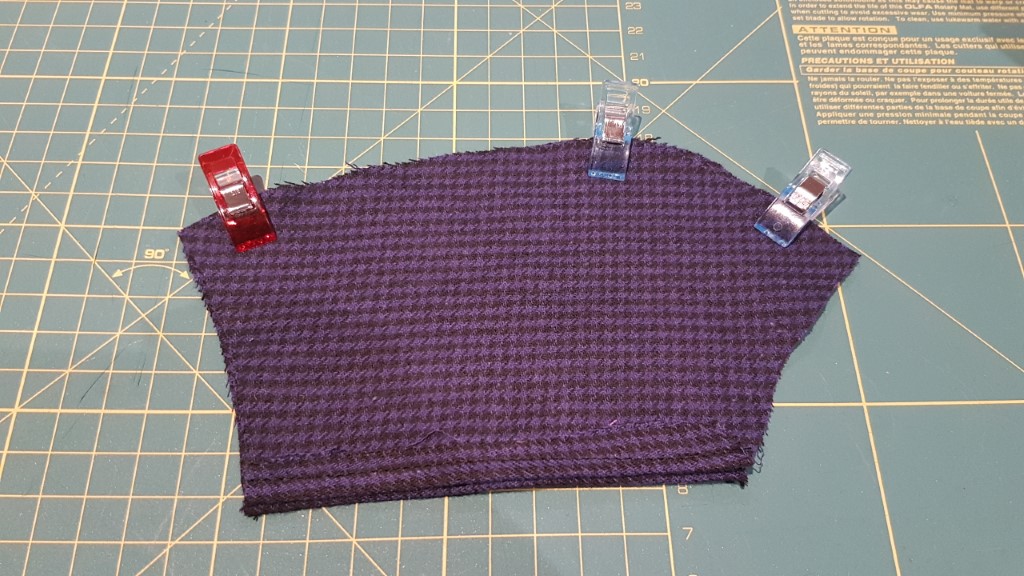
Next up was to assemble the mask so I first lined up the right-sides-in of the outer mask and the inner flap. It’s really important to line this one up first then add the side flaps so that it opens correctly.
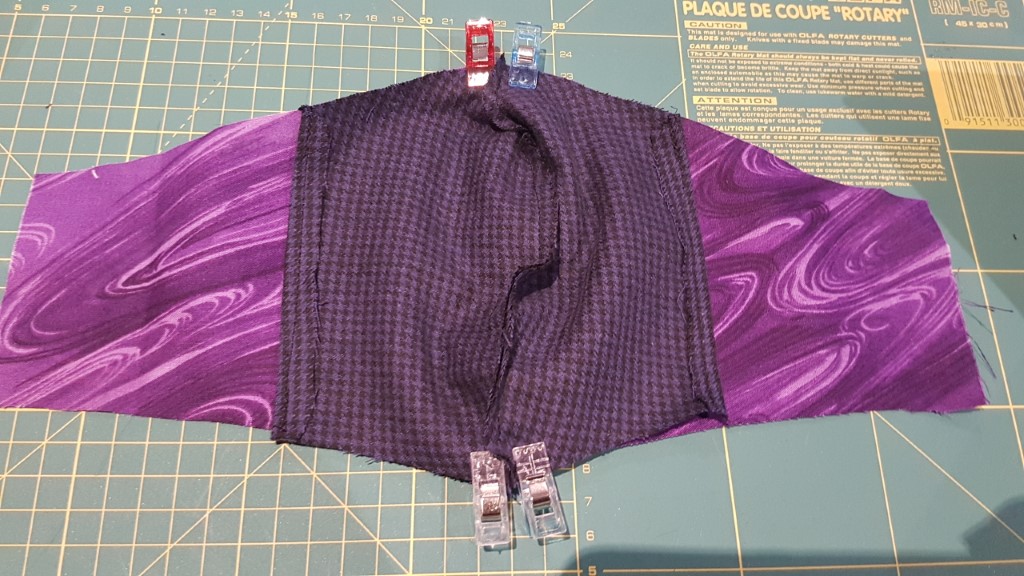
Next up (before sewing the previous step) I added the cheek flaps and pinned everything in place. The nicely finished edges you can see in this picture that will form the opening where another filter can be added.
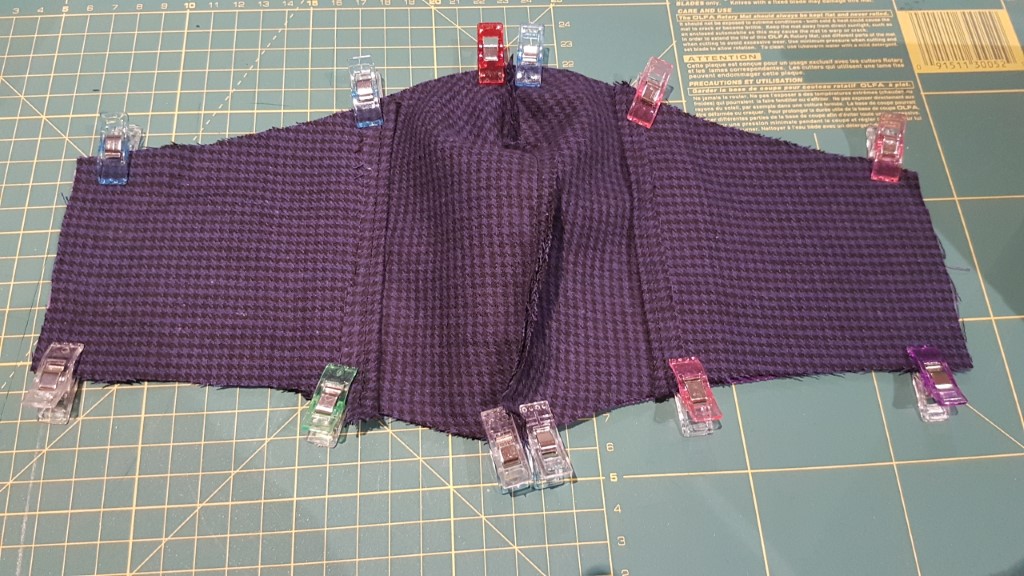
Here’s just an extra picture showing the wrong side of the outer layer (the other side of the previously clipped picture).
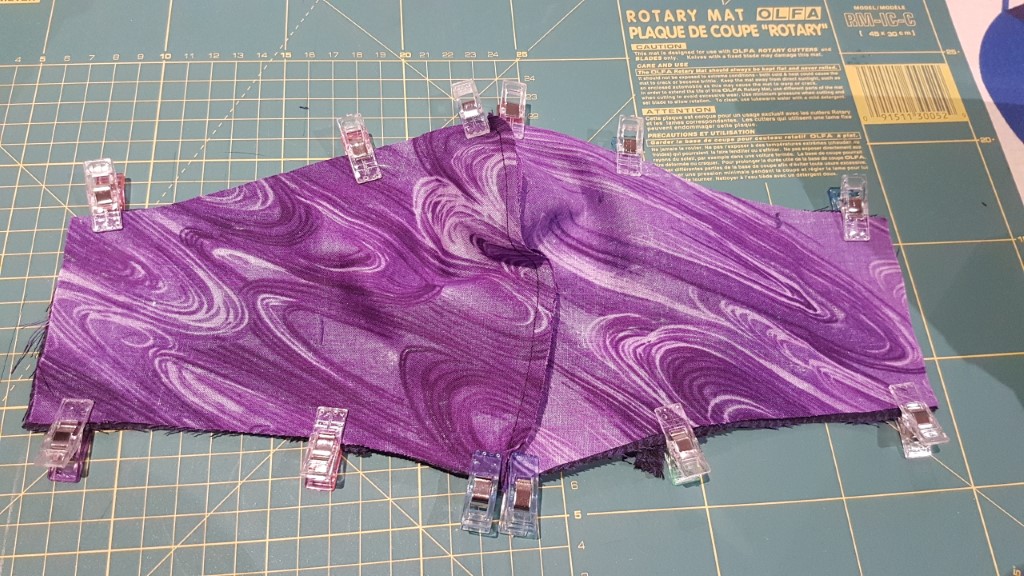
I sewed all the way around - there’s no need to leave an opening to turn inside out because the inner flaps serve this function so I don’t have to hand-sew the final seam, yay!
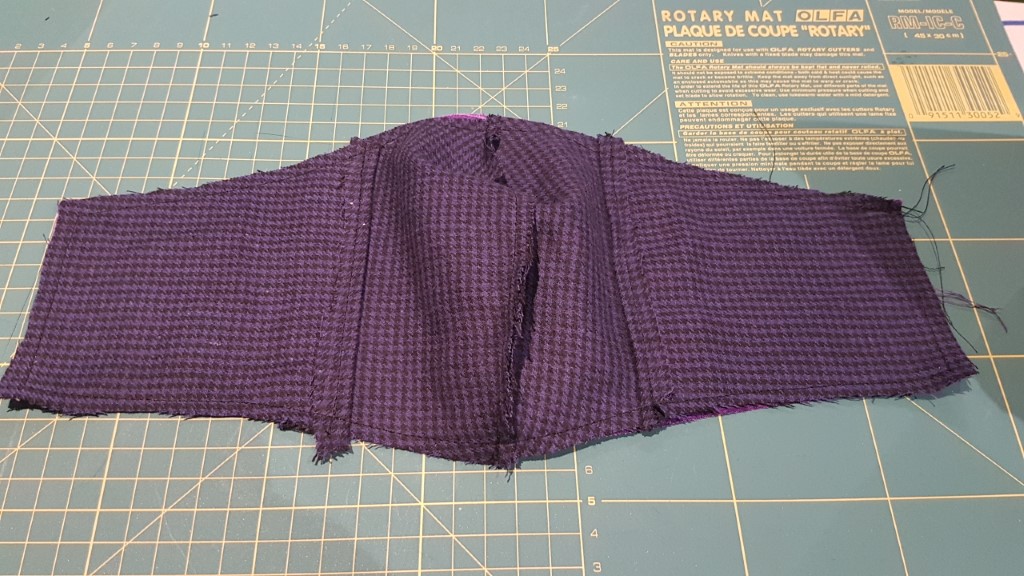
It looks a lot neater from this side.
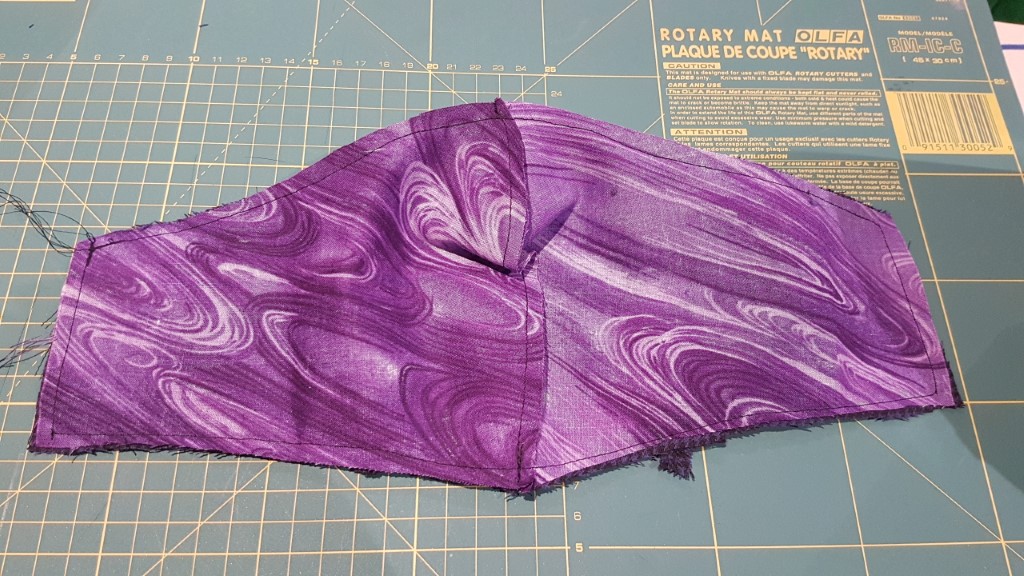
I turned it right-side-out and pressed around all the edges which made this look much more polished than I was expecting!
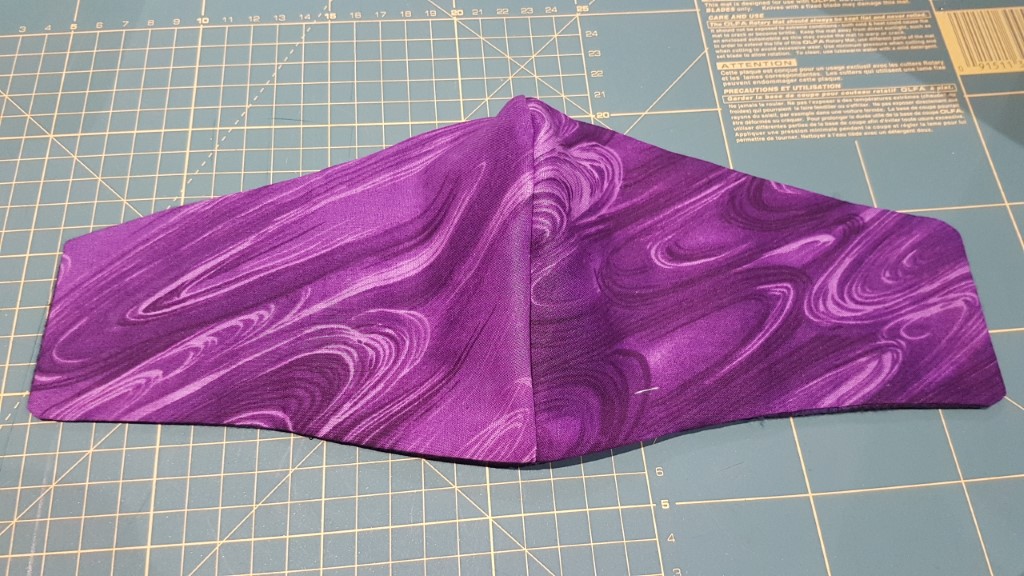
Here’s the view from the inside where you can see the flaps for the extra filter.
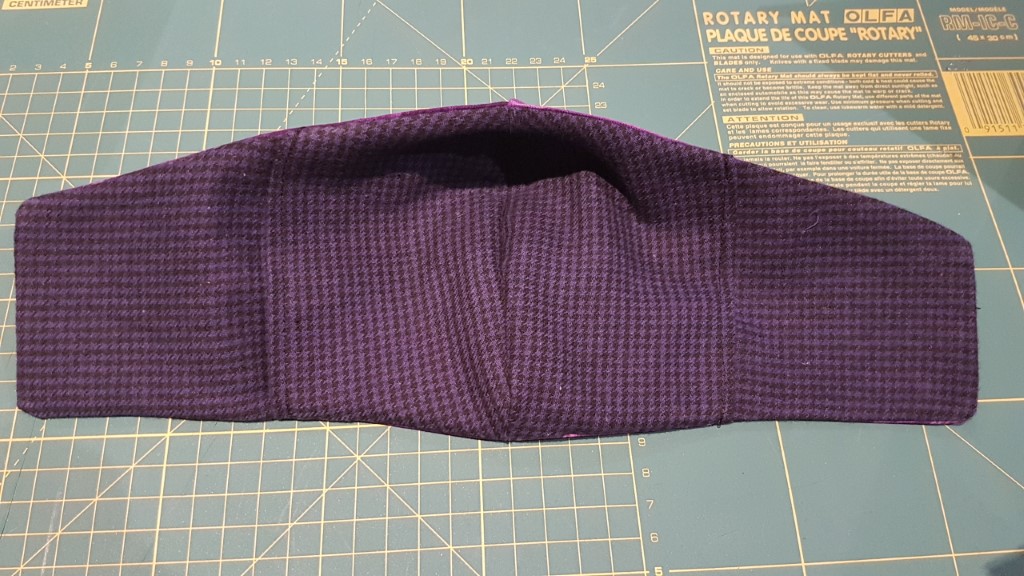
The final step is to add a way to attach it to my head. I’m not a fan of the ones that go all the way around the head as it falls down a lot so I went with hair ties to go around my ears.
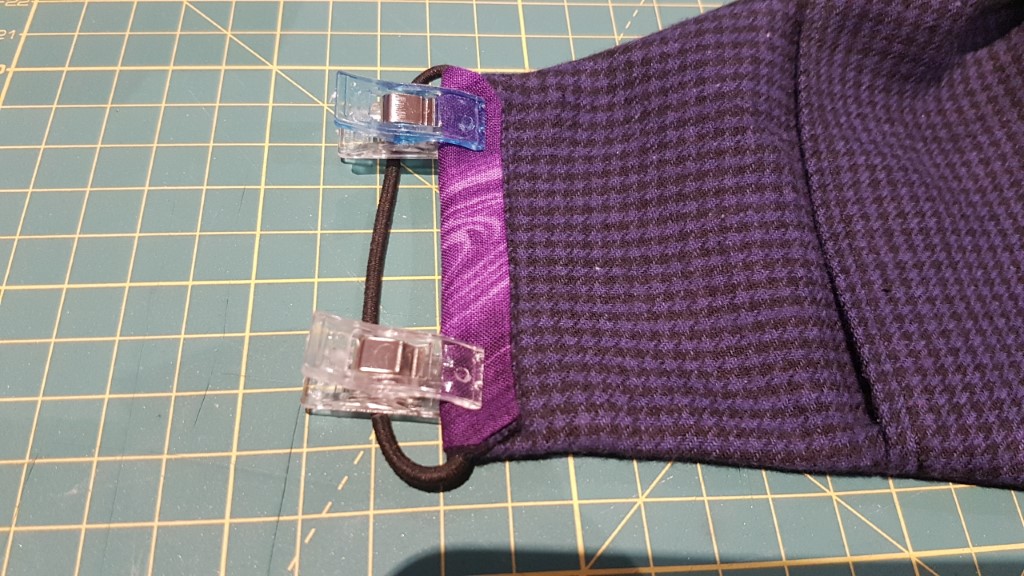
I clipped both around the hair tie and sewed in place.
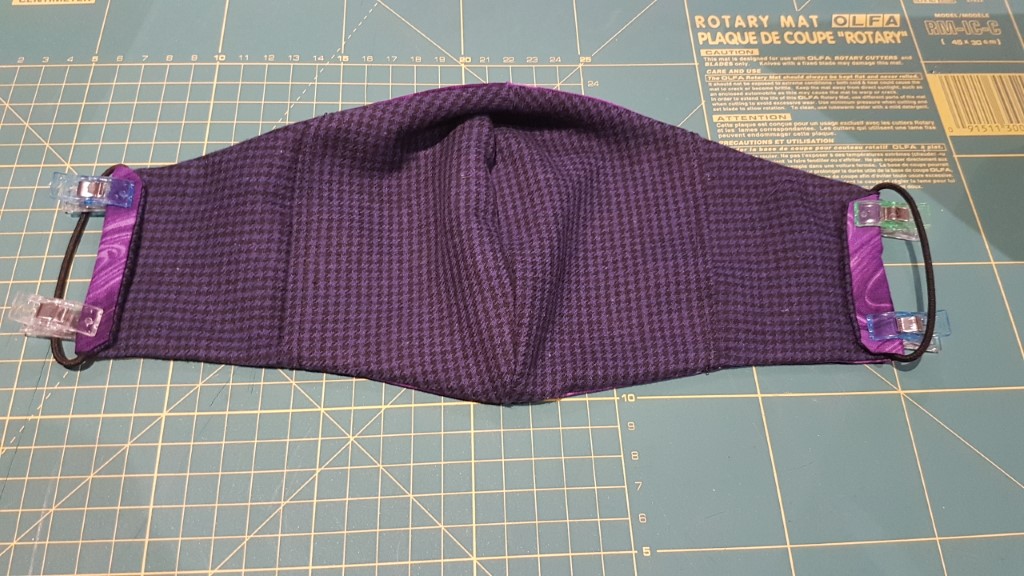
Finally after a few test fits I decided to add some spare wire over the nose to fit it better to my face and not fog up my sunnies. I measured it to go from roughly in line with the centre of my eyes and over the nose. I also folded it over and twisted so I didn’t have the sharp edges poking through.
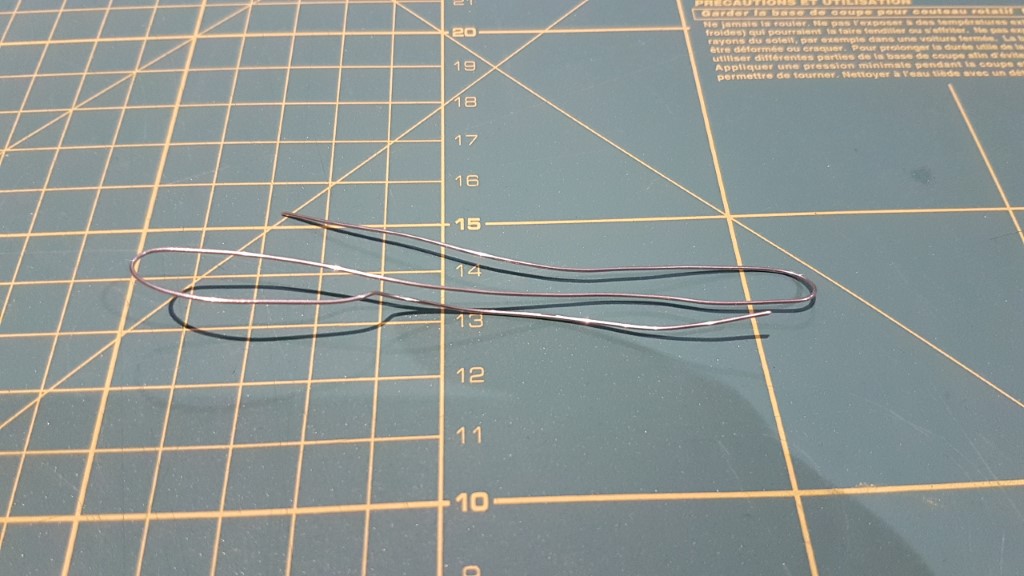
I turned the mask inside-out again and hand-sewed this into place on the wrong side over the bridge of the nose.
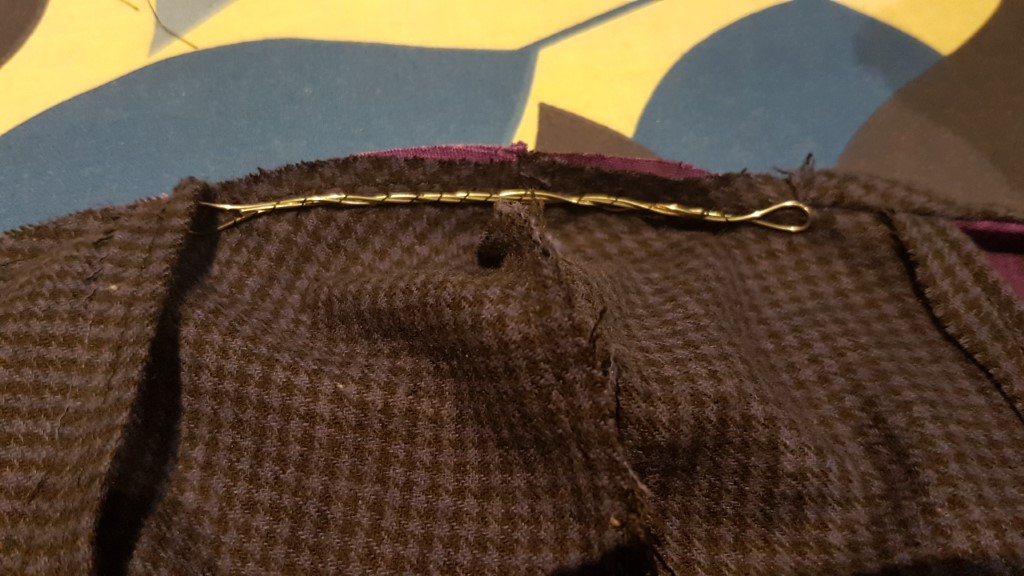
This just shows the final location of the wire.
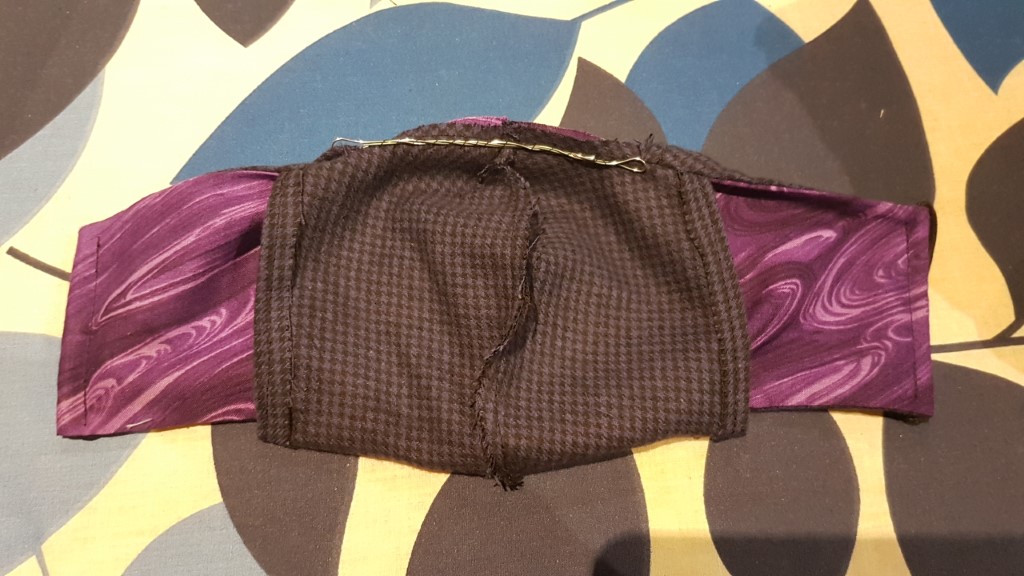
I fitted it to my face by bending the wire over my nose.
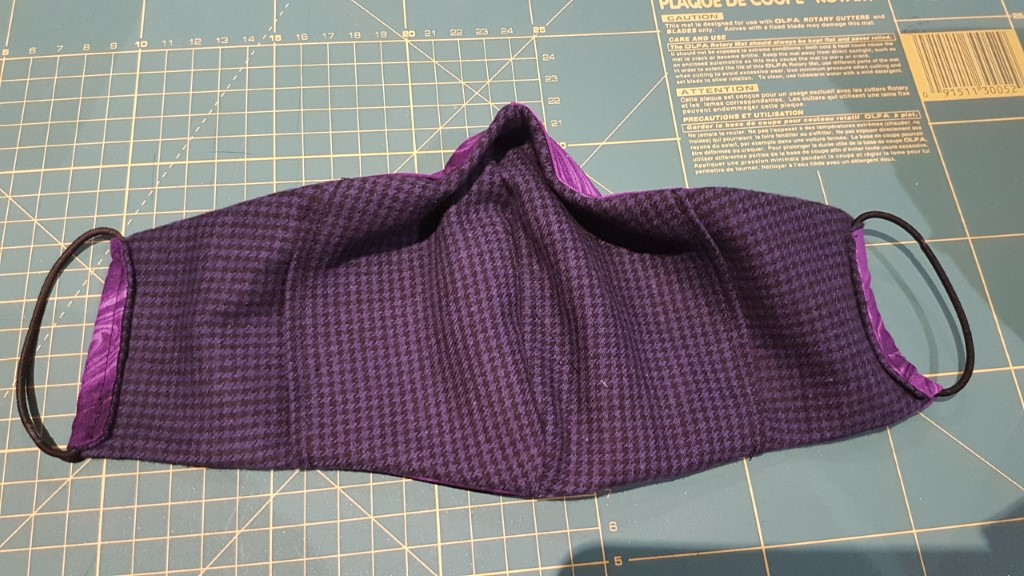
And done! A stylish mask ready for all that leaving-the-house that I can’t do. It fits quite well but I decided not to model it myself as nobody needs a record of my lopsided self-cut fringe… lockdown life, amirite?!
